
Categories
Installing Wordpress using the Web App gallery
Notice! This article is out of date. Below is the new version of this article:
WordPress install via customer panel
You can follow the steps below to install Wordpress via the Web app gallery. WordPress install via customer panel
Caution! This installation removes some files that are currently in the wwwroot! So make a local backup if you have some important stuff in here.
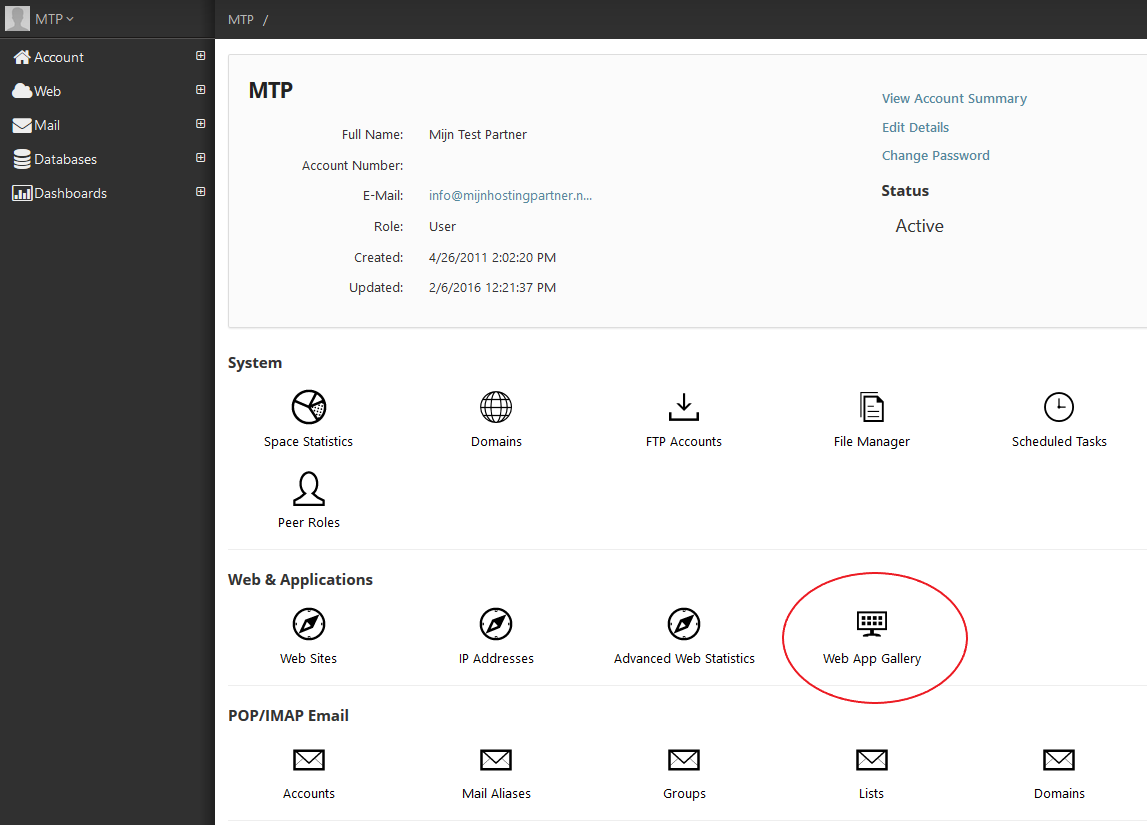
Step 1: Steps in the control panel.
- Login to the control panel.
- From the Home screen, go to the Web App gallery.
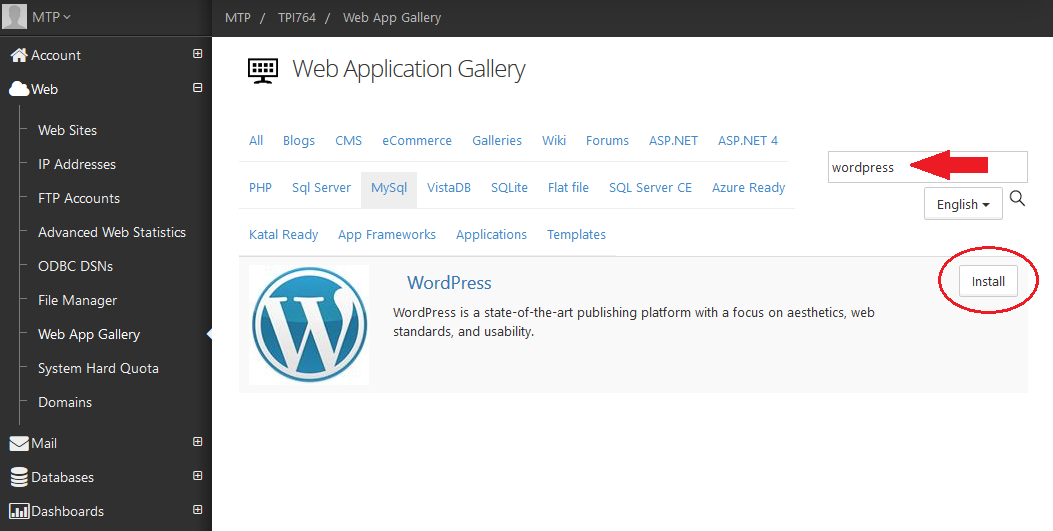
- In the search box, enter Wordpress. And click on WordPress.
- Here you press the Next.
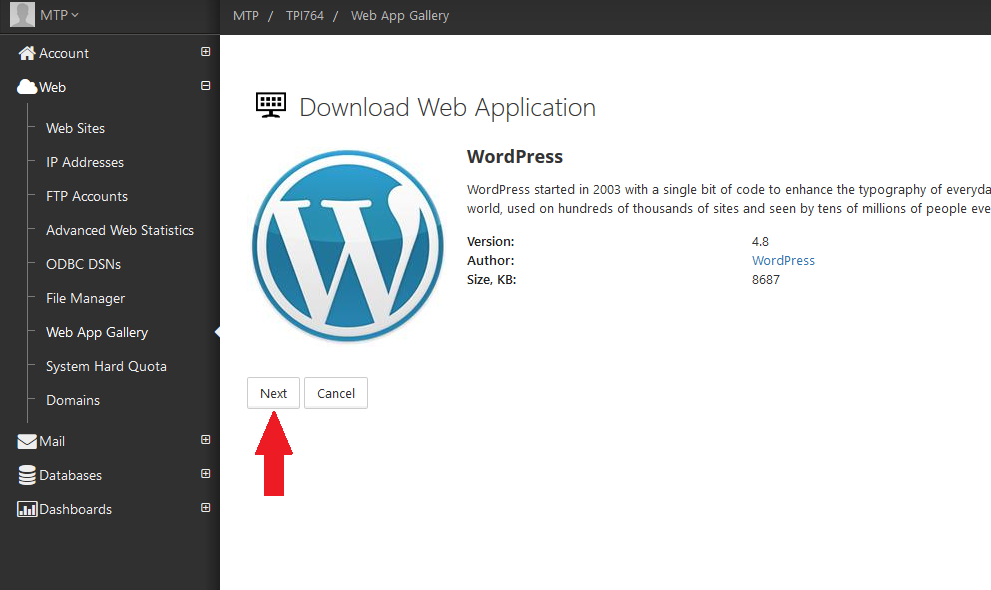
- After this, the Web App will download the installation packages.
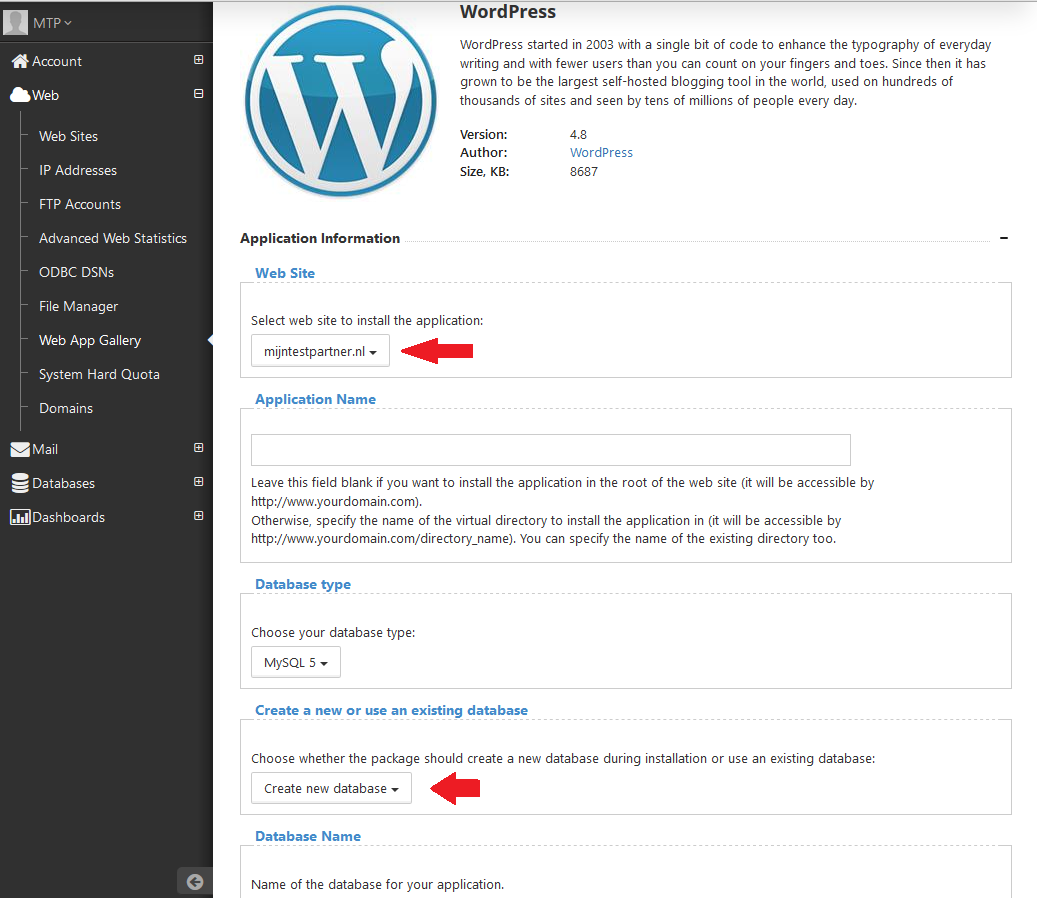
- In the next screen you enter some information, such as your domain name in the first box.
You also choose the option Create new Database and enter a strong password for the MySQL database User.
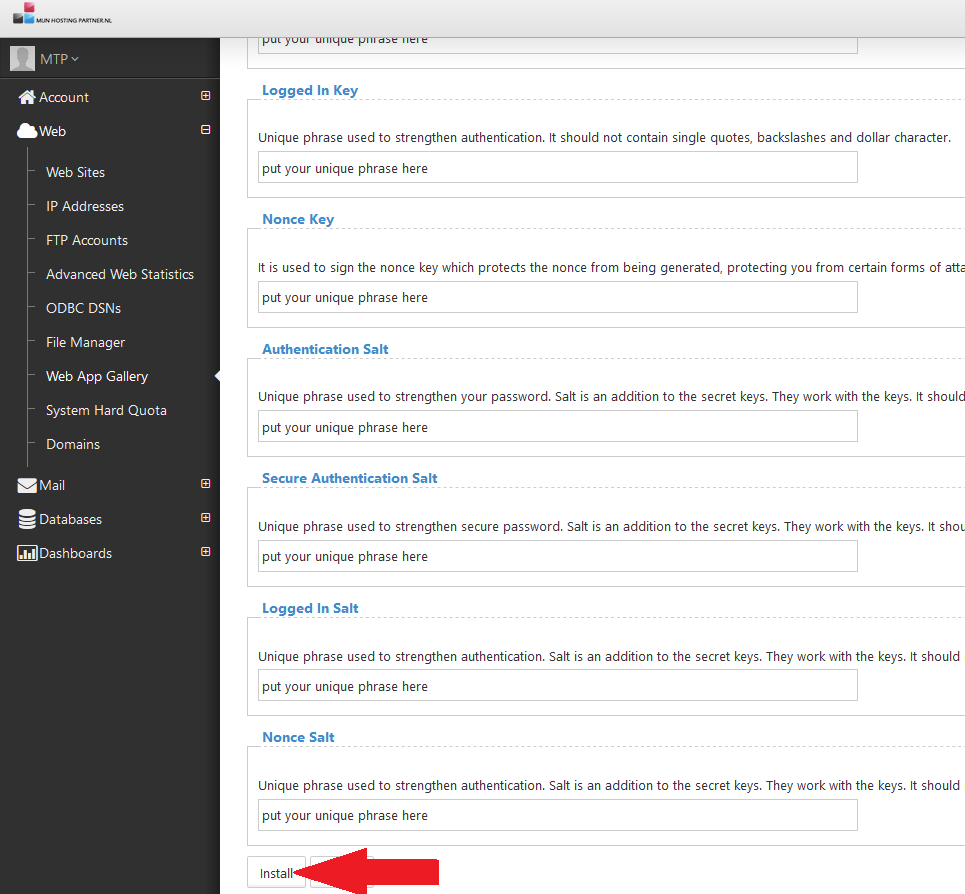
The other settings are not required, but can be applied for more security if you wish.
Note: If you get the following error message:
DatabaseUserCreation ErrorThe
operation you requested has failed to completeThen
your database name or user is too long or you have digits in your database name. You can then manually create the database and user and select it in the step below.
When you leave the default database user set to wordpressuser it might be that this is already an existing user. To solve this problem create another user for this database. For example, tailor this to your website or domain name.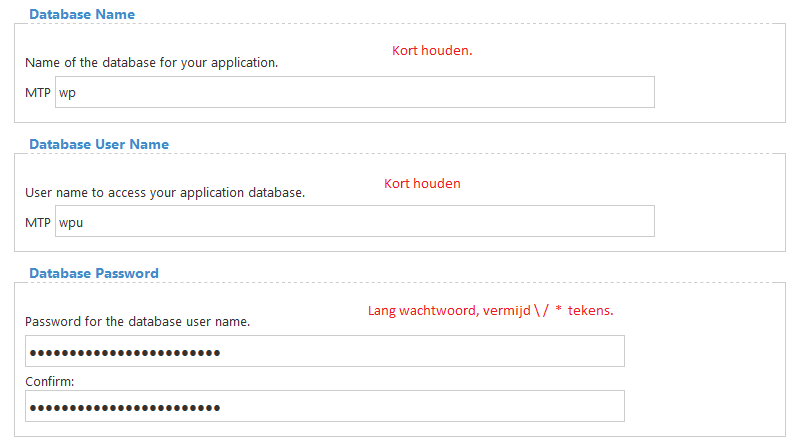
- After that you go down and click on confirm/install.
- Those were the steps in the control panel, you now select the link Launch Wordpress
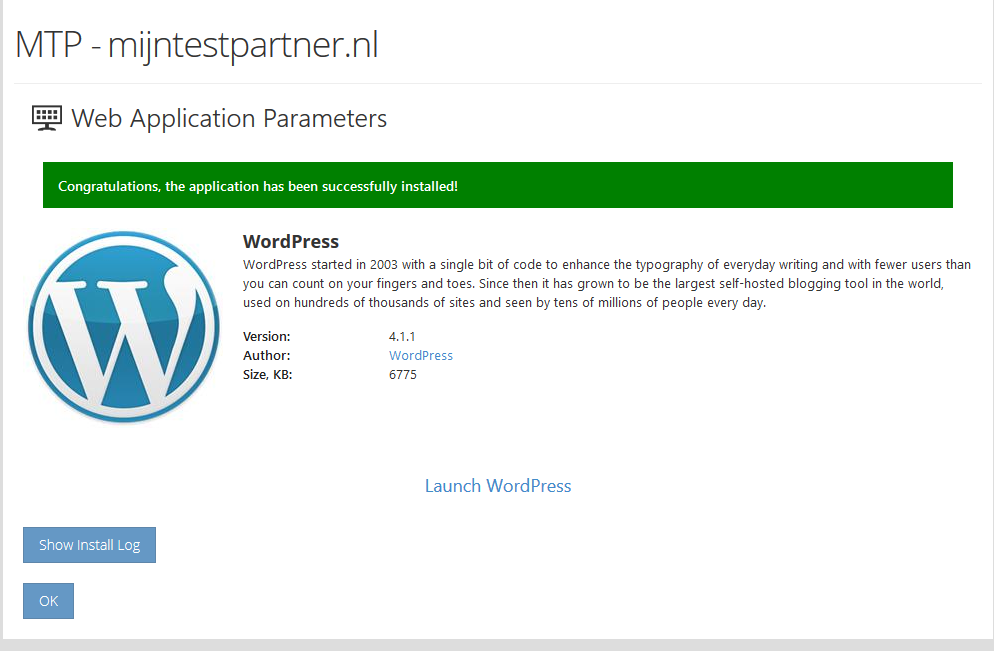
After this you can proceed to step 2.
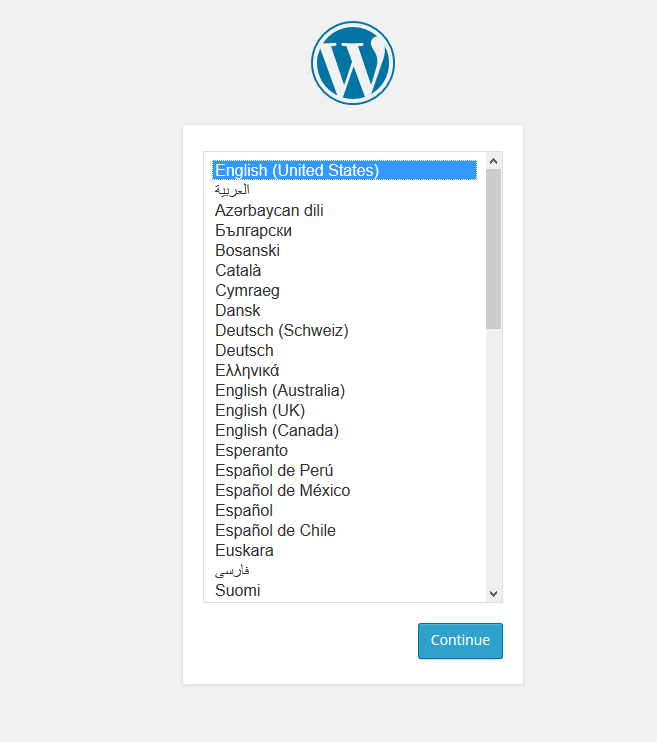
Step 2: The steps in the browser on your domain name.
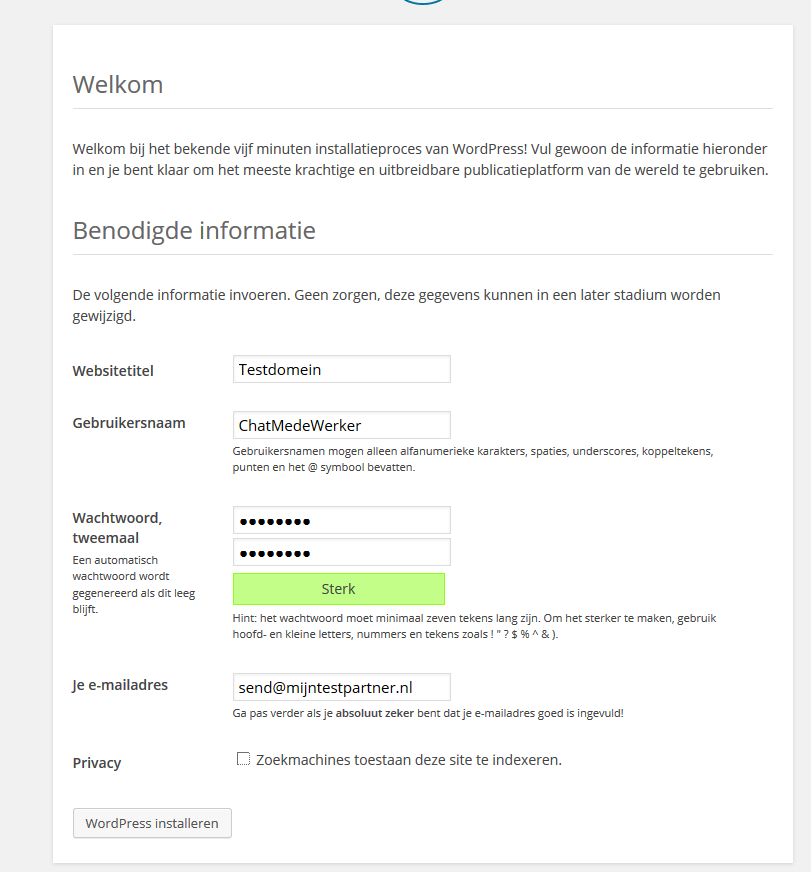
- The link will take you straight to the right screen. In the first screen select the language of your choice and click on Continue.
- In the next screen you enter the information that is requested. In our case the last checkbox is unchecked. Of course you don't turn this off if you want to be found by Google, Bing etc.
- These were the steps necessary to install wordpress.
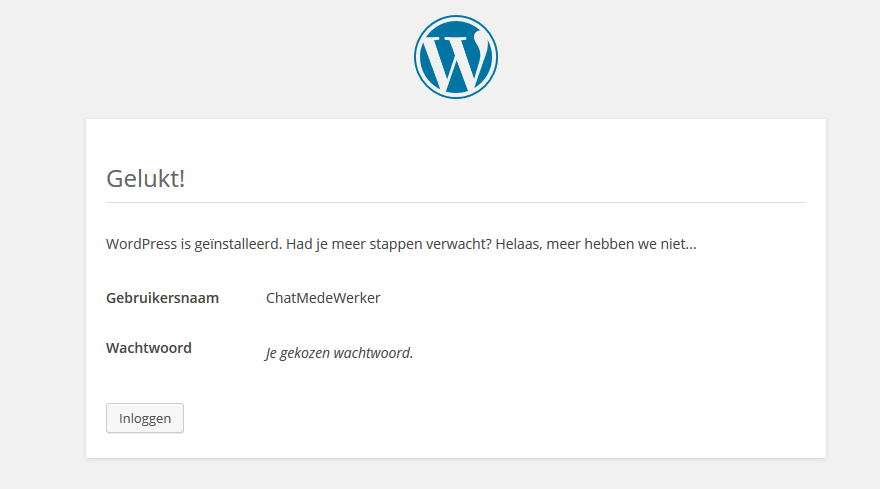
Click on login. - Log in with your just created data.
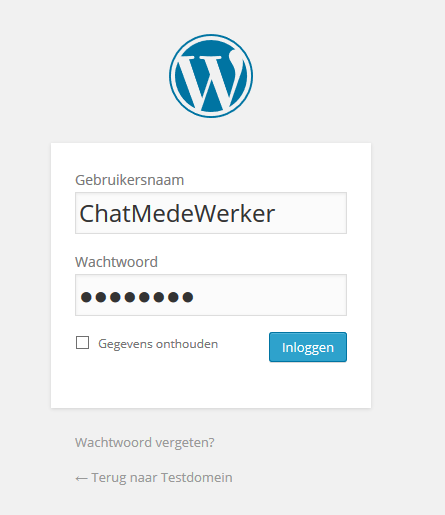
- And then you can get started creating your website.

Conclusion
This way of installing Wordpress is quite simple, so with this one it has been made a bit easier to install Wordpress.
For the next steps in the installation, you can look at the following link:
https://www.mijnhostingpartner.nl/client/knowledgebase/623/Algemene-Zaken-Wordpress.html
keywords: wordpress wordpress installation web app gallery web app gallery install wordpress word press windows IIS