Also check out below articles
 29-08-2026
Report on Generative AI Features in Google Search Console
The world of artificial intelligence is constantly evolving and Google has23-02-2026Introductory course for Google Analytics and Gemini
Google Analytics is the most commonly used statistics tool for your website24-08-2026Enable maintenance mode on your website
Sometimes it’s impossible to completely avoid the need to make changes to a live website. Whether it’s a major theme update, testing new features, or fixing a bug in your online store—working on a live website carries risks.
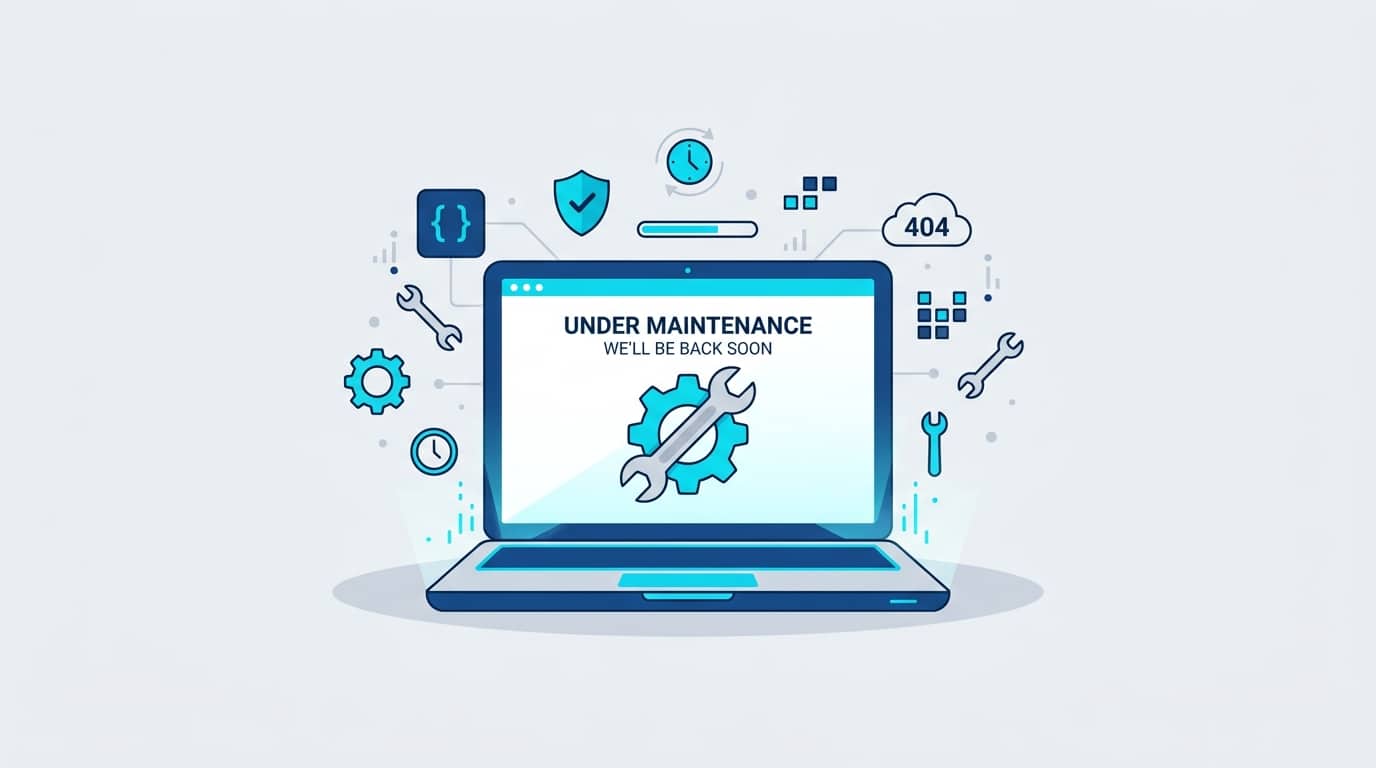
To ensure your visitors are informed and don’t encounter a blank page, a cryptic error message, or (after the fact) a failed order, it’s highly recommended to enable maintenance mode. But how exactly does this work in WordPress? And what’s the best approach for other types of websites or hosting environments? We’ll discuss that in this blog post.
Why is maintenance mode so important?
When you make changes to your website’s files or database, the site may temporarily exhibit unpredictable behavior. A maintenance page offers several advantages:
1. Professional appearance: Visitors immediately see that scheduled work is being performed and that the site will be back online soon.
2. Prevention of data loss: You prevent customers from placing an order or filling out a contact form during an update that might not be processed correctly afterward.
3. Preserving SEO metrics: By returning the correct HTTP status code (503 Service Unavailable), search engines like Google recognize that the downtime is only temporary, and your indexing won’t be negatively affected.
Enabling Maintenance Mode with WordPress
In WordPress, you can activate maintenance mode in two simple ways:
Option A: Using a WordPress plugin (fast & user-friendly)
For most website owners, a plugin is the easiest option. This allows you to design an attractive page with a countdown timer, contact information, or a sign-up form.
• Popular plugins: WP Maintenance Mode & Coming Soon or SeedProd.
• How it works: Install and activate the plugin via the WordPress dashboard. Design the page, set the status to “Active,” and save the changes.
• Advantage: As a logged-in administrator, you can still view and test the website while regular visitors see the maintenance page.
Option B: The Automatic WordPress Maintenance Mode
When you perform updates for themes, plugins, or WordPress itself via the dashboard, WordPress automatically activates a built-in maintenance mode.
To do this, WordPress temporarily creates a file named .maintenance in the root directory of your installation. Once the updates are complete, this file is automatically deleted.
Frequent Tip: Is your website stuck on the message “Temporarily unavailable due to scheduled maintenance. Please try again in a minute.”? Then log in via FTP or the file manager in your MijnHostingPartner control panel and manually delete the “.maintenance” file from the root directory.
Manually Activate Maintenance Mode
Don’t use a CMS like WordPress, or do you want to disable the entire application manually? In that case, you can set up a temporary maintenance page in the root directory of your hosting account.
A. Windows Hosting (via “default.htm” in “wwwroot”)
With Windows hosting under IIS, there’s a fixed order in which the web server loads files. By default, an HTML file (default.htm or default.html) has a higher priority than dynamic files like index.php or default.aspx.
1. Create an HTML file named default.htm on your computer.
2. Insert your maintenance message into this file.
3. Upload this file via FTP or through the file manager to the “wwwroot” folder of your Windows hosting package.
4. The result: The web server will immediately load “default.htm.” Once you’re done making changes, simply rename or delete this file.
B. Linux Hosting (by replacing index.php)
On a Linux server, you can easily activate maintenance mode by temporarily replacing your index file:
1. Log in to your server via FTP or the file manager in your control panel.
2. Navigate to your website’s root directory (usually wwwroot or htdocs).
3. Locate the existing “index.php” file and temporarily rename it, for example, to “index_old.php” or “index_backup.php”.
4. Create a new file named “index.php” (or “index.html”), insert your maintenance message into it, and upload it to the main folder.
5. The result: Visitors will immediately see your temporary page. Once the work is complete, delete the temporary “index.php” file and rename “index_old.php” back to “index.php.”
Tips for an Effective Maintenance Page
Finally, make sure your maintenance page always includes the following elements:
• Timeline: Indicate when you expect to be back online.
• Contact information: Provide an email address or phone number for urgent questions.
• Social media: If applicable, include links to your social media channels for updates.
Are you having trouble with your work, or do you have questions about managing files in your Control Panel? Feel free to contact the MijnHostingPartner.nl Help Desk—we’re happy to assist you!