
Categories
Installing Drupal
This article will explain how to install Drupal on your hosting space.
You can download and upload the installation file to your hosting space via the following link. This should be the .zip file of the version of your choice.
Install version 7.xx (7.50) for the best stability! With 8.xx there are still some problems with the web.config file and file names that are too long.
If you are an experienced user of Drupal you can apply the following fix:
https://www.drupal.org/node/2606772
- If you use the file manager you can upload and extract this zip file directly. Please note that the contents of the drupal folder must then move up 1 spot in the folder structure.
This so that all website files are directly in the wwwroot of your hosting space. - As soon as you use an FTP client like Filezilla, you can unpack it on your local pc and upload it to your hosting space.
You can replace the default web.config already present in your hosting space with the one provided by Drupal. This is necessary for Drupal to work.
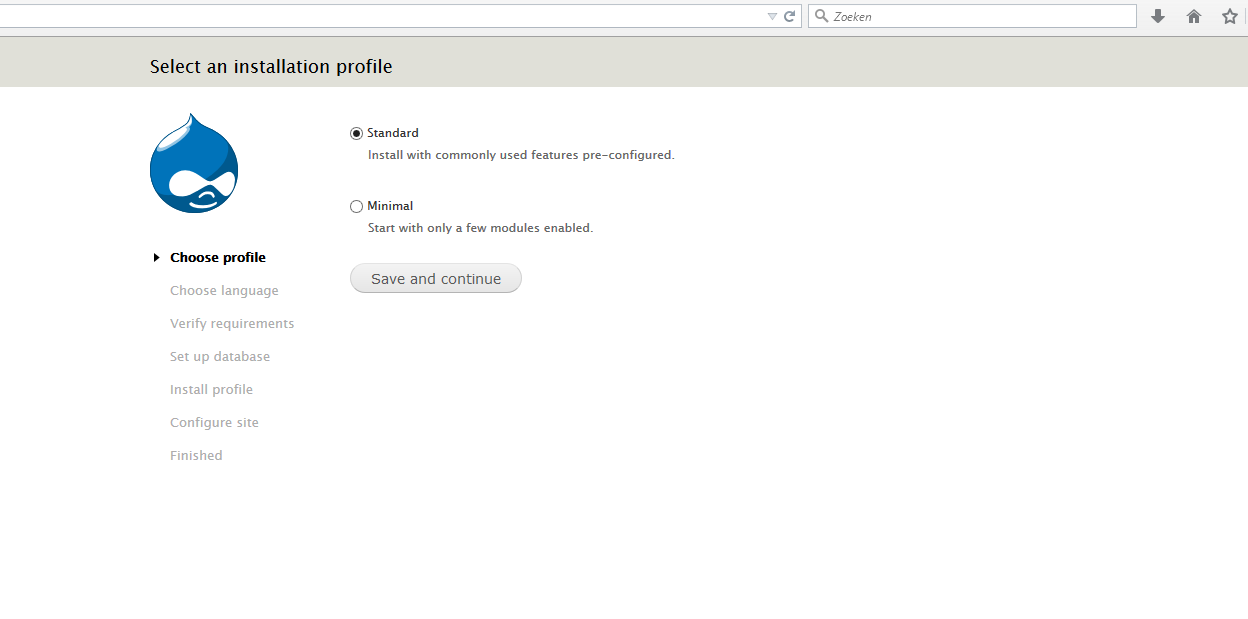
After this, you will come to the installation screen of Drupal. Here you select the default installation and press Save and continue.
You now select the language of your choice. That way any error messages/questions are easier to find on support forums etc.
Of course the language of your choice can be installed here as well.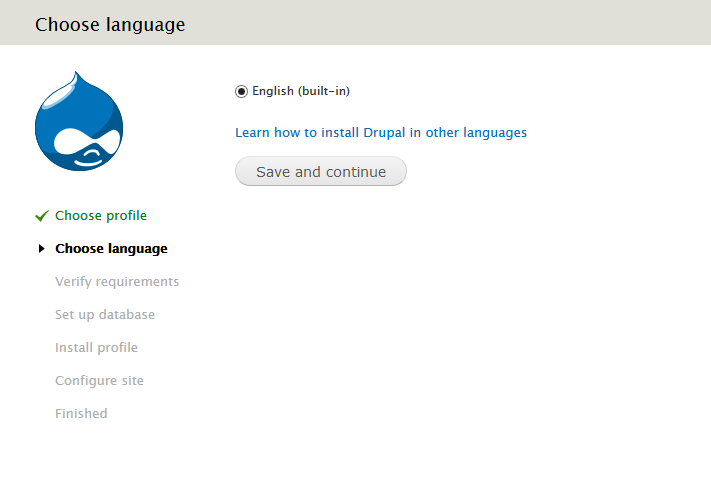
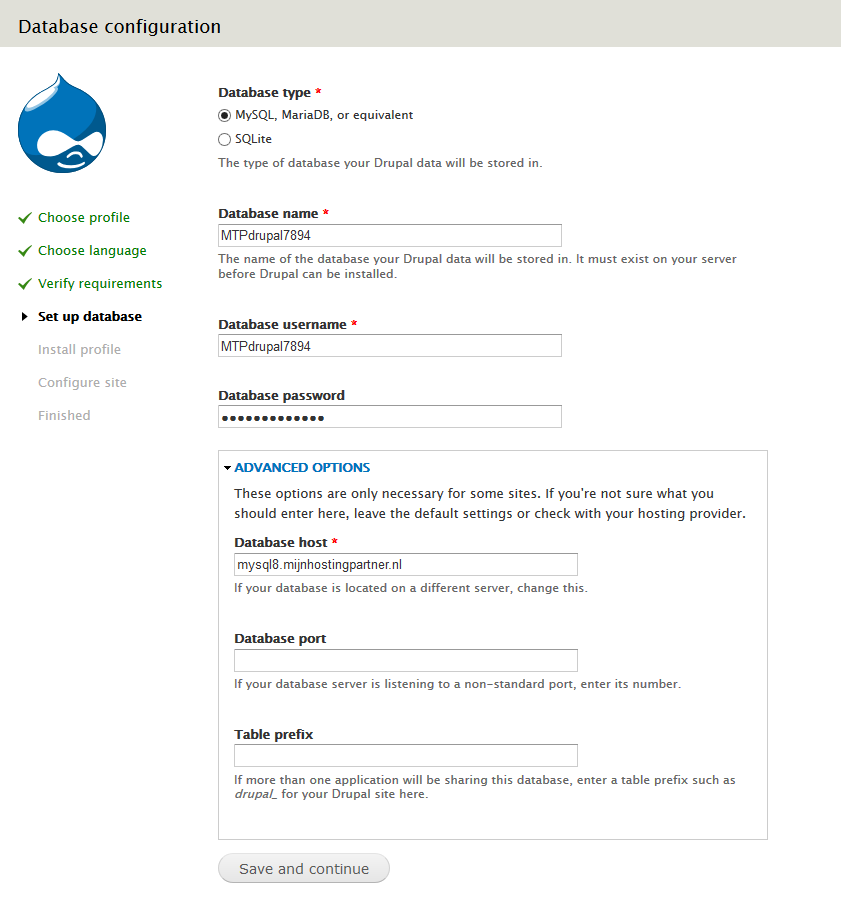
In the next screen you have to enter your database information, select MySQL and enter the database data. If you do not have this yet, it can be created in this way.
It is necessary to enter the database host under advanced options. After this you can press save and continue again.
Don't know which host you are on?
In the control panel go to > space statistics > View summary> At the bottom you can see your MySQL server.
In this screen you enter the personal information you prefer. Like your email address and the title of your site. Make sure you have a strong password for your admin account. After this you can continue with the installation. 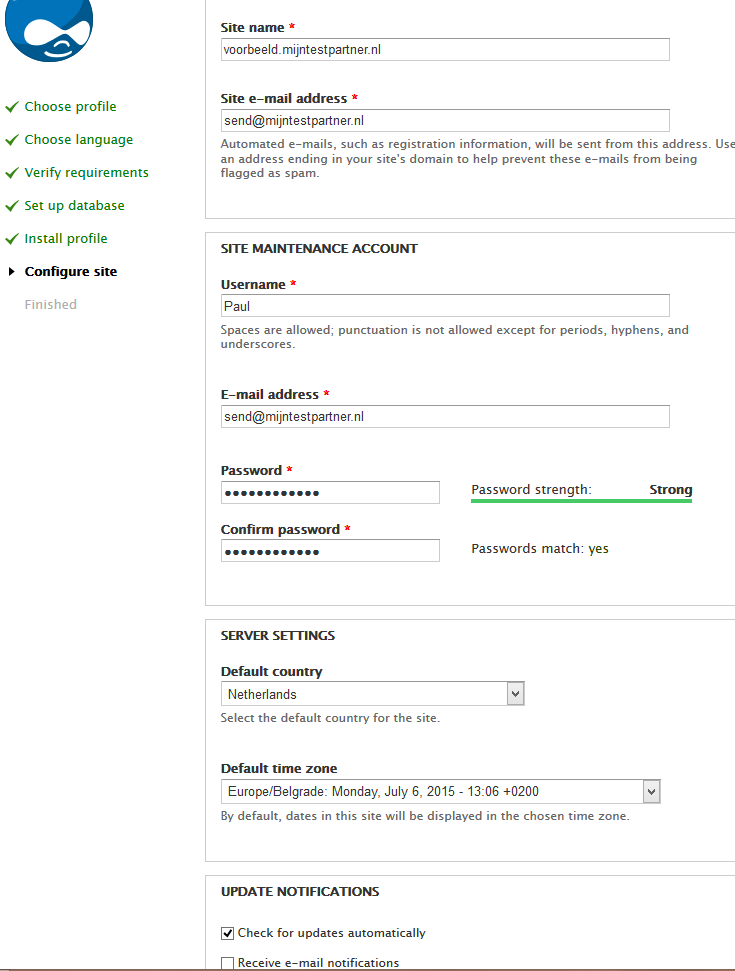
The installation is now complete according to the Drupal installer. However, there are still a few steps to follow.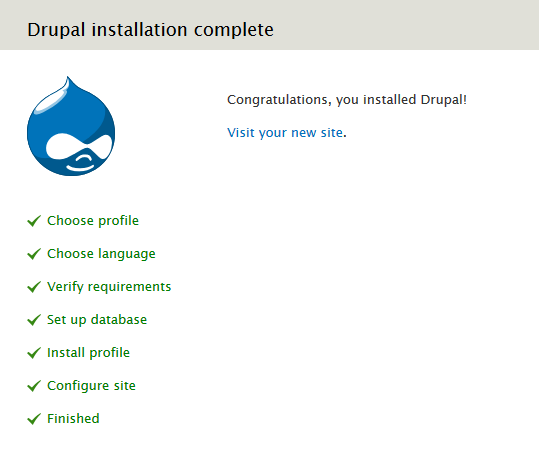
Once you go to your site not all functionality will be available.
You can then open the full report in the Drupal admin. Here you will see the error messages appear: 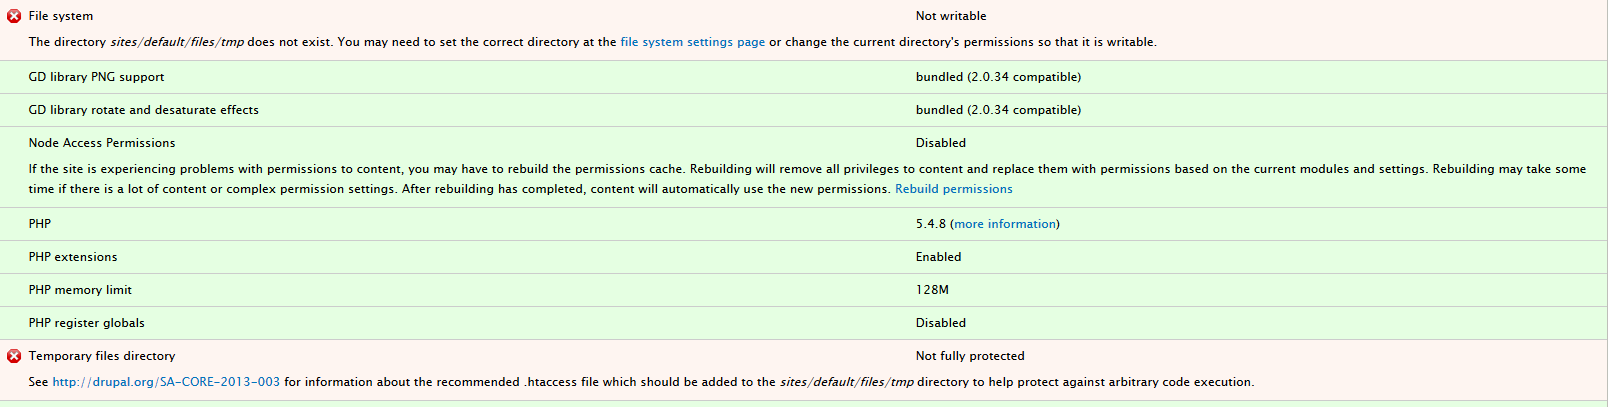
The error messages can be followed up, after this the entire functionality can be used.
So this is a matter of creating a tmp folder and checking the write permissions.
The tmp folder should be created in the following directory:
wwwroot/sites/default/files/tmp
The write permissions can be set this way: 
Remember that it is not wise to always set write permissions over the entire wwwroot. Take this off when you are done designing. For more information on securing your site, check out the following article:
https://www.mijnhostingpartner.nl/client/knowledgebase/754/Wat-kan-ik-doen-om-mijn-site-te-beveiligen.html
After the above 2 steps, your site will work properly and you can continue.
If you have any further questions, you can always see if there is someone on the online chat.
Or you can create a ticket in the customer panel.