
Categories
Installing Craft CMS
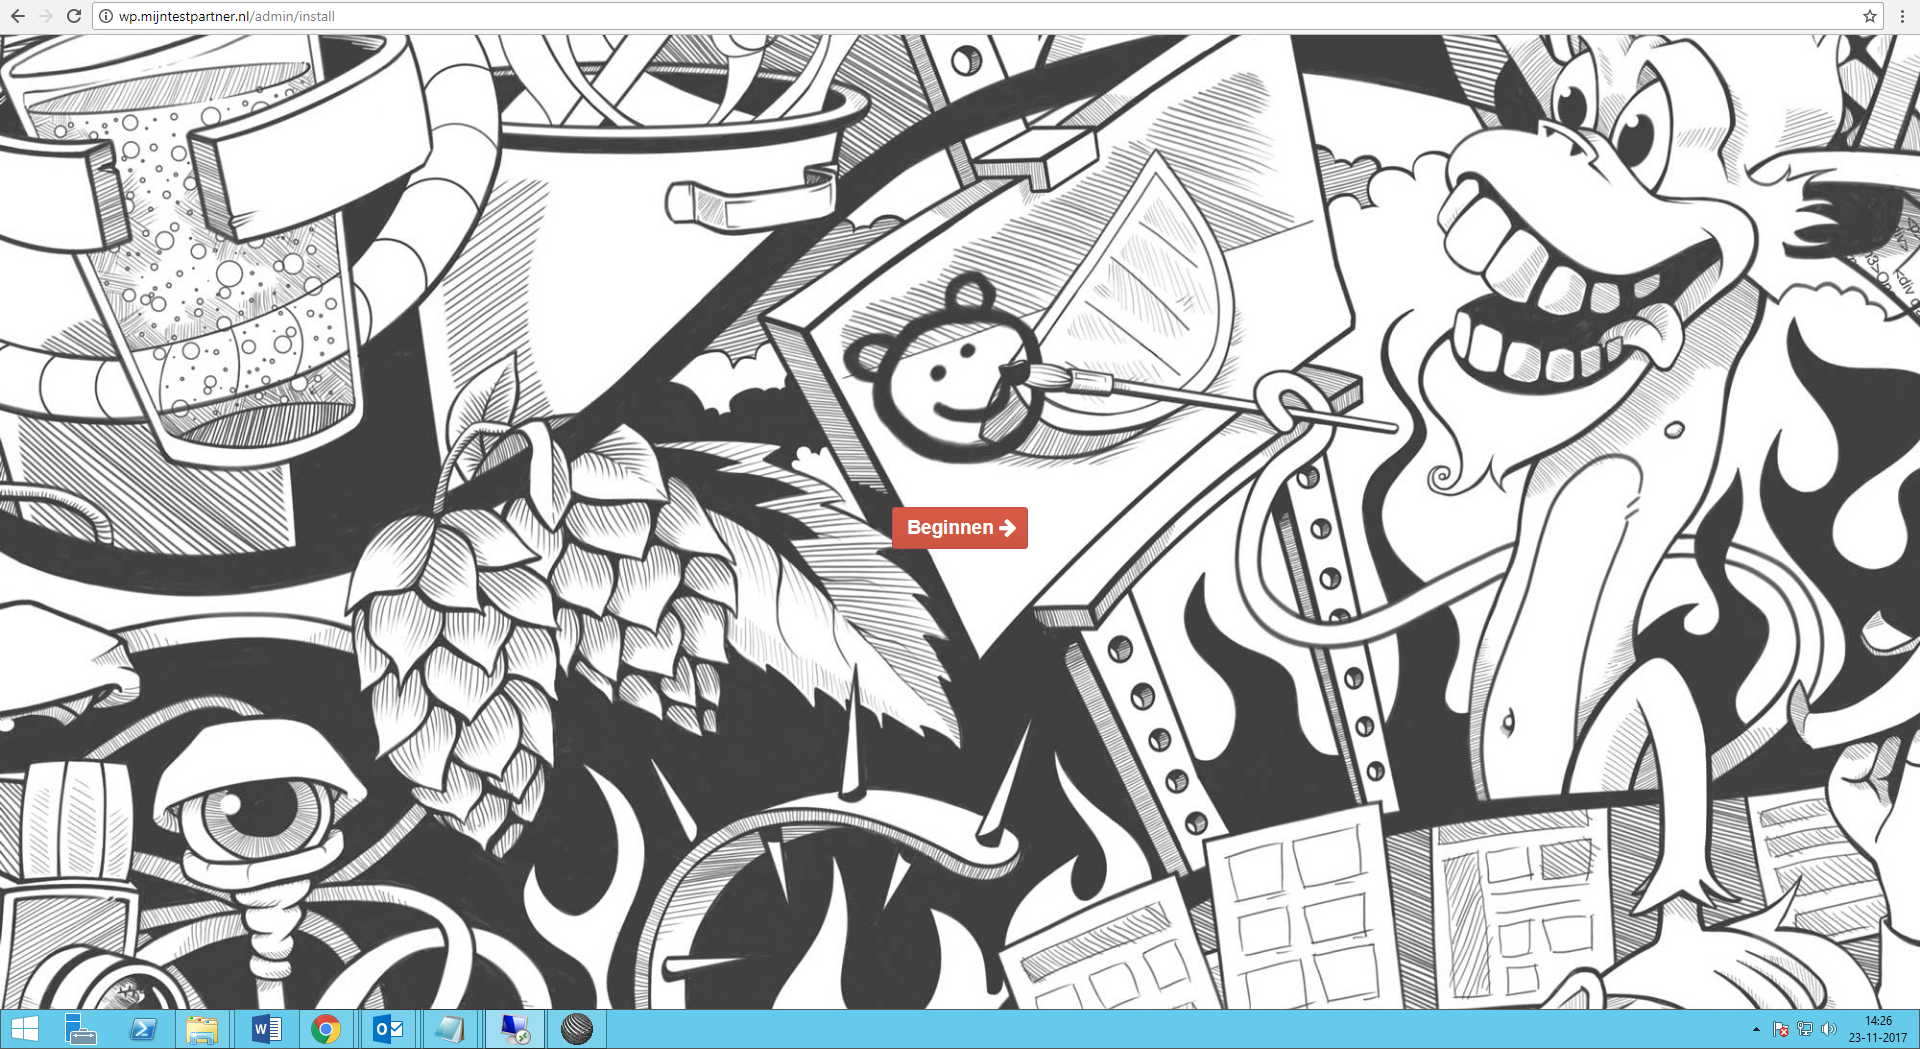
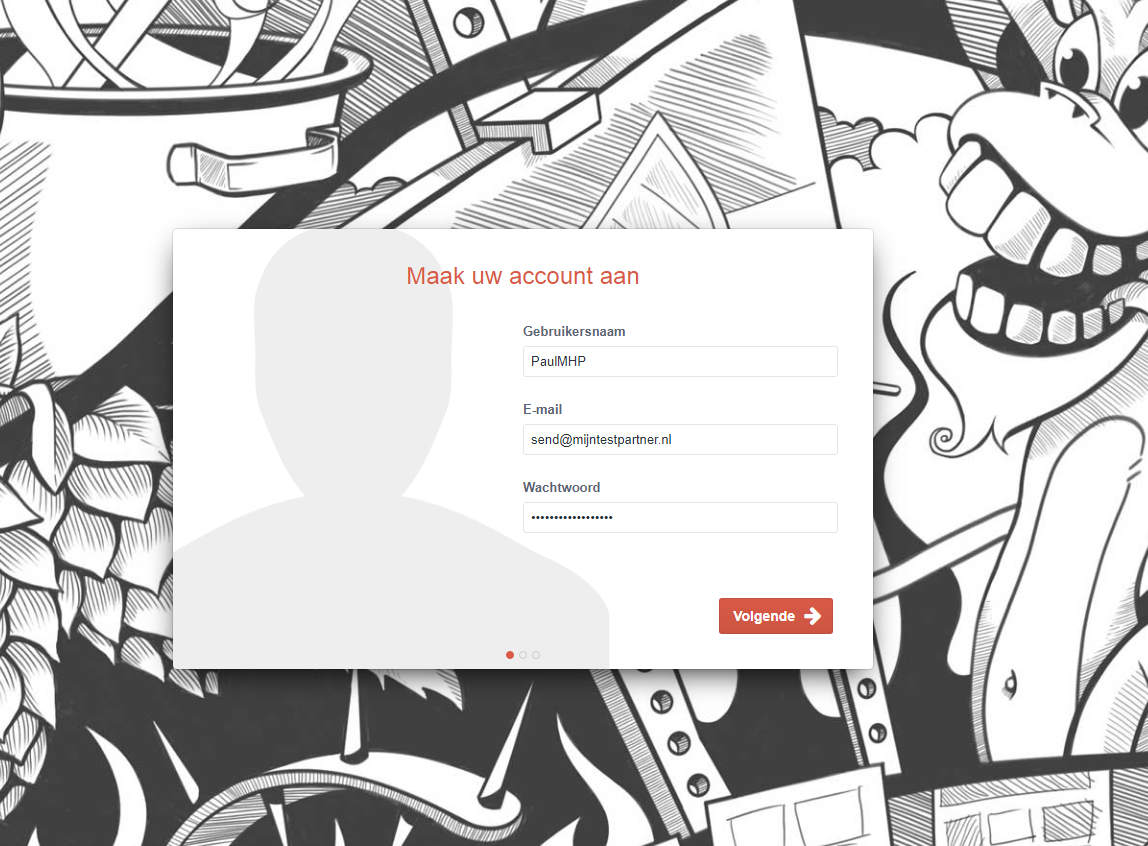
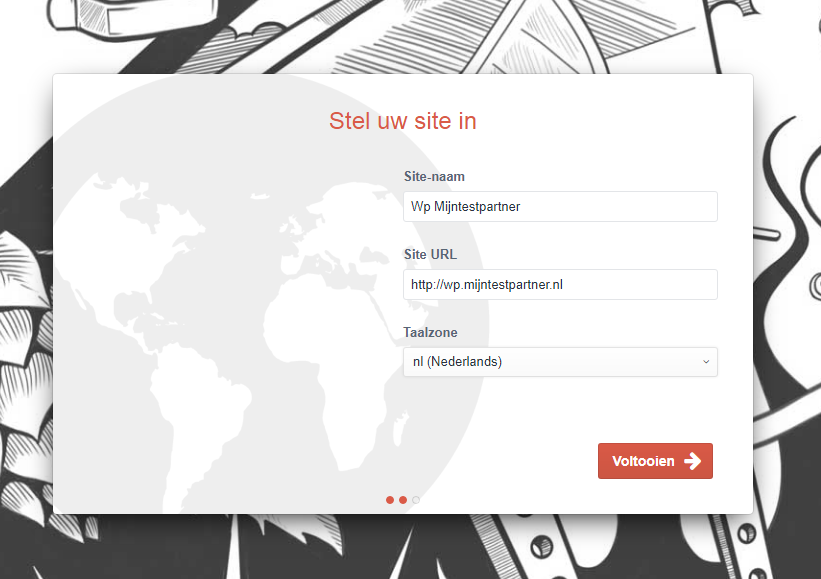
Craft CMS installation
Craft CMS we also support at MijnHostingPartner.nl this is a Content Management System what puts the emphasis on Content. It is the CMS for the content writer and programmer. To install Craft CMS you can follow the next steps.
What do you need for the Craft CMS installation?
- FTP client such as FileZilla
- Notepad or Notepad++ / SciTe
- MySQL database as created in the control panel
- A cup of coffee
Step 1 Download Craft CMS
Craft CMS is free to download for 1 user. If you want to use the CMS for commercial purposes or for multiple level users it is an idea to look at their license costs.
You download the Craft CMS easily via the download button that is visible everywhere on the page. A zip file will be downloaded immediately which you can save locally.
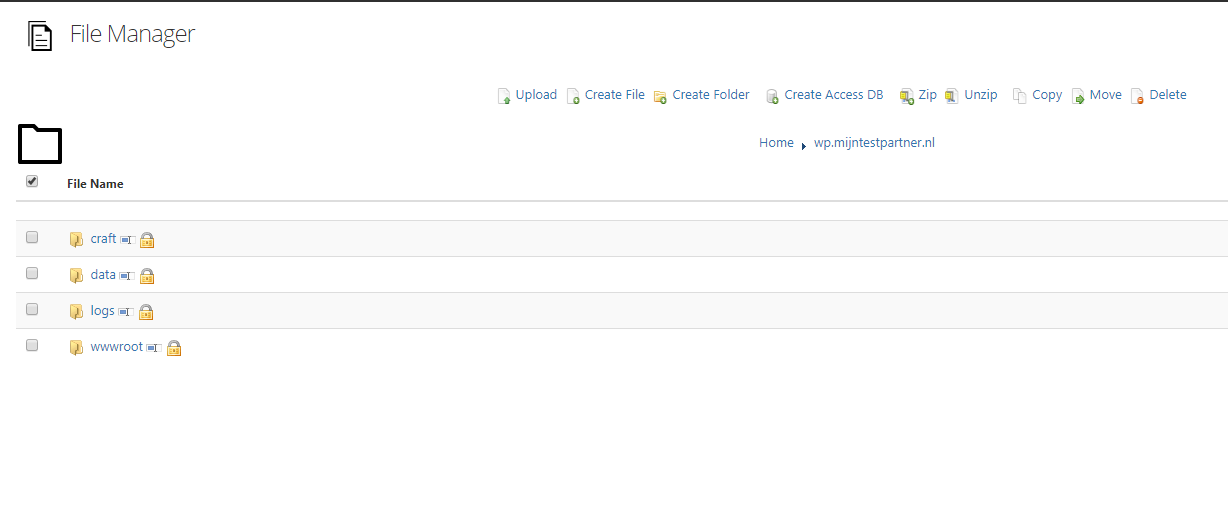
Step 2 Upload the zip and unzip it When
you have saved the zip of Craft CMS locally then the next step is to upload it to the wwwroot folder. You can do this through the Filemanager or just through an FTP like FileZilla. We recommend the second method. Since you still need to move some folders. Via FileZilla you can extract the zip locally.
You have two folders in the unzipped zip, craft and public.
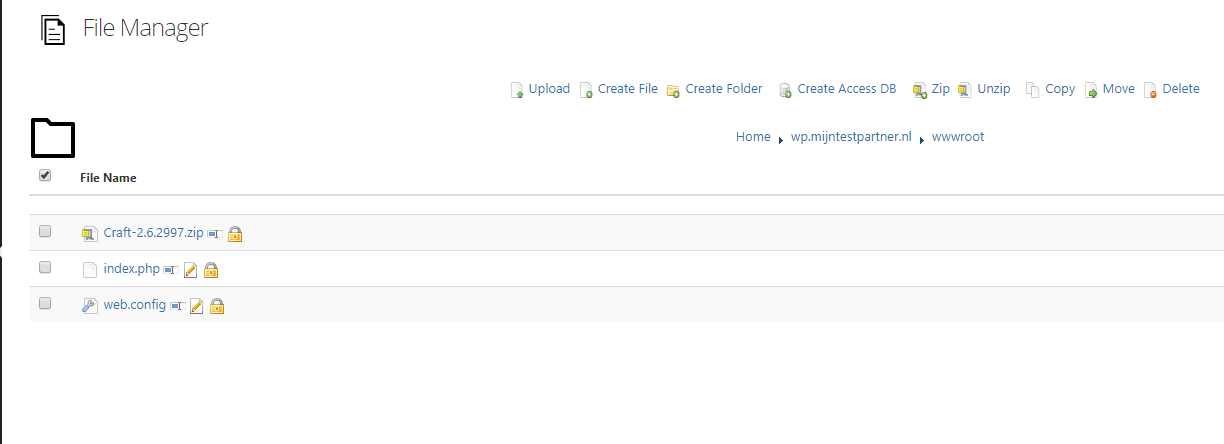
The craft folder must be placed above the wwwroot folder. This is for security reasons to ensure that no files are available. The public folder should contain the index.php and web.config to be unzipped and placed directly in the wwwroot. So it will look like this:
After you have uploaded the files to the correct folders you can check it by going to the website in the browser. If all goes well you will see the message from Craft CMS that the website is not available. When you get a 500 error it is either the web.config that is incorrect, the PHP version (always select the latest one) or finally the folders are not in the right place. If so, start at the top again or come to the chat to let our colleagues help you.
Step 3 The right rightsThe
folder Craft above the wwwroot has no rights by default. This can be changed by giving the craft folder read-only access and giving it
- craft/app
- craft/config
- craft/storage
Are all three write permissions set to on.
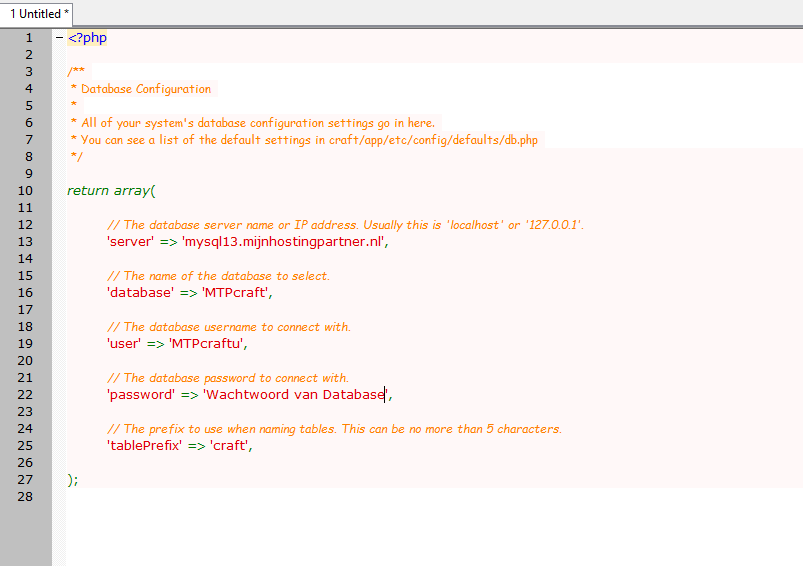
Step 4 link the database to Craft CMSAs
the last step on the installation side you need to link the MySQL database to the Craft CMS website.
You do this by going to the file craft/config/db.php and opening it with a text editor like notepad or your favorite. After this you enter your database data:
Step 5 Website configurationOn
the website you still need to set a few things, the steps below you will encounter and you can adjust to your data:
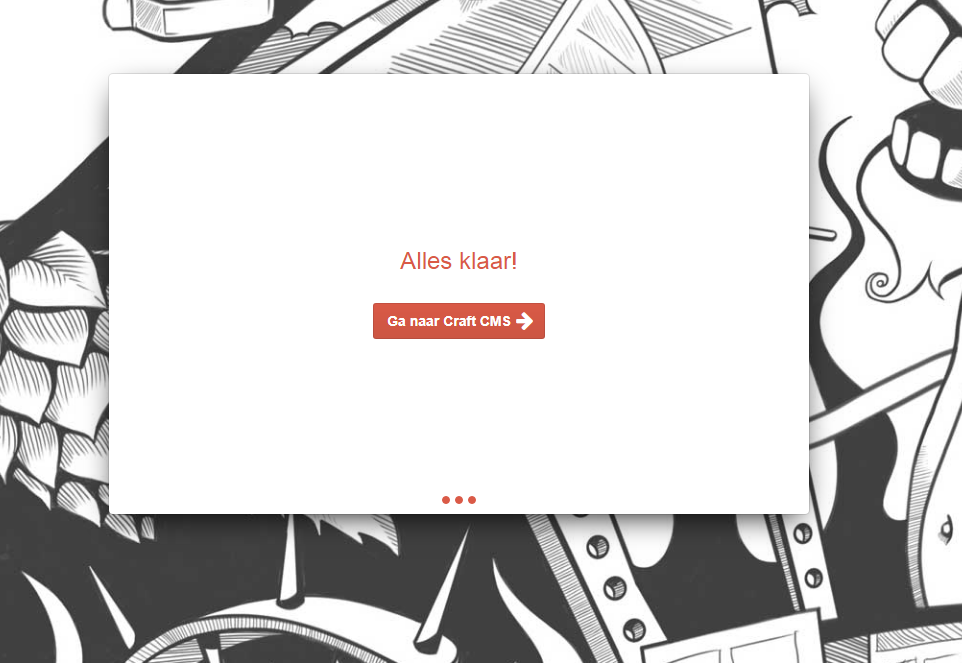
After this you can use the Craft CMS system at MijnHostingPartner.nl, for questions you can always come online on the chat.