
Categories
Step 1 - Create customer
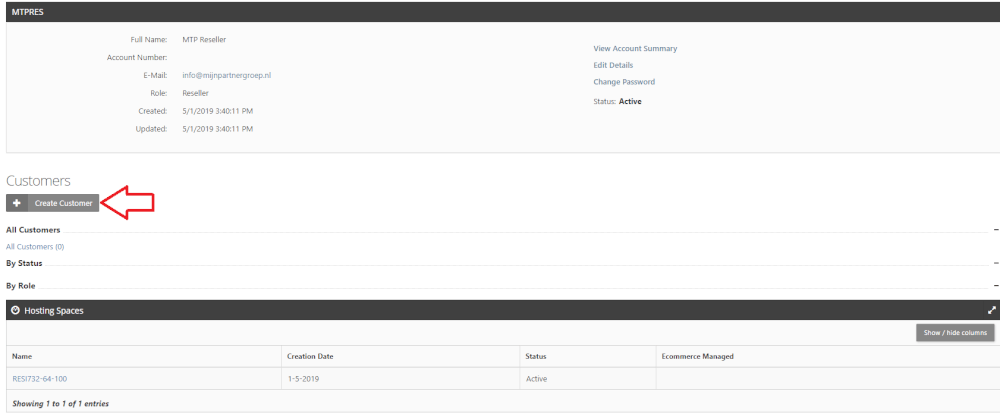
The first step you need to perform once you receive the control panel data from us is to create a customer. After this you can perform the other steps described in this category.The customer can be added under the reseller account on your webhosting by clicking the blue "Create Customer" button in the "Customers" screen on the homepage.
After this you will see the following screen. Here you add the data you have from the customer. You should not use a shortened name or any strange characters. This will cause problems and conflicts.

Check mainly that the points are otherwise entered correctly. The data from the control panel will be sent to the customer immediately after this. After this you can create hosting plans in the following way: Create hosting plan.
If you now go to customers, you will see that this account is now listed.

Account number and secondary email account do not need to be filled in, the status is still selectable if you do not want the account to be available right away.