
Categories
Setting up push mail - Windows 10
To set up a push mail account in Windows 10 you can follow these steps.
Test the account and password by logging into the webmail. You can do this at the following link:
webmail.myhostingpartner.co.uk
If you can log in here then you can set up the mail account within Windows 10 in the following way:
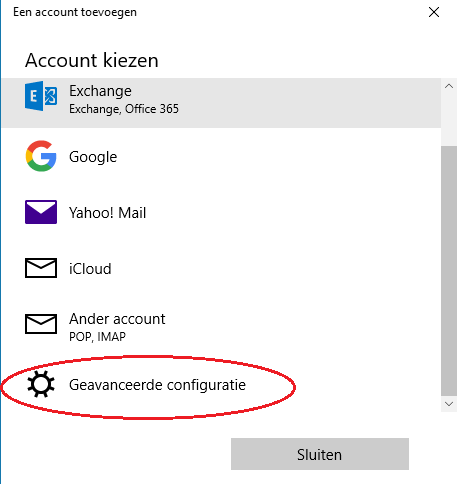
You go to the account settings and select the option to add a new account. In the next screen you select Advanced Configuration:
With Push mail you can use our Microsoft Exchange Servers so you select Exchange ActiveSyncin this option.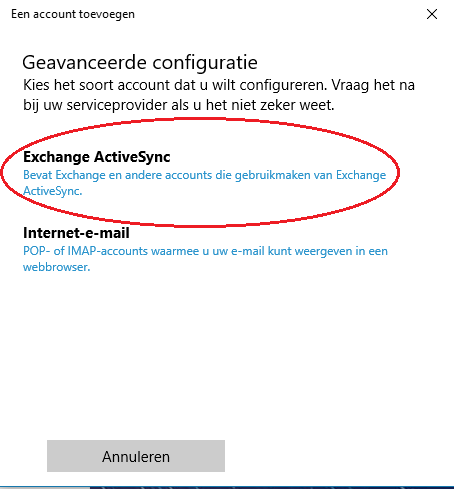
You fill in the details in this screen and customize it to your details.
Email address: as created in the control panelPassword
: as created in the control panelUsername
: Enter email address againDomain
: This is webmail.myhostingpartner.nlServer
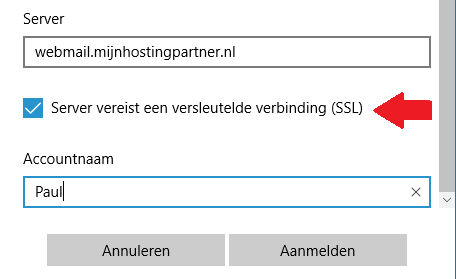
: Enter webmail.myhostingpartner.nl againSSL
option checked, this ensures encrypted mail trafficAccount name
: Self-completion 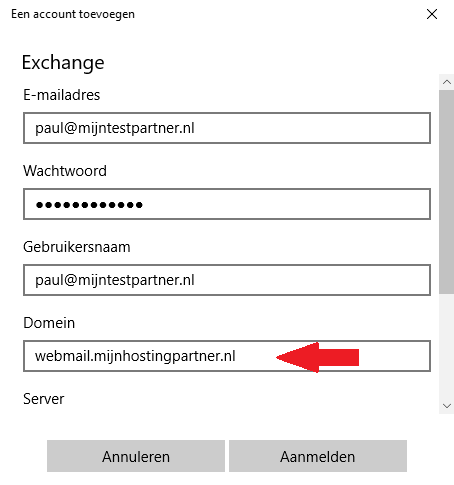
After this your account is activated and you can send and receive mail.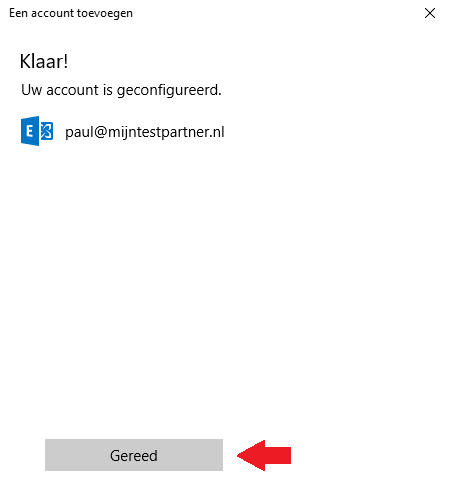
If you need more help with the settings for this you can contact us via the online chat or just create a ticket with a screenshot of your current settings.
We can then check this for you.
If you have any tips for this article, please report them via the chat or in a ticket and we will take this into consideration.