
Categories
Setting up push mail - Android 6
In this article we will use the Gmail app to configure push mail for Android 6. Since this is present on every Android phone, there is a high probability that you will also be working with it.Step 1, check if you can log into the webmail.mijnhostingpartner.nl and check if Push mail is active for you.
webmail.mijnhostingpartner.nl
If you can log in here then you can continue with the steps.
Step 2, open the Gmail app and navigate to manage accounts -> add account. You will come to the following screen:
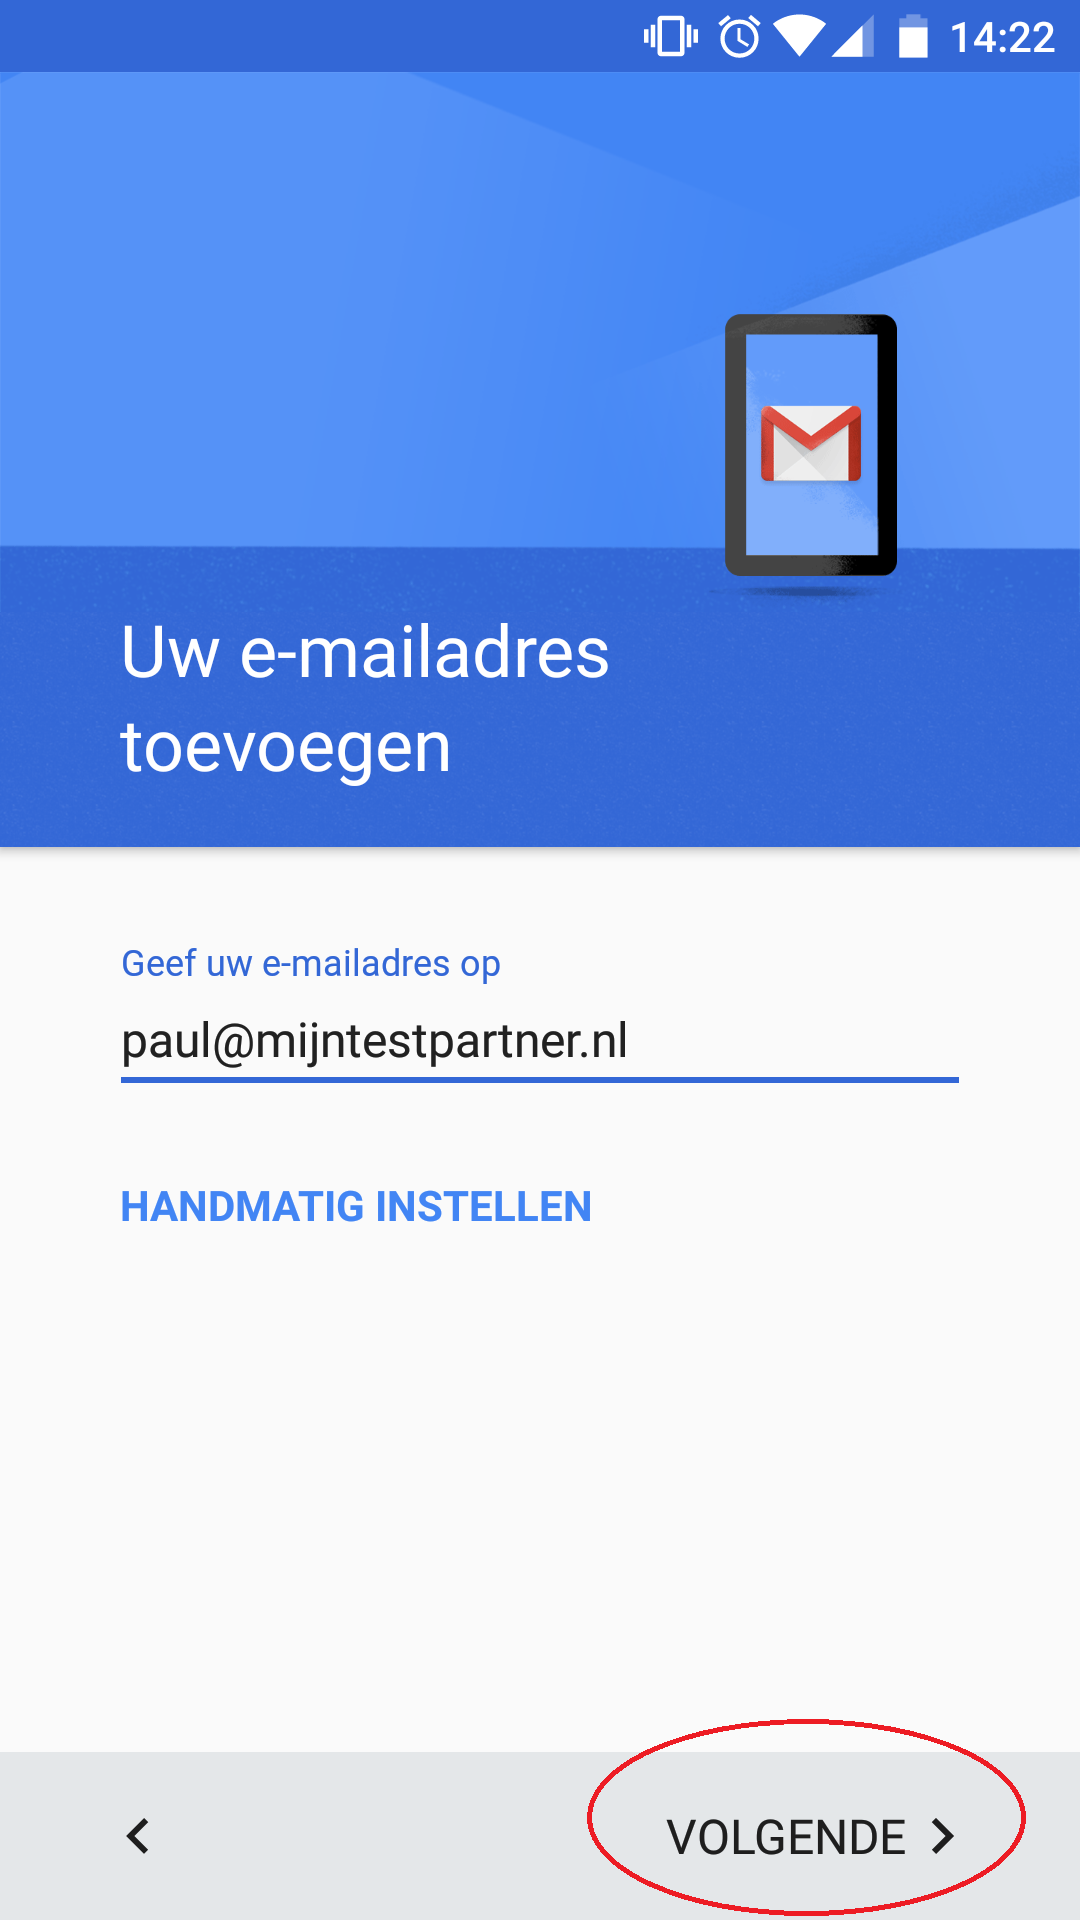
You do not select the option set up manually, however the option next after entering the email address.
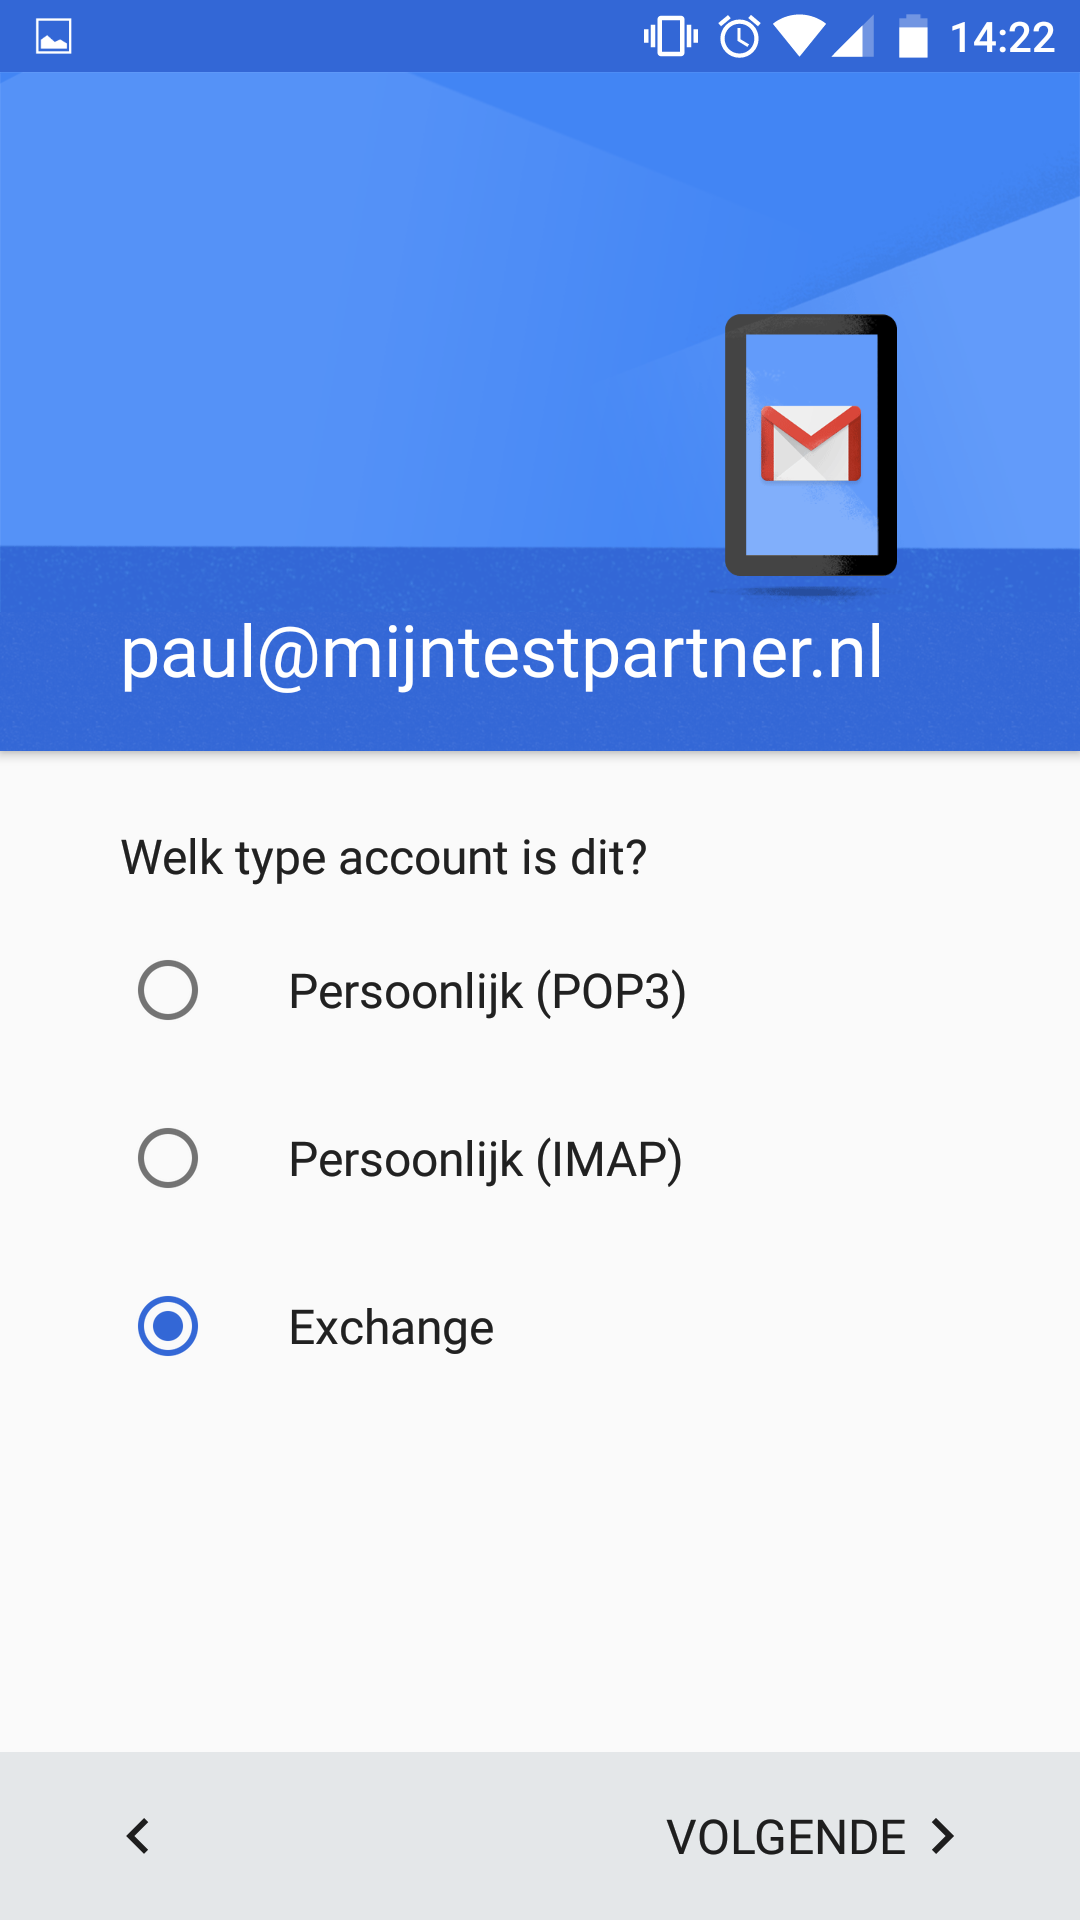
Option Exchange.
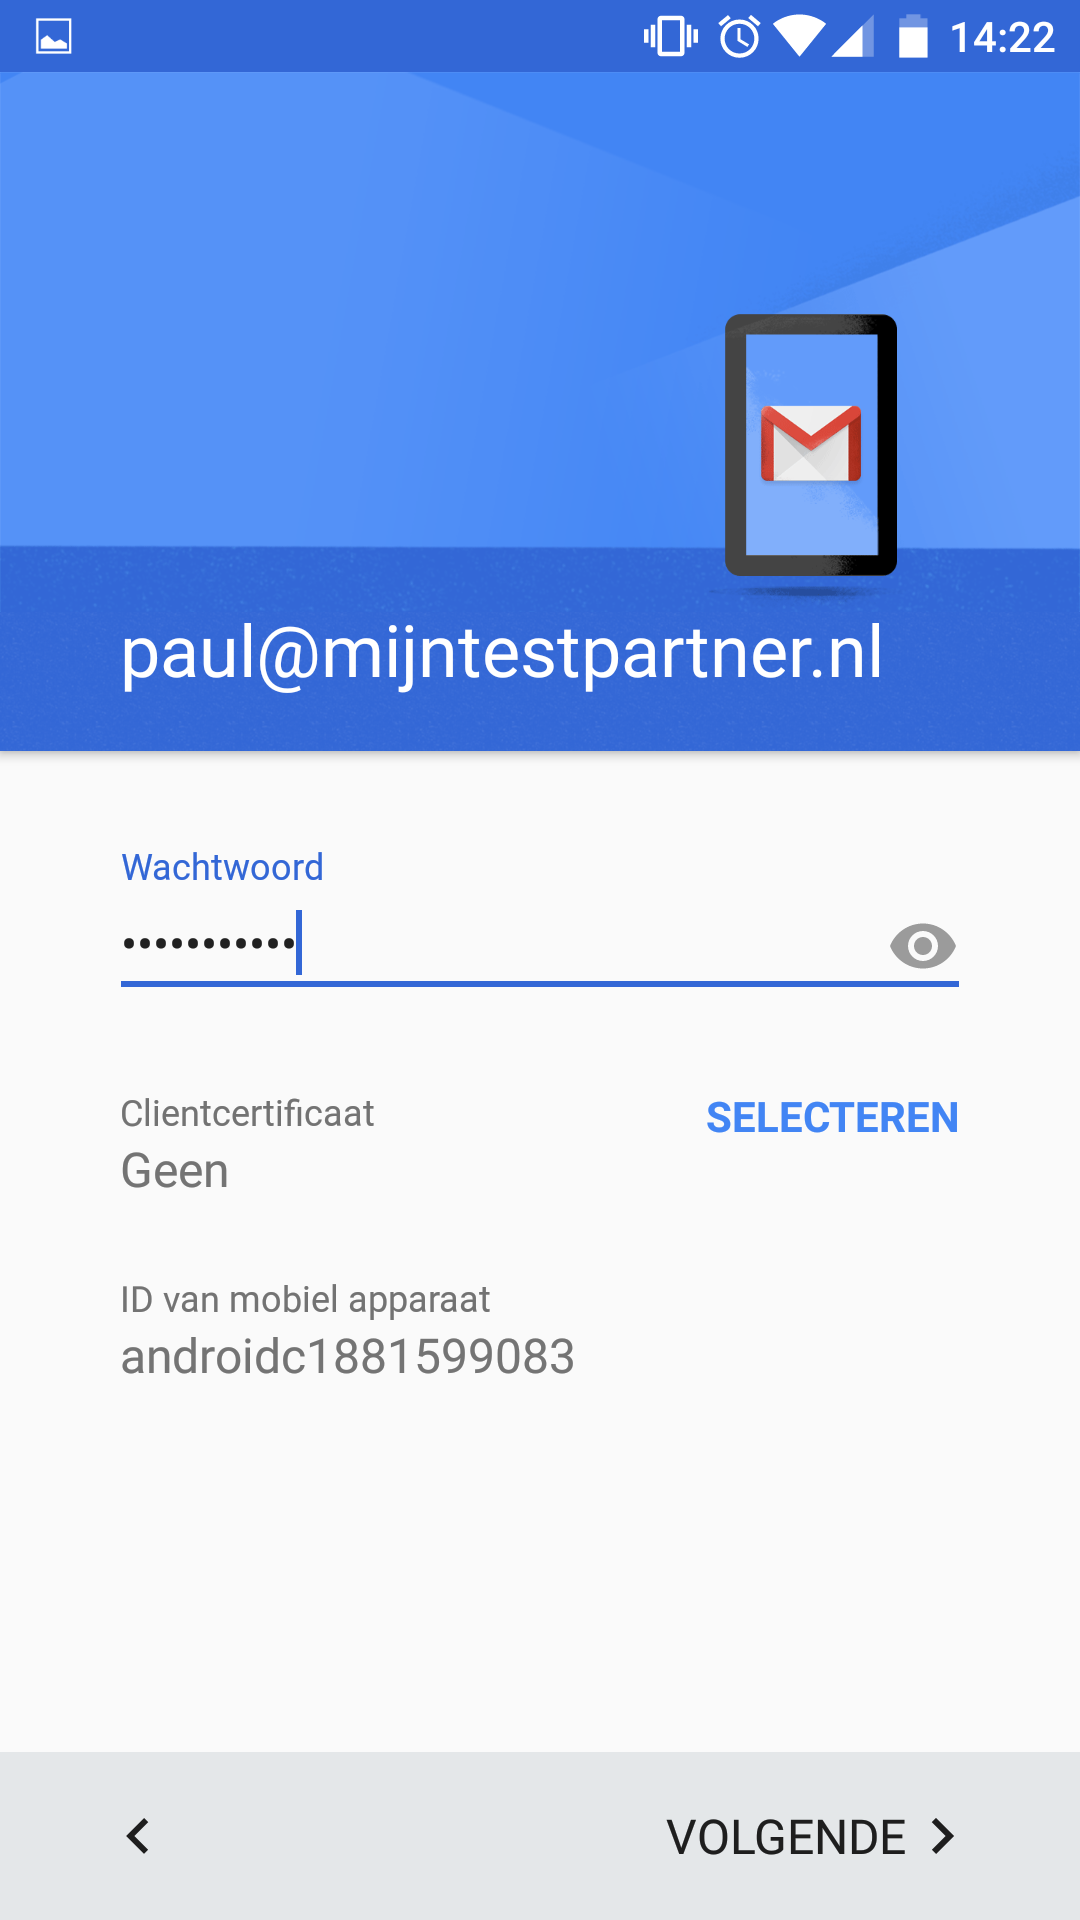
Enter your password.
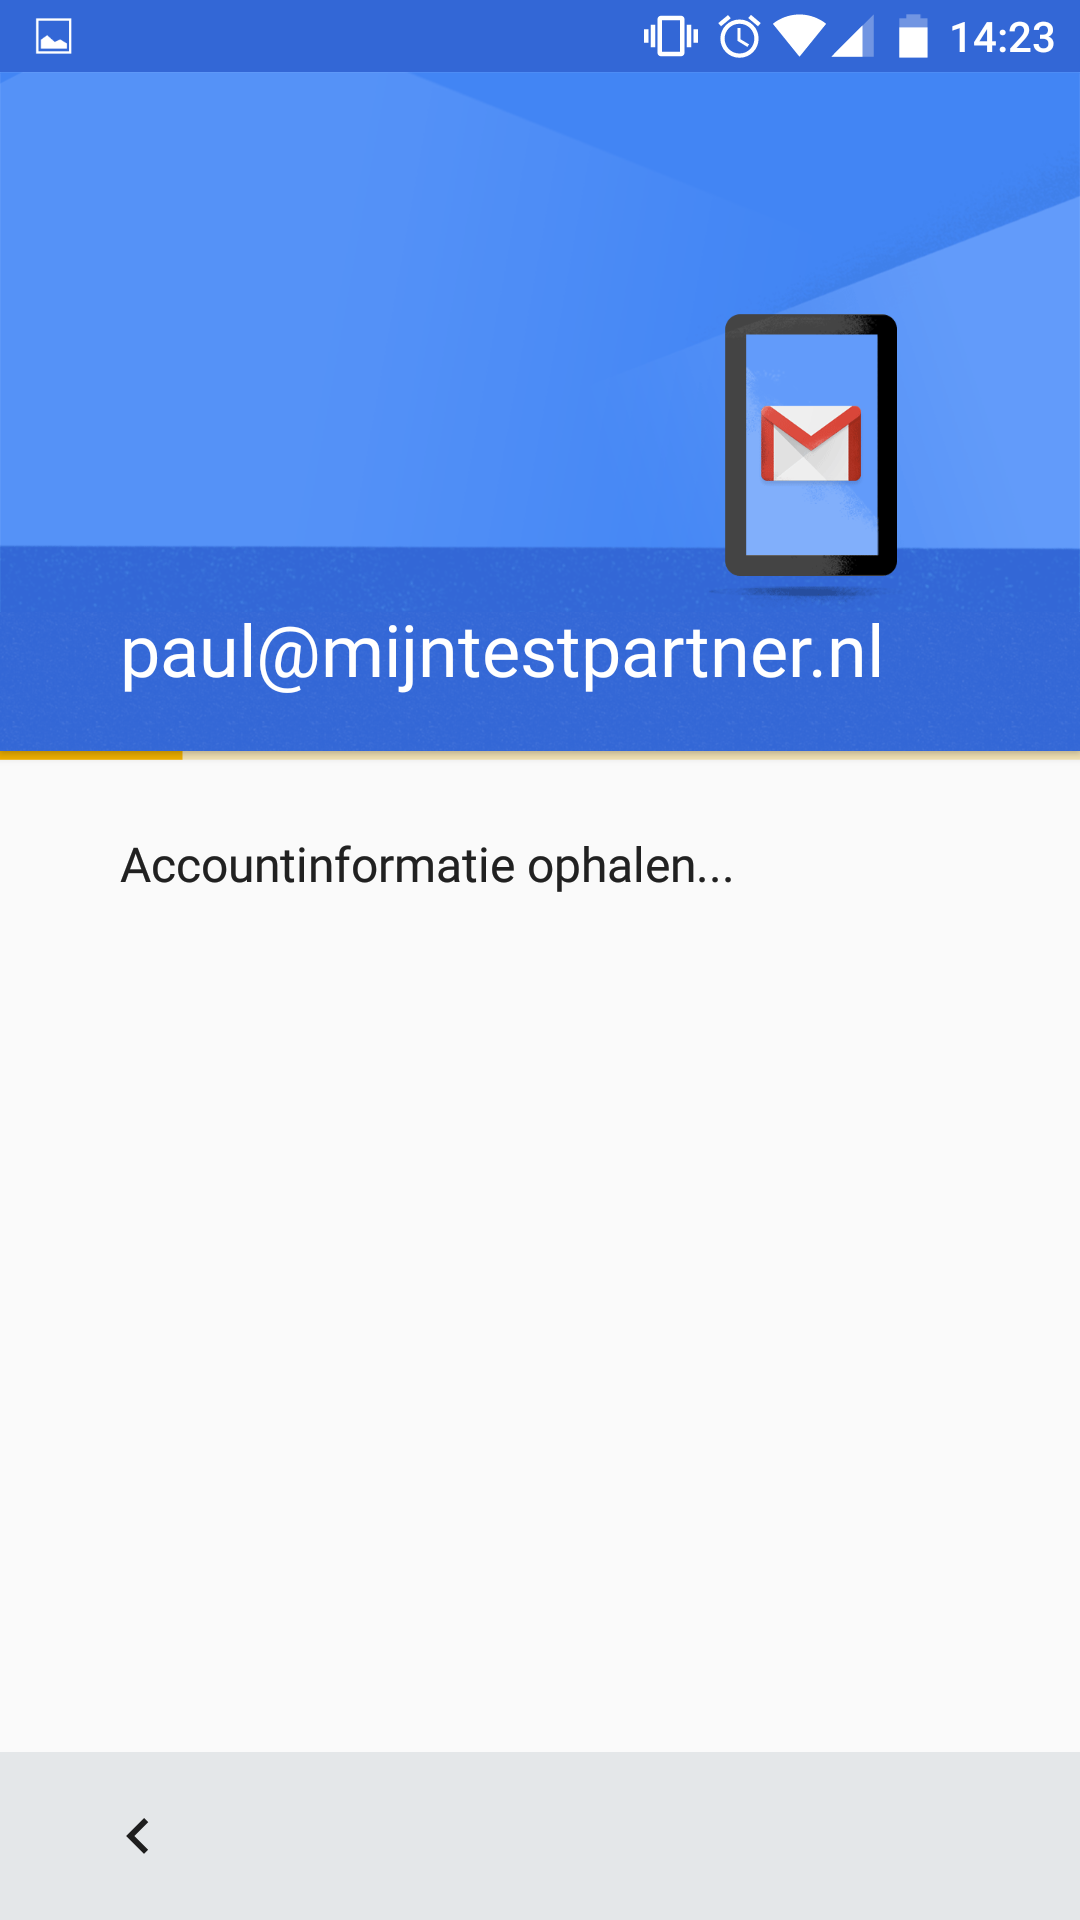
Retrieving the data may take a while. You will get to the next screen:
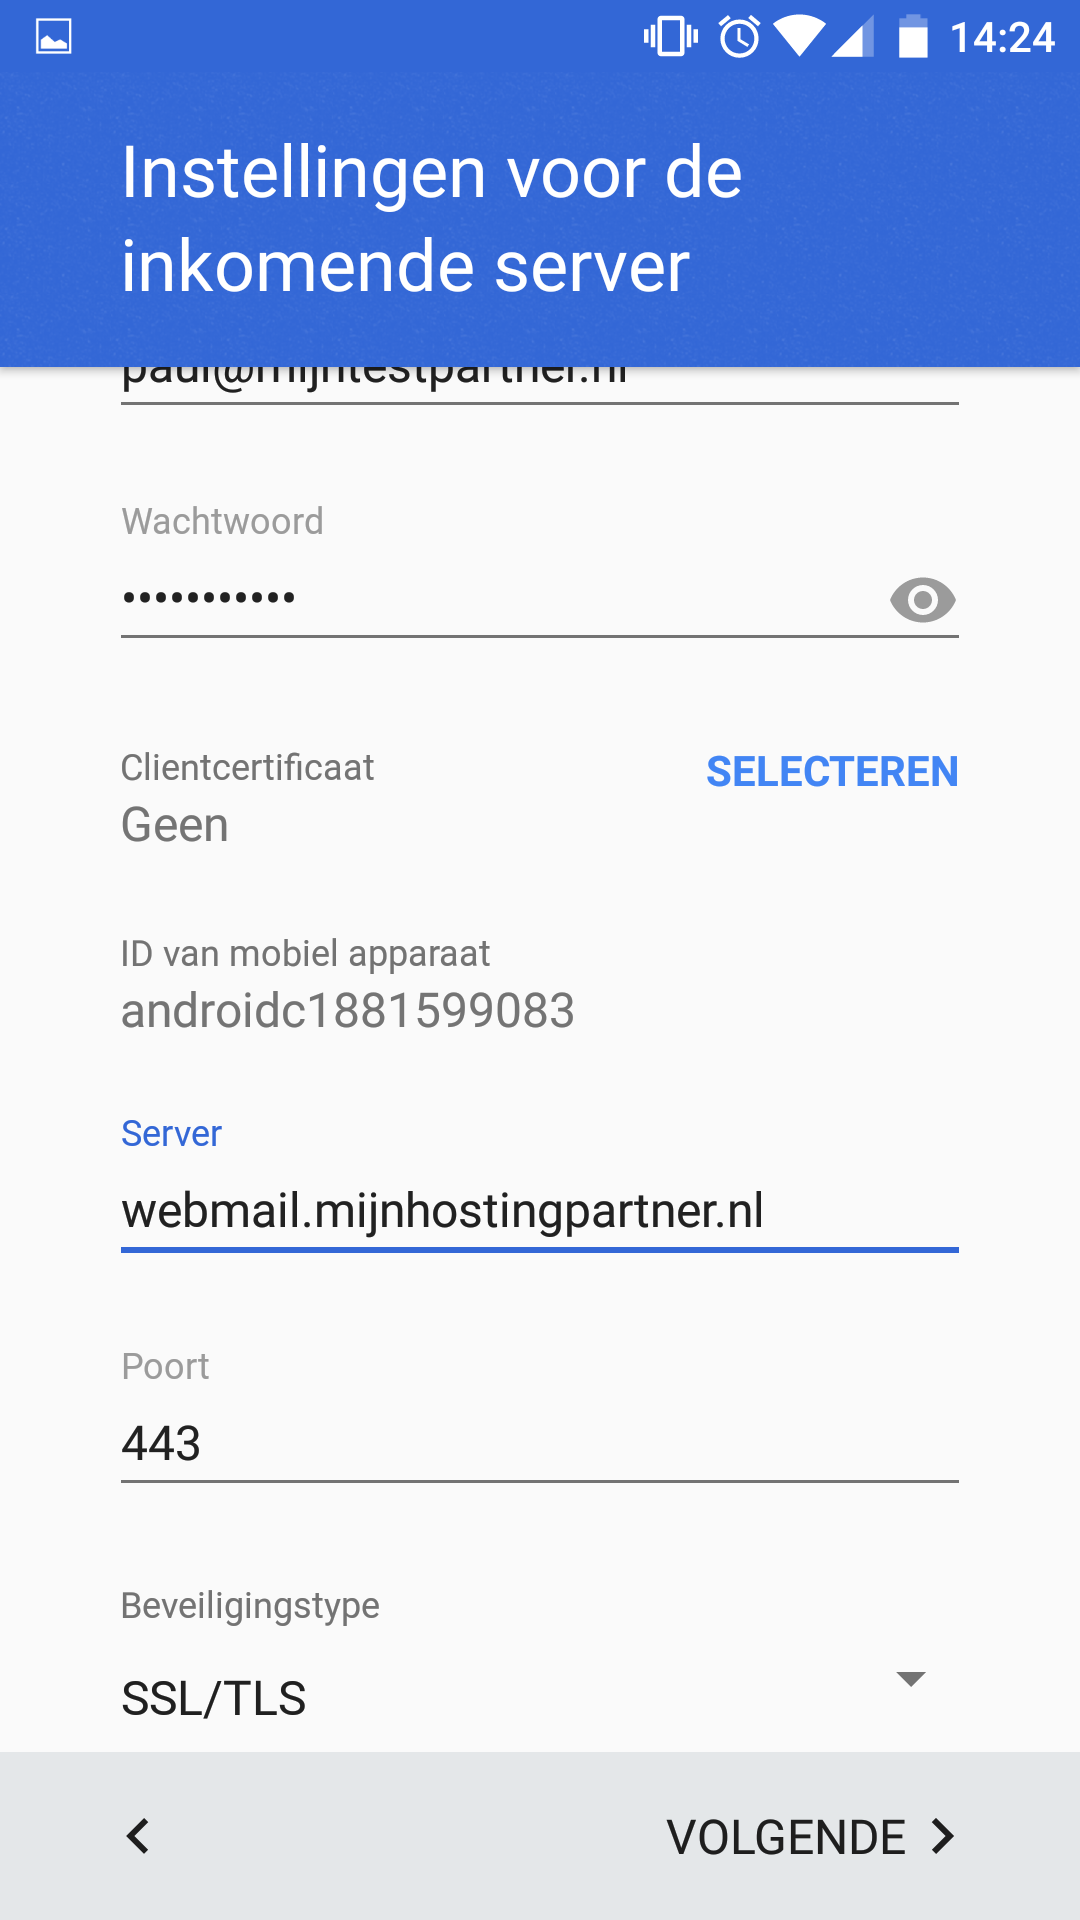
Here you specify the following data.
Server:in any case: webmail.mijnhostingpartner.nlPort
: 143Security type
: TLS
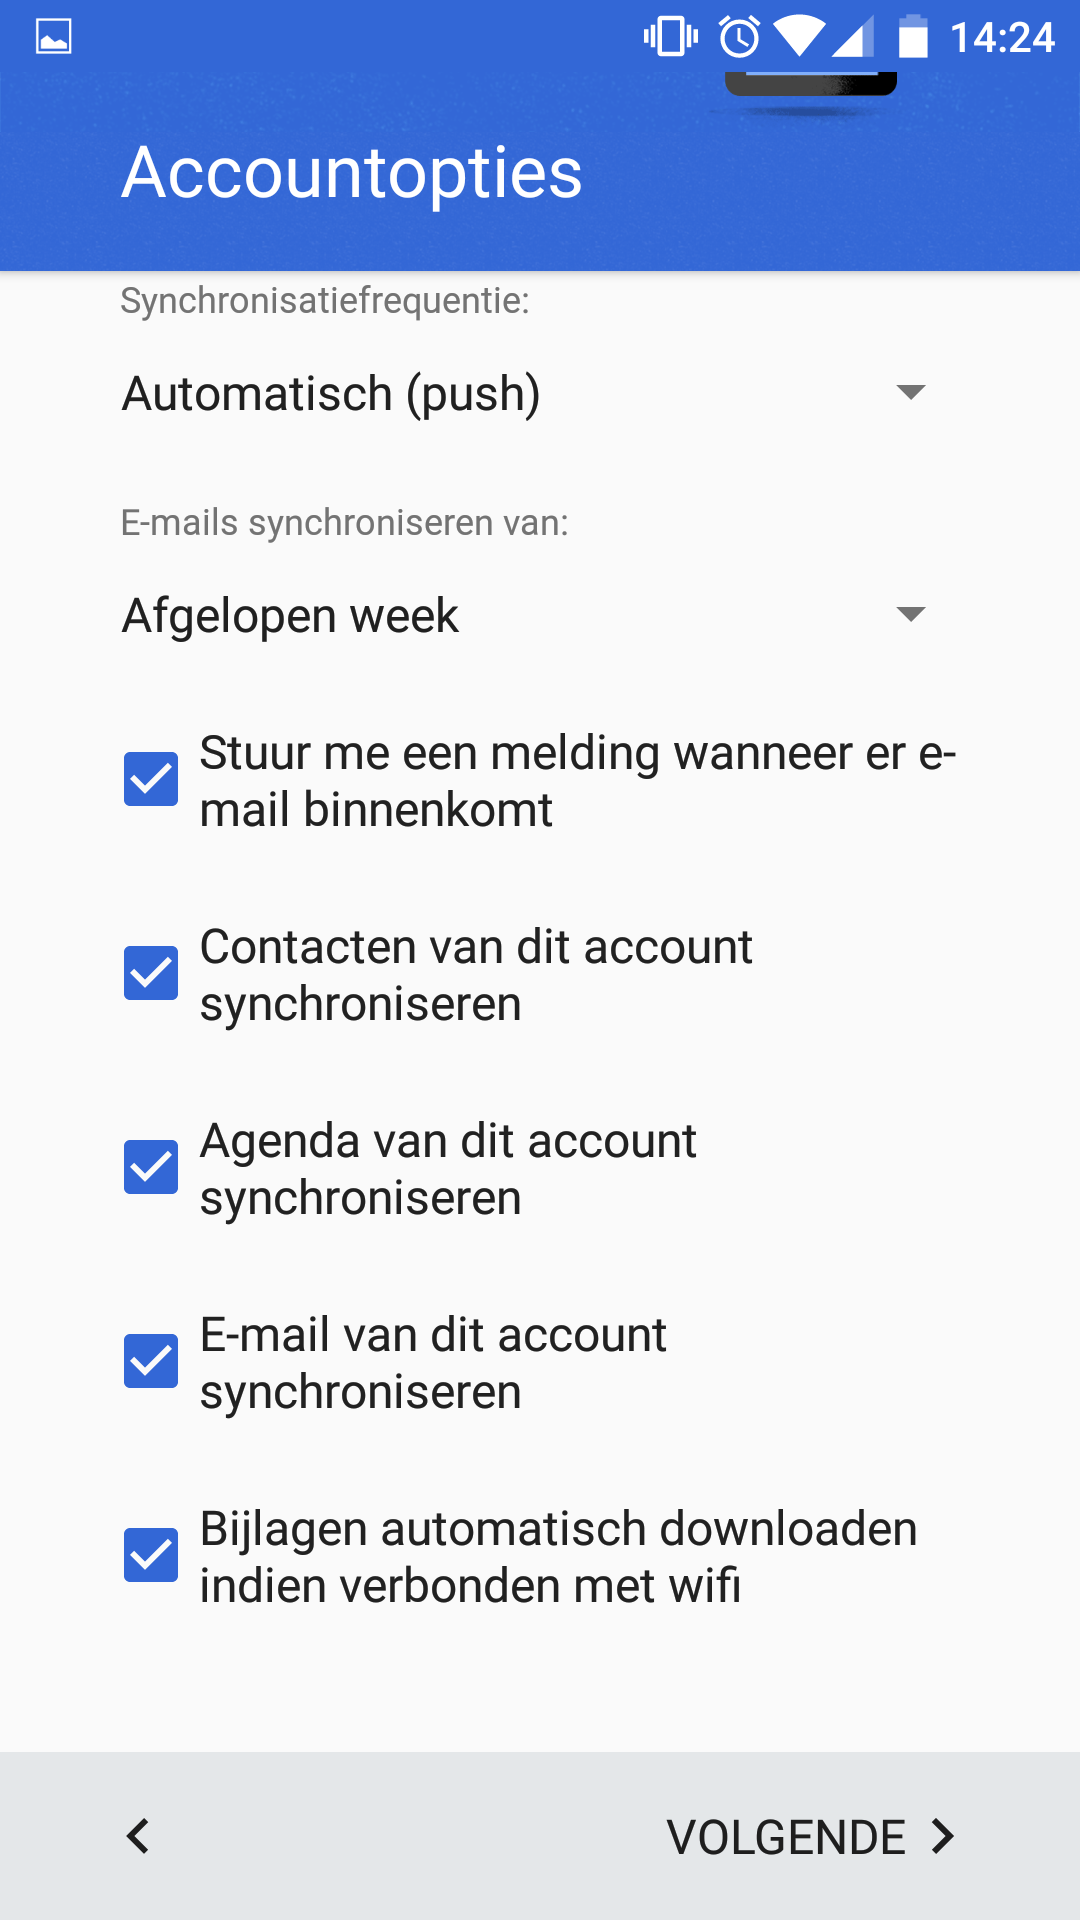
Select the options you want and select next.
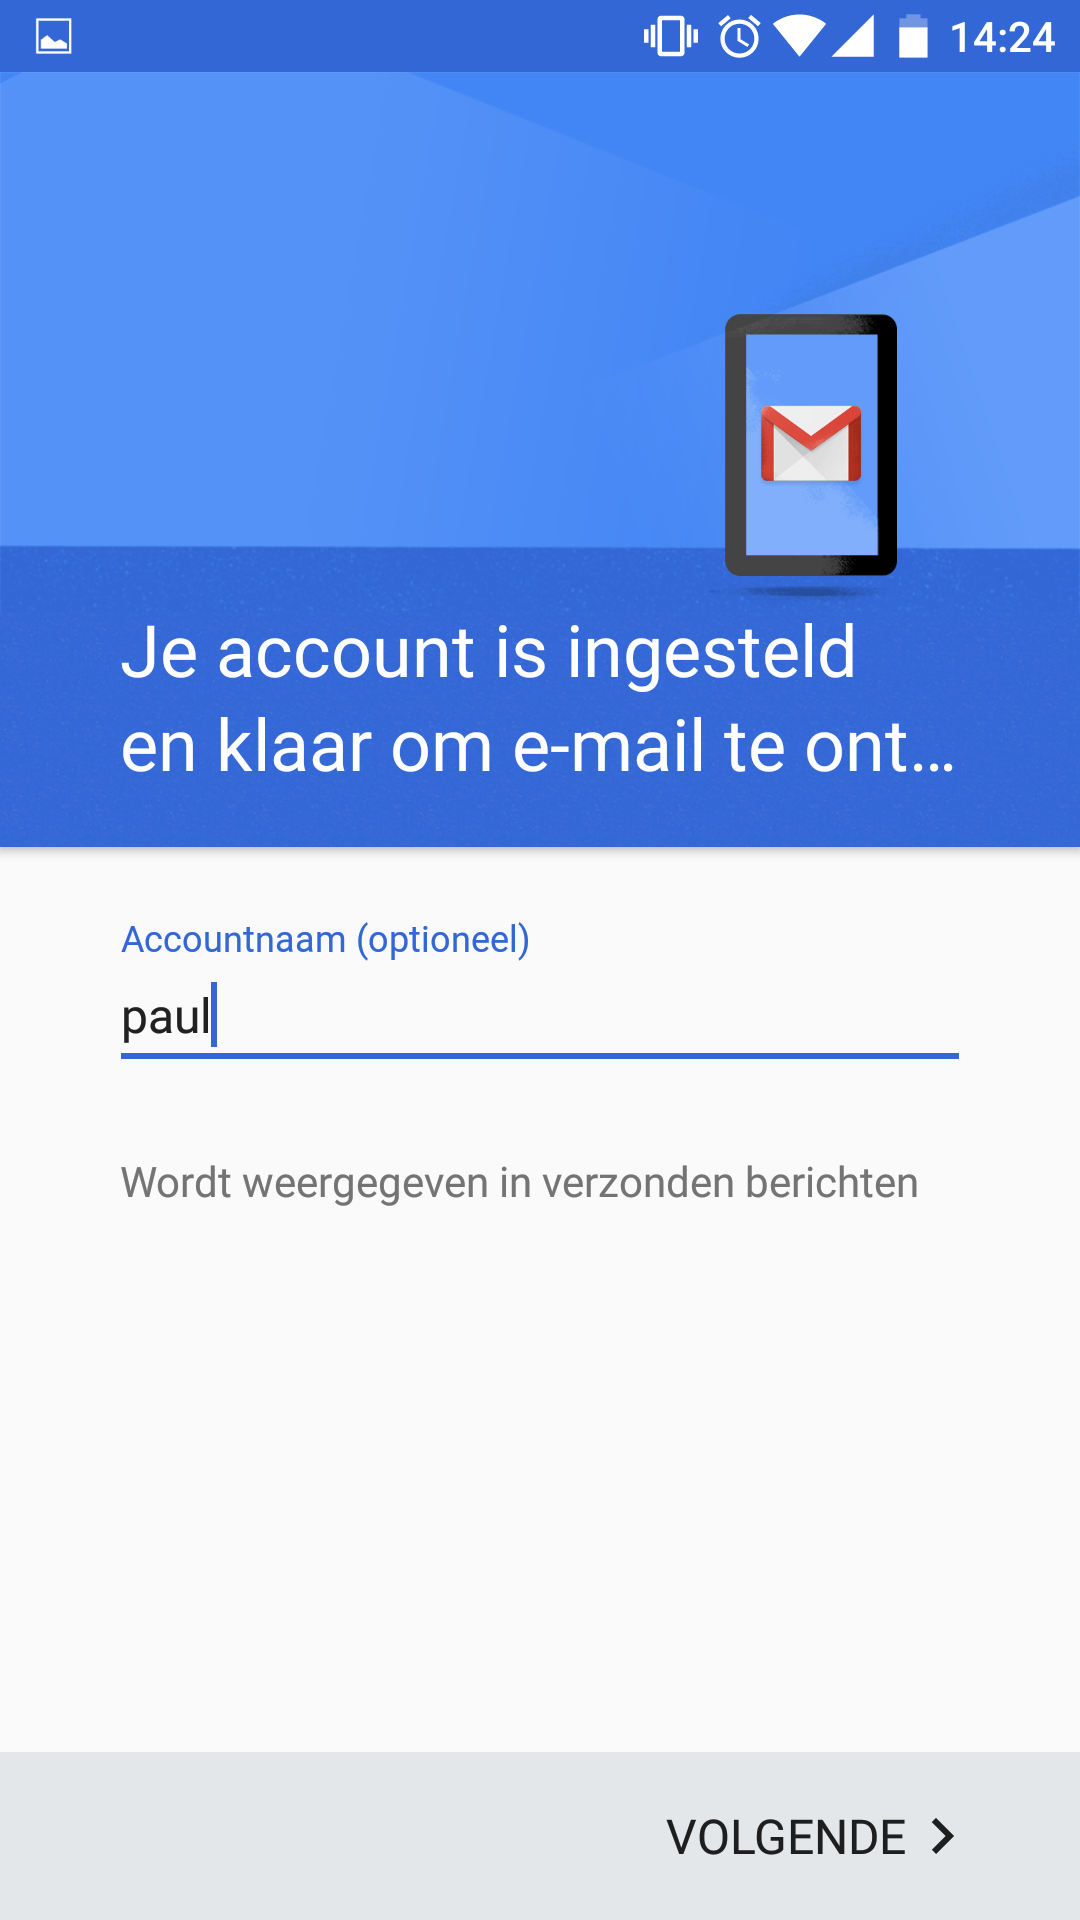
Enter your name or the name of your account.
If you have any questions about the article or if you cannot find the answer you can create a ticket with a screenshot of your settings.
Do you have a tip for the article or the knowledge base? Report it via chat or in a ticket and we will take it into consideration.