
Categories
Setting up Hosted Exchange in Windows 10
This article covers the setup of your hosted exchange email address in Windows 10.The updated app comes with a fresh installation and is similar to the Windows 8 version.
However, some of the steps we covered in the Windows 8 article are no longer correct. Hence the updated version of this article.
When you have purchased the hosted exchange option from us this can only be set up, this is not the same as an IMAP or POP account.
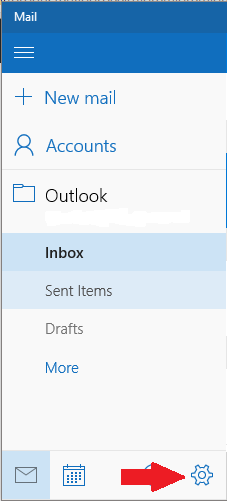
The first step is to open the Mail app, this can be done from the start menu. If you have a fresh installation then this will still be on the top right. If not then you can type in "mail".
The application will then appear.
If you already have a personal mail account then this will not be strange for you.
Then you go to the settings, this is found at the bottom left by clicking the cogwheel.
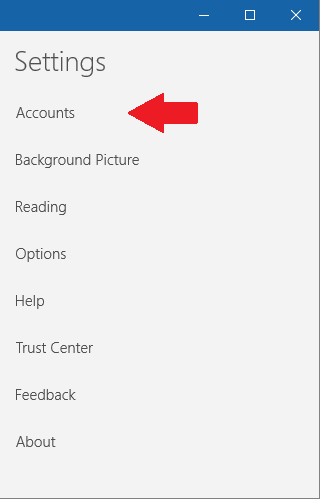
You then press Accounts.
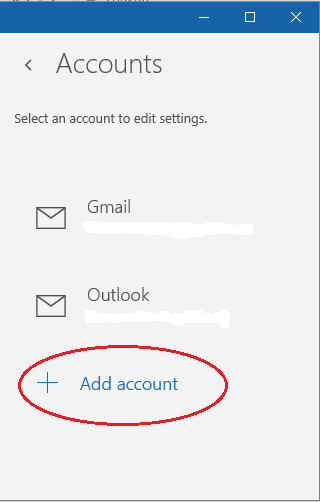
Add an account by clicking on Add Account.
You will get the option to select the type of account, you select the option Exchange, Office 365.
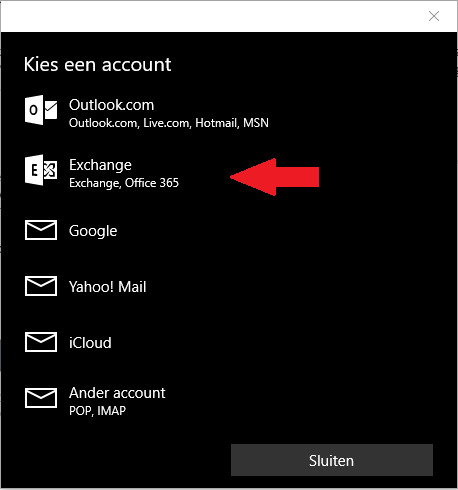
Here you add the account you are going to use. This is the email address you created in the control panel.
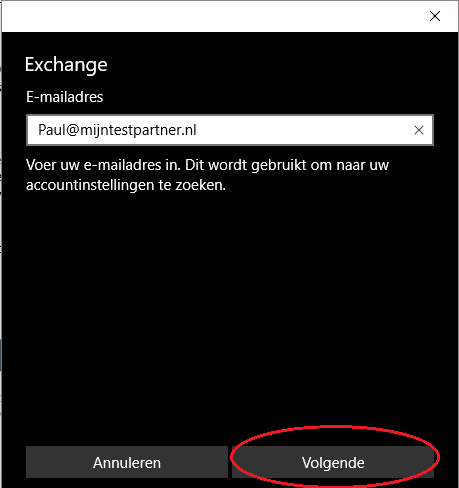
Once you have pressed logon it will take some time before the next screen appears. This depends on your internet connection.
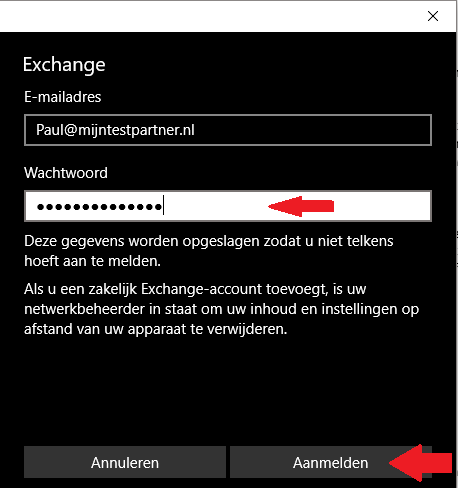
When the next screen appears you can enter the corresponding password. Do you want to check if the password is correct and if you can log in with the account?
Then you can do this on the following link:
owa.zeptor.eu then
press Login again .
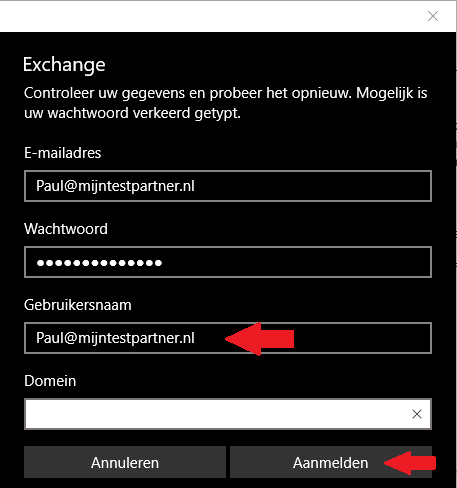
In the next screen you will see a message that the login process failed, you can change the username tothe
full email address and then click Login again.
The domain can be left blank.
After this there will be another error message, here you click on Advanced
.
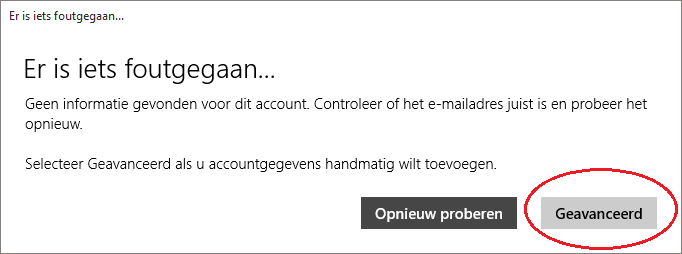
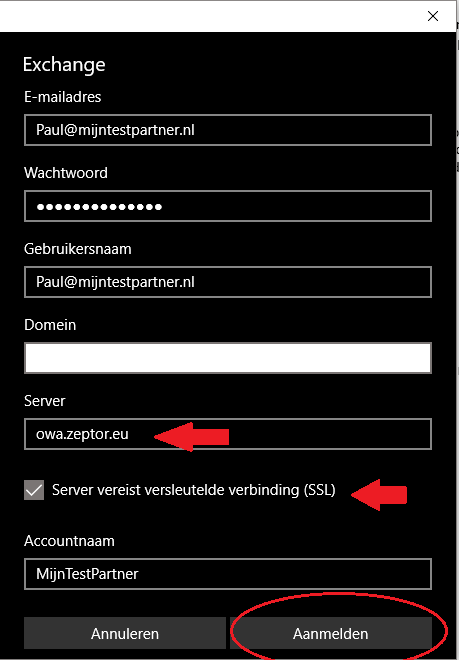
In the last screen you can copy the data that is shown below.
With of course the adjustments of your own mail account.
The most important thing in this screen is to fill in the server address correctly. This is exactly as shown.
owa.zeptor.eu
_/ Server requires encrypted connection (SSL) (Checked)
Then you can give the account a name that is easy to recognize.
You can then press Login again, your account is now active.
If you have any questions or if you are unsuccessful in configuring your mail?
Then you can create a ticket in the customer panel with screenshots of your settings. We will then check this for you.
You can also check if one of our colleagues is present at the chat.
Keywords: hosted exchance exchange ex change mail setup setup email windows windows 10