
Categories
Setting up Hosted Exchange in Outlook 2016
To set up your Hosted Exchange within your Outlook 2016, you can perform the following steps.Step 1, Check your credentials.
Once the email address has been created you can check it briefly by trying to log in to
https://owa.zeptor.euMocht this does not work then you can change the password in the control panel, this can be converted to a password from the random password generator for example.
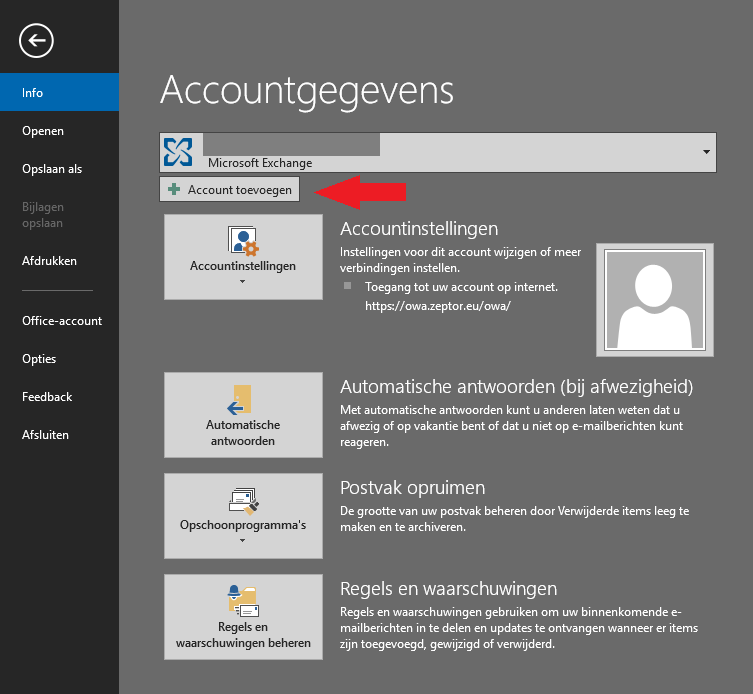
Step 2, Start up Outlook.
When you have started Outlook you can add a new account under file. With the first startup of Outlook 2016 you can follow the introduction steps
Step 3, Fill in your data.
For example, you can do this in the following way:
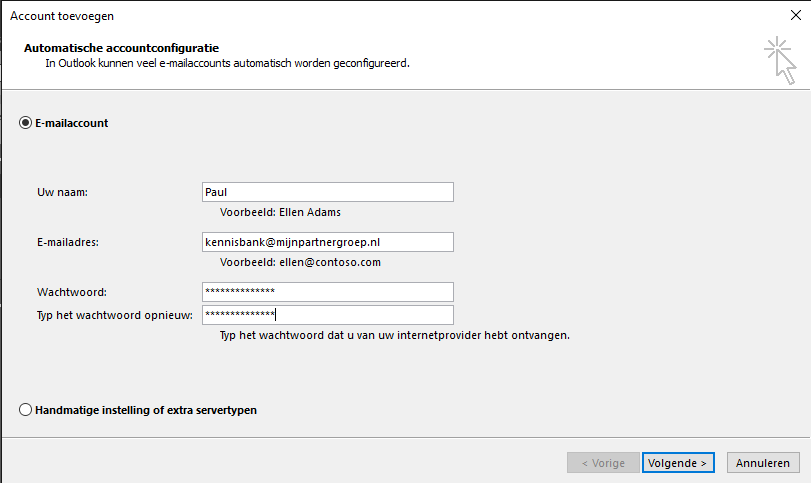
After this, press Next to continue.
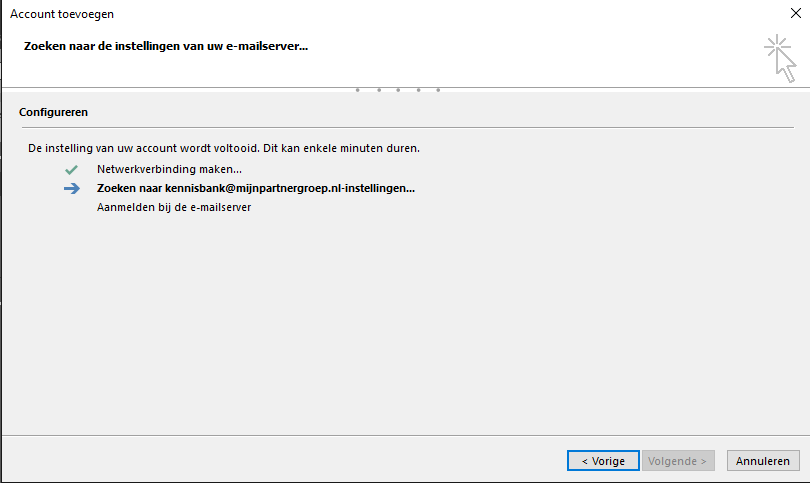
Step 4, Wait for the data to be approved.
This may take some time depending on your local internet connection. During testing for this article we also tried this with a phone line with up to 10 mbit. Before we could go to the next step it took half an hour. Patience is required here.
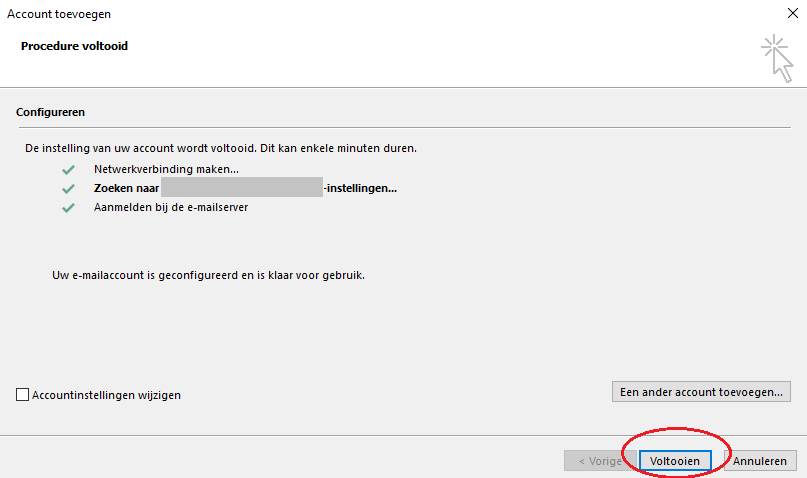
Step 5, Complete the installation.
When step 4 is completed you can click Next on the next screen. After this you restart Outlook. When you start Outlook the next time, you can use your hosted exchange email account.
If you have any further questions, you can always check if someone is present at the online chat.
Or you can create a ticket for this in the customer panel.
Keywords: outlook 2016 setup email mail account user hosted exchange