
Categories
Set up E-Mail - Aqua Mail
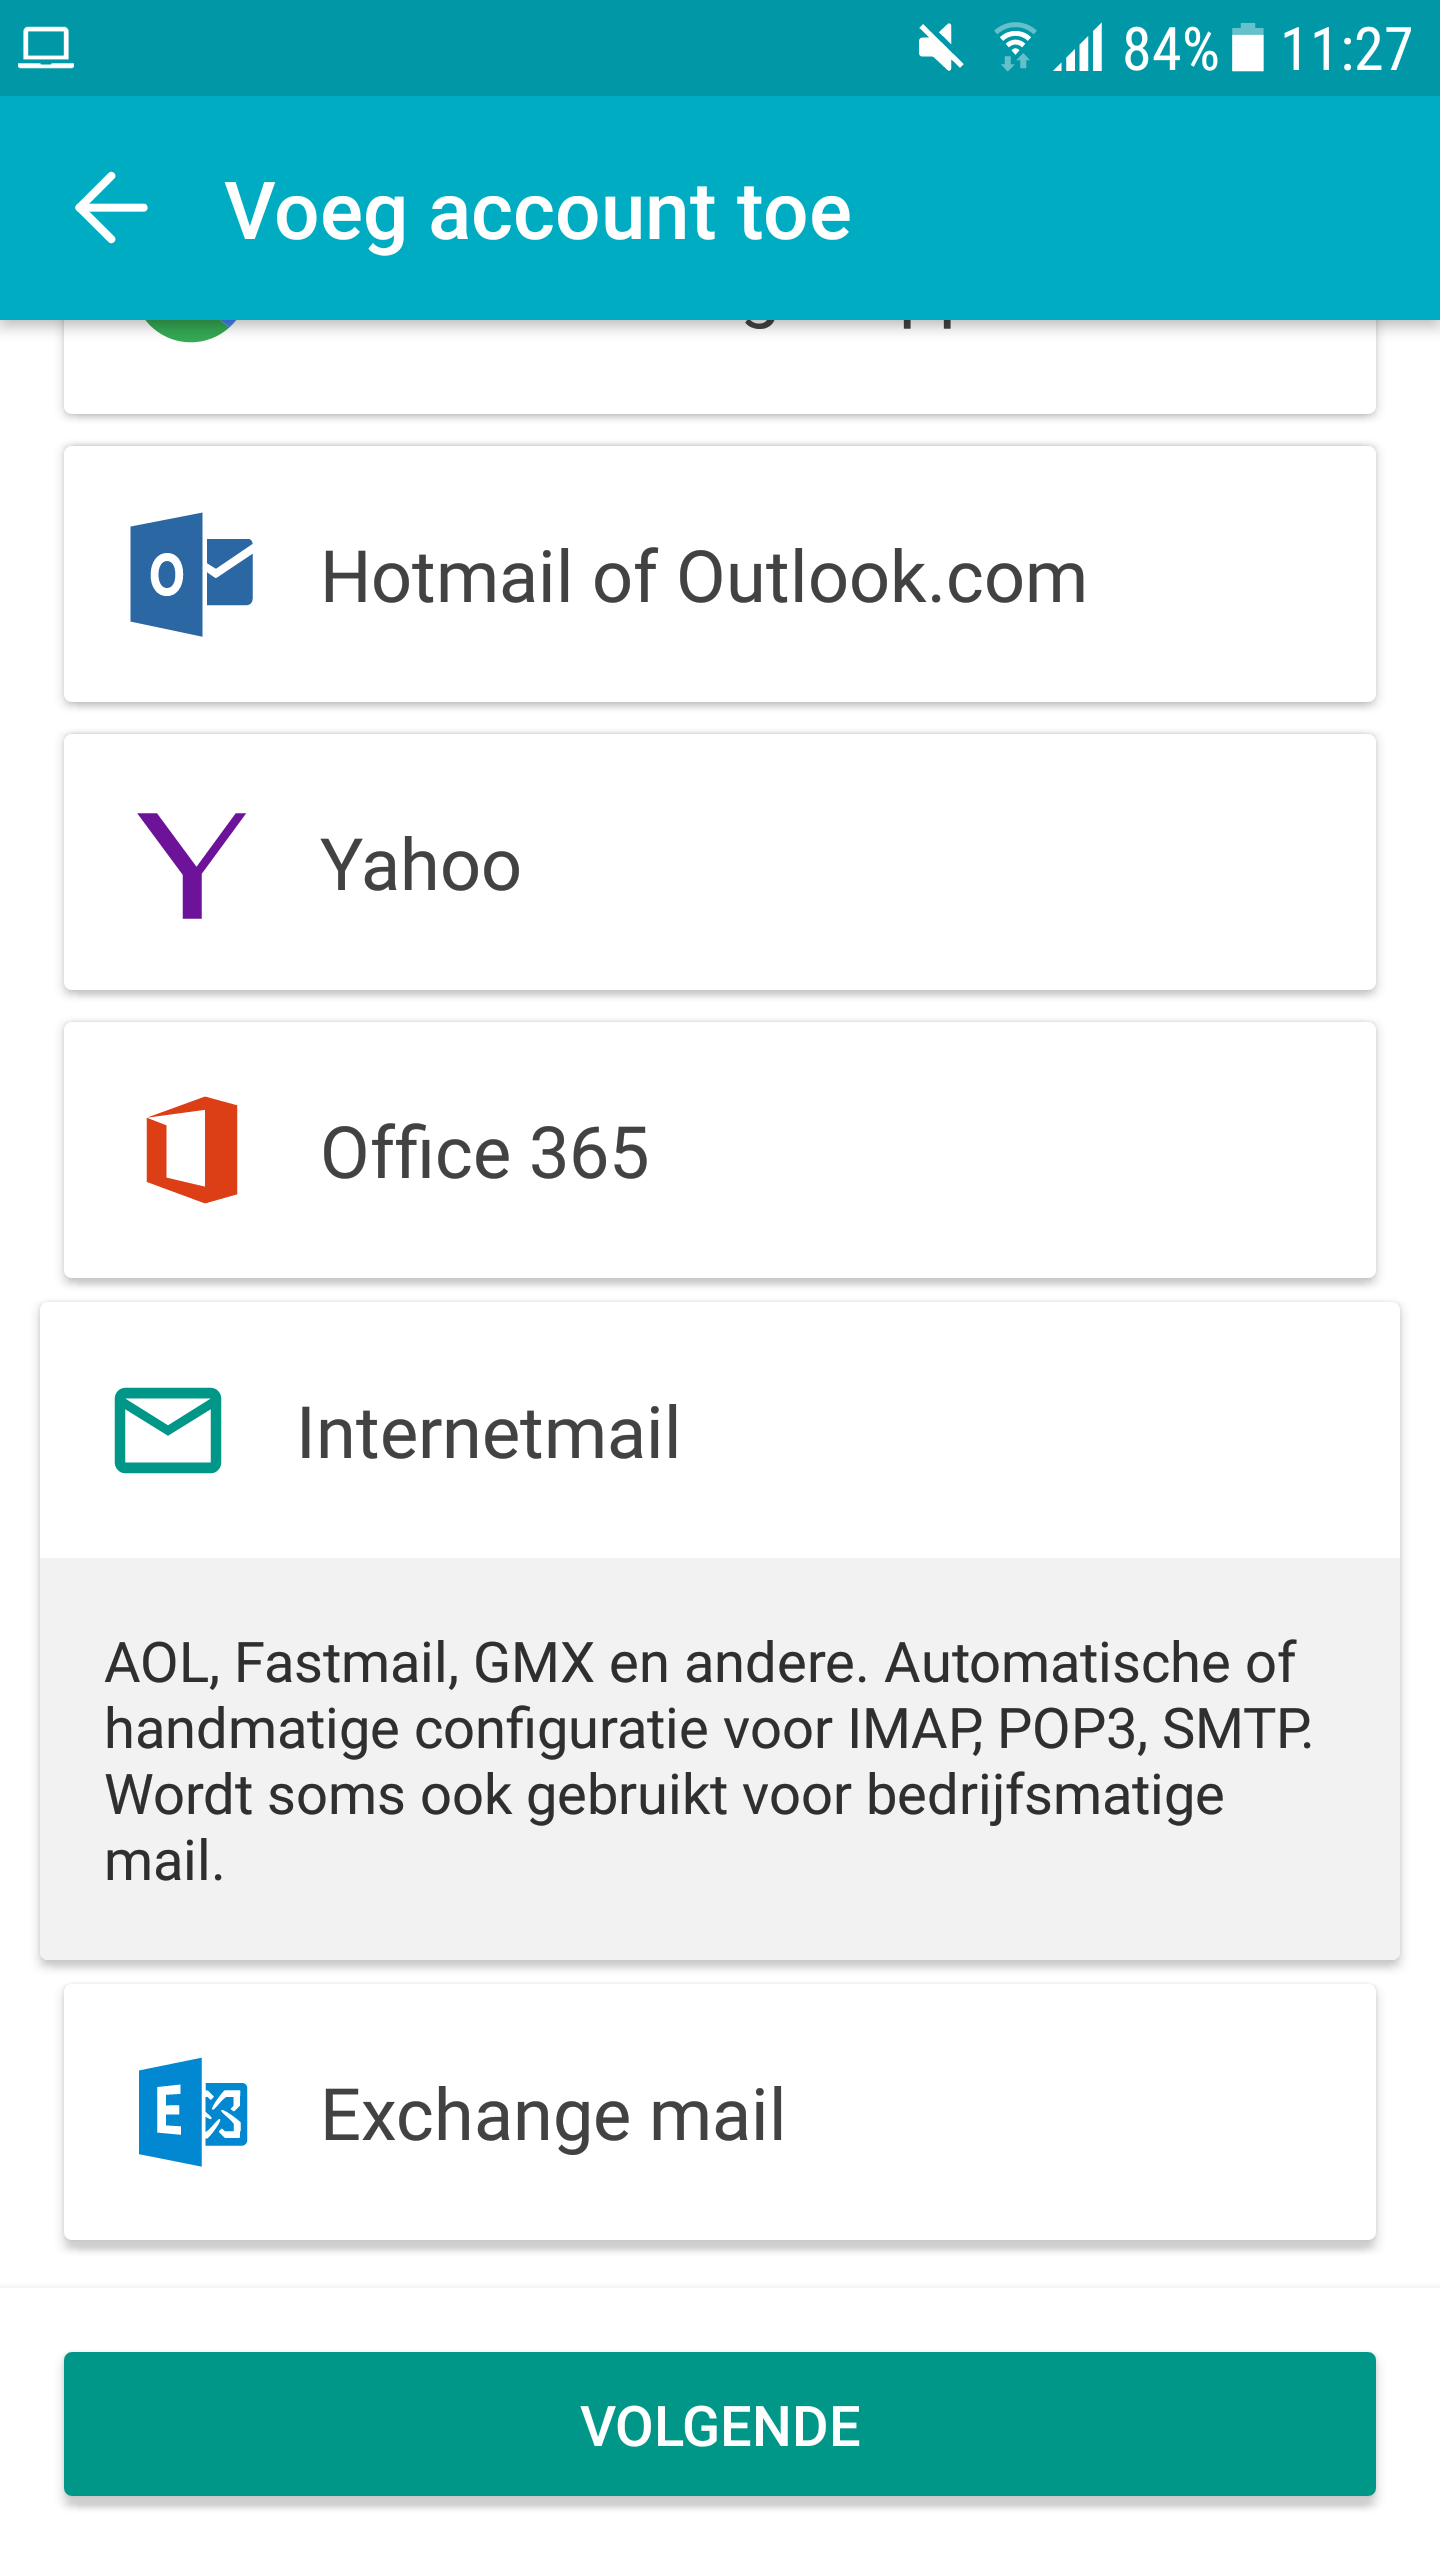
If you want to use Aqua Mail at MijnHostingPartner.nl then follow the steps in this article.After you have installed Aqua Mail and you open the program you will see a screen where you can choose what kind of email you want to use.
1) Choose internet mail.
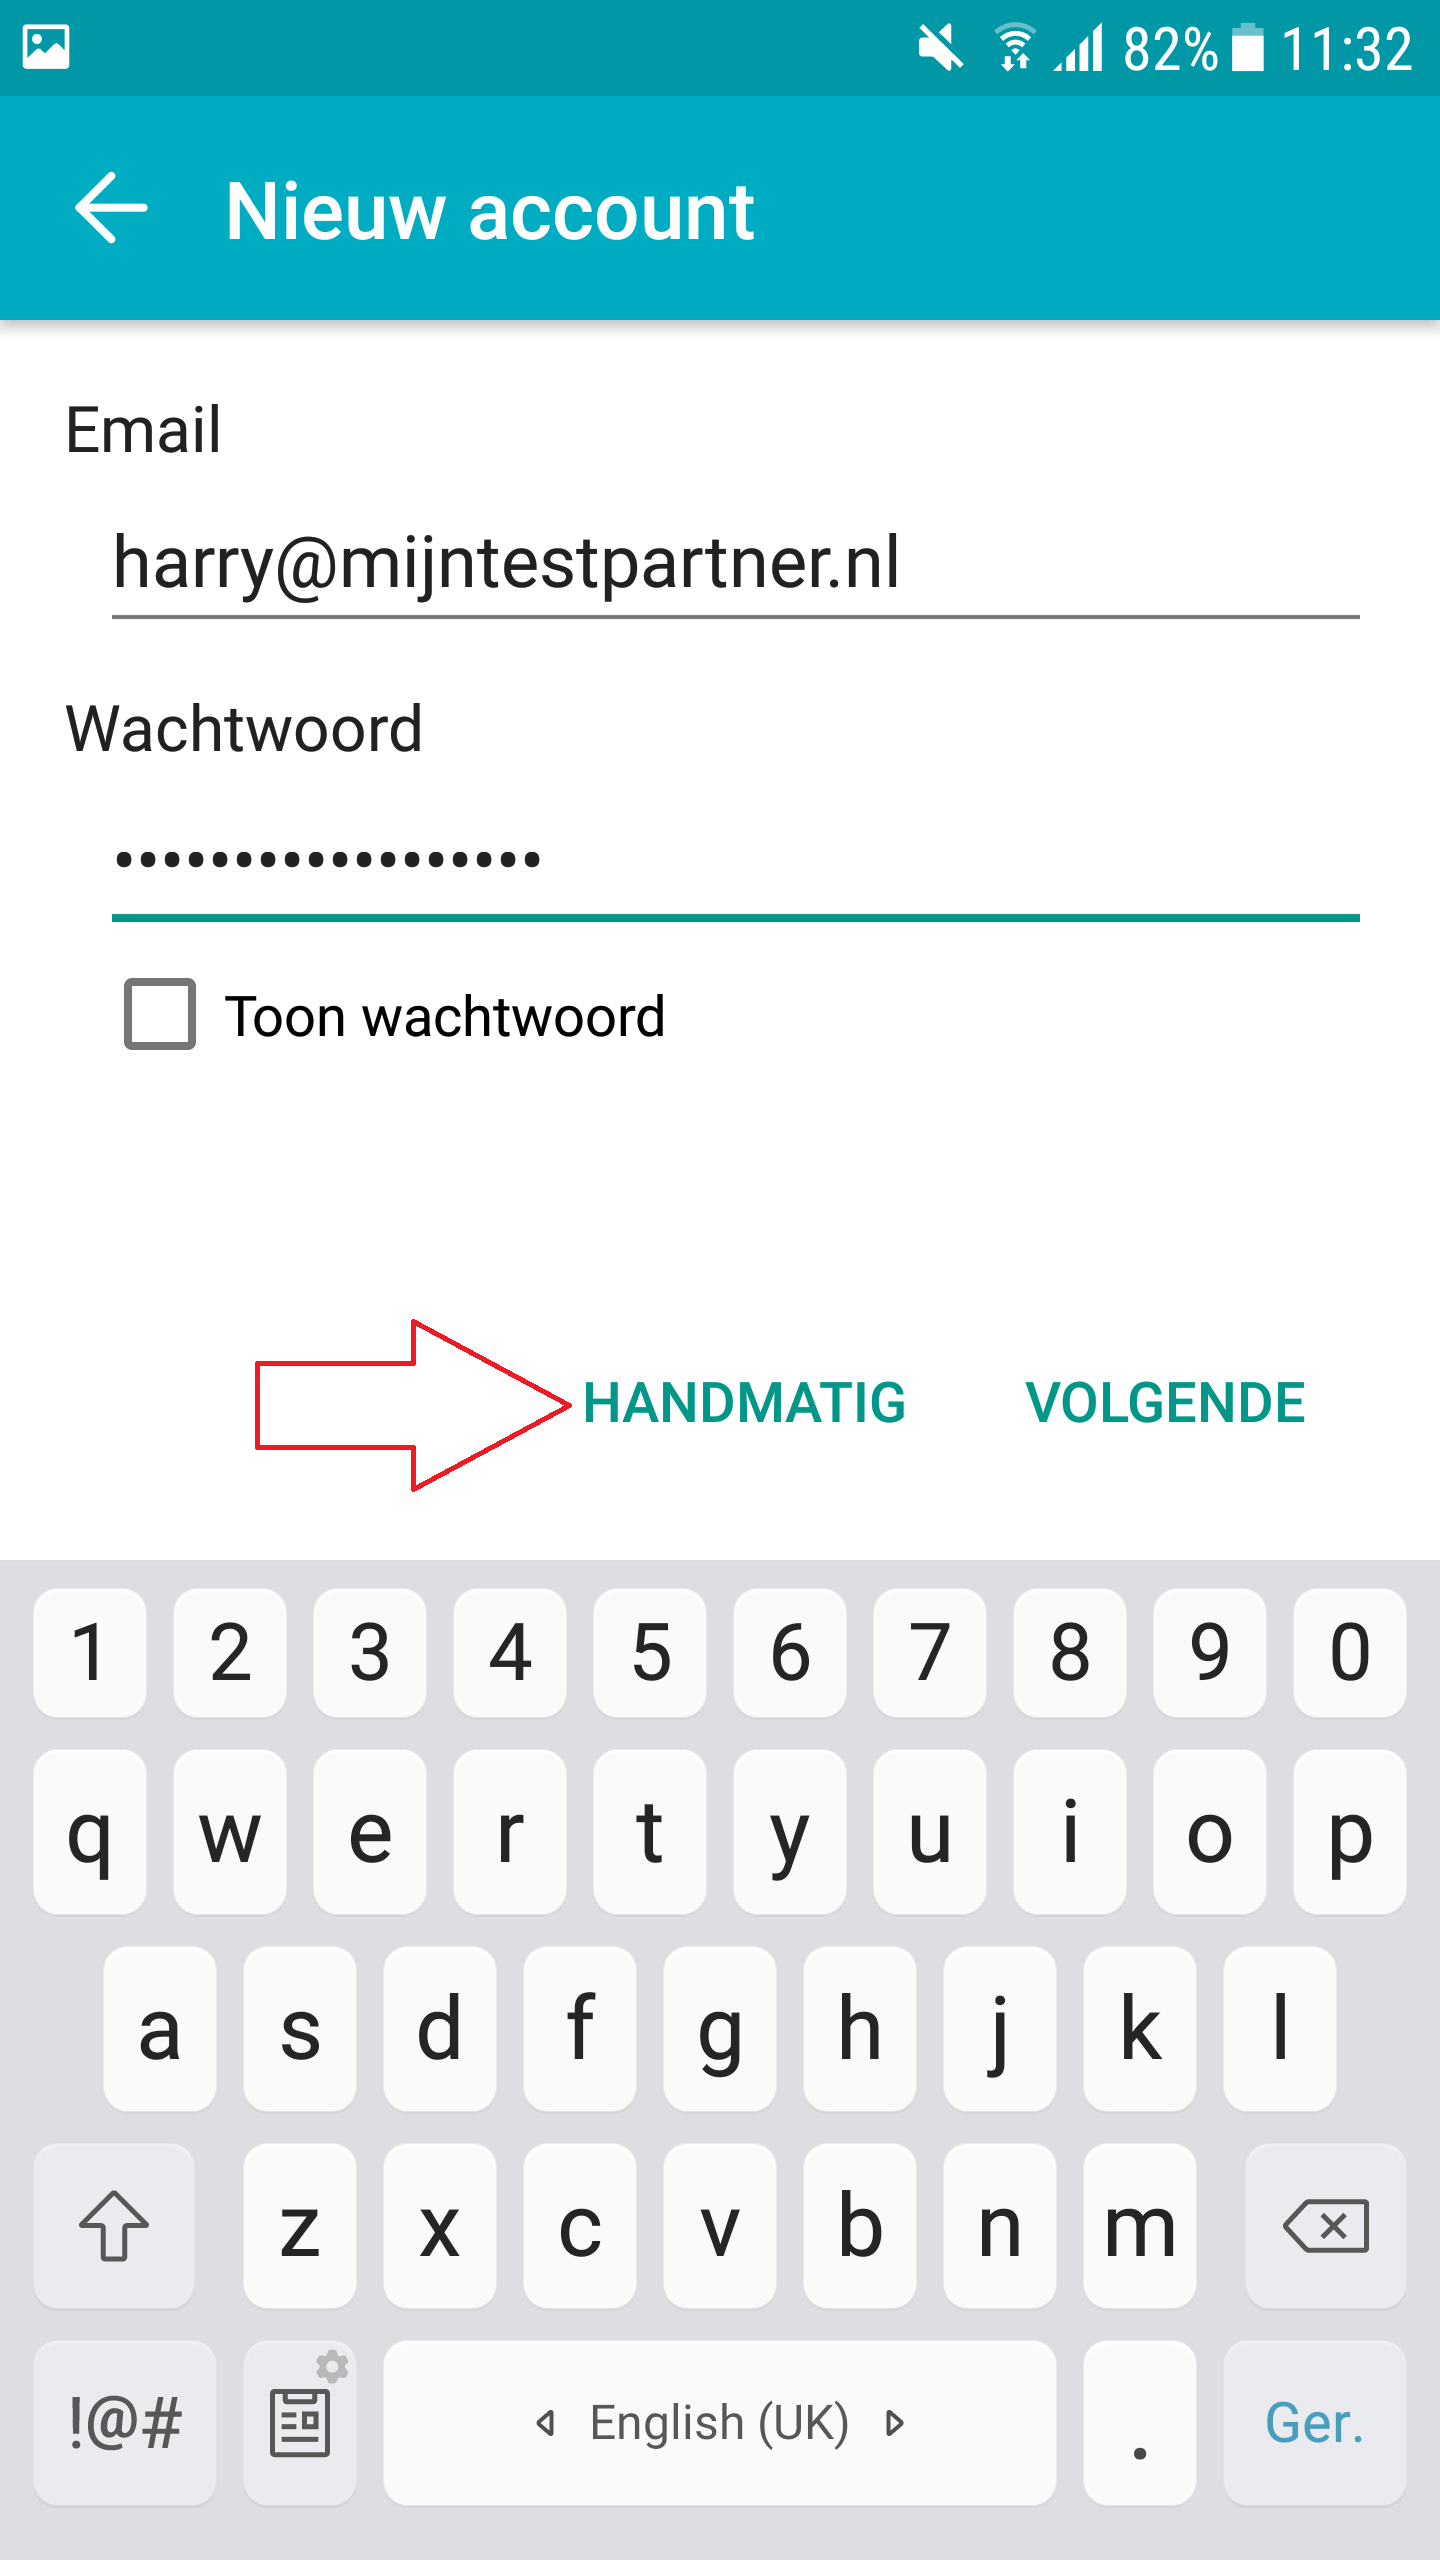
2) Fill in the mail data, if you have not yet created an e-mail address you can do so in the following way.
When you have filled in the mail data, click the manual button.
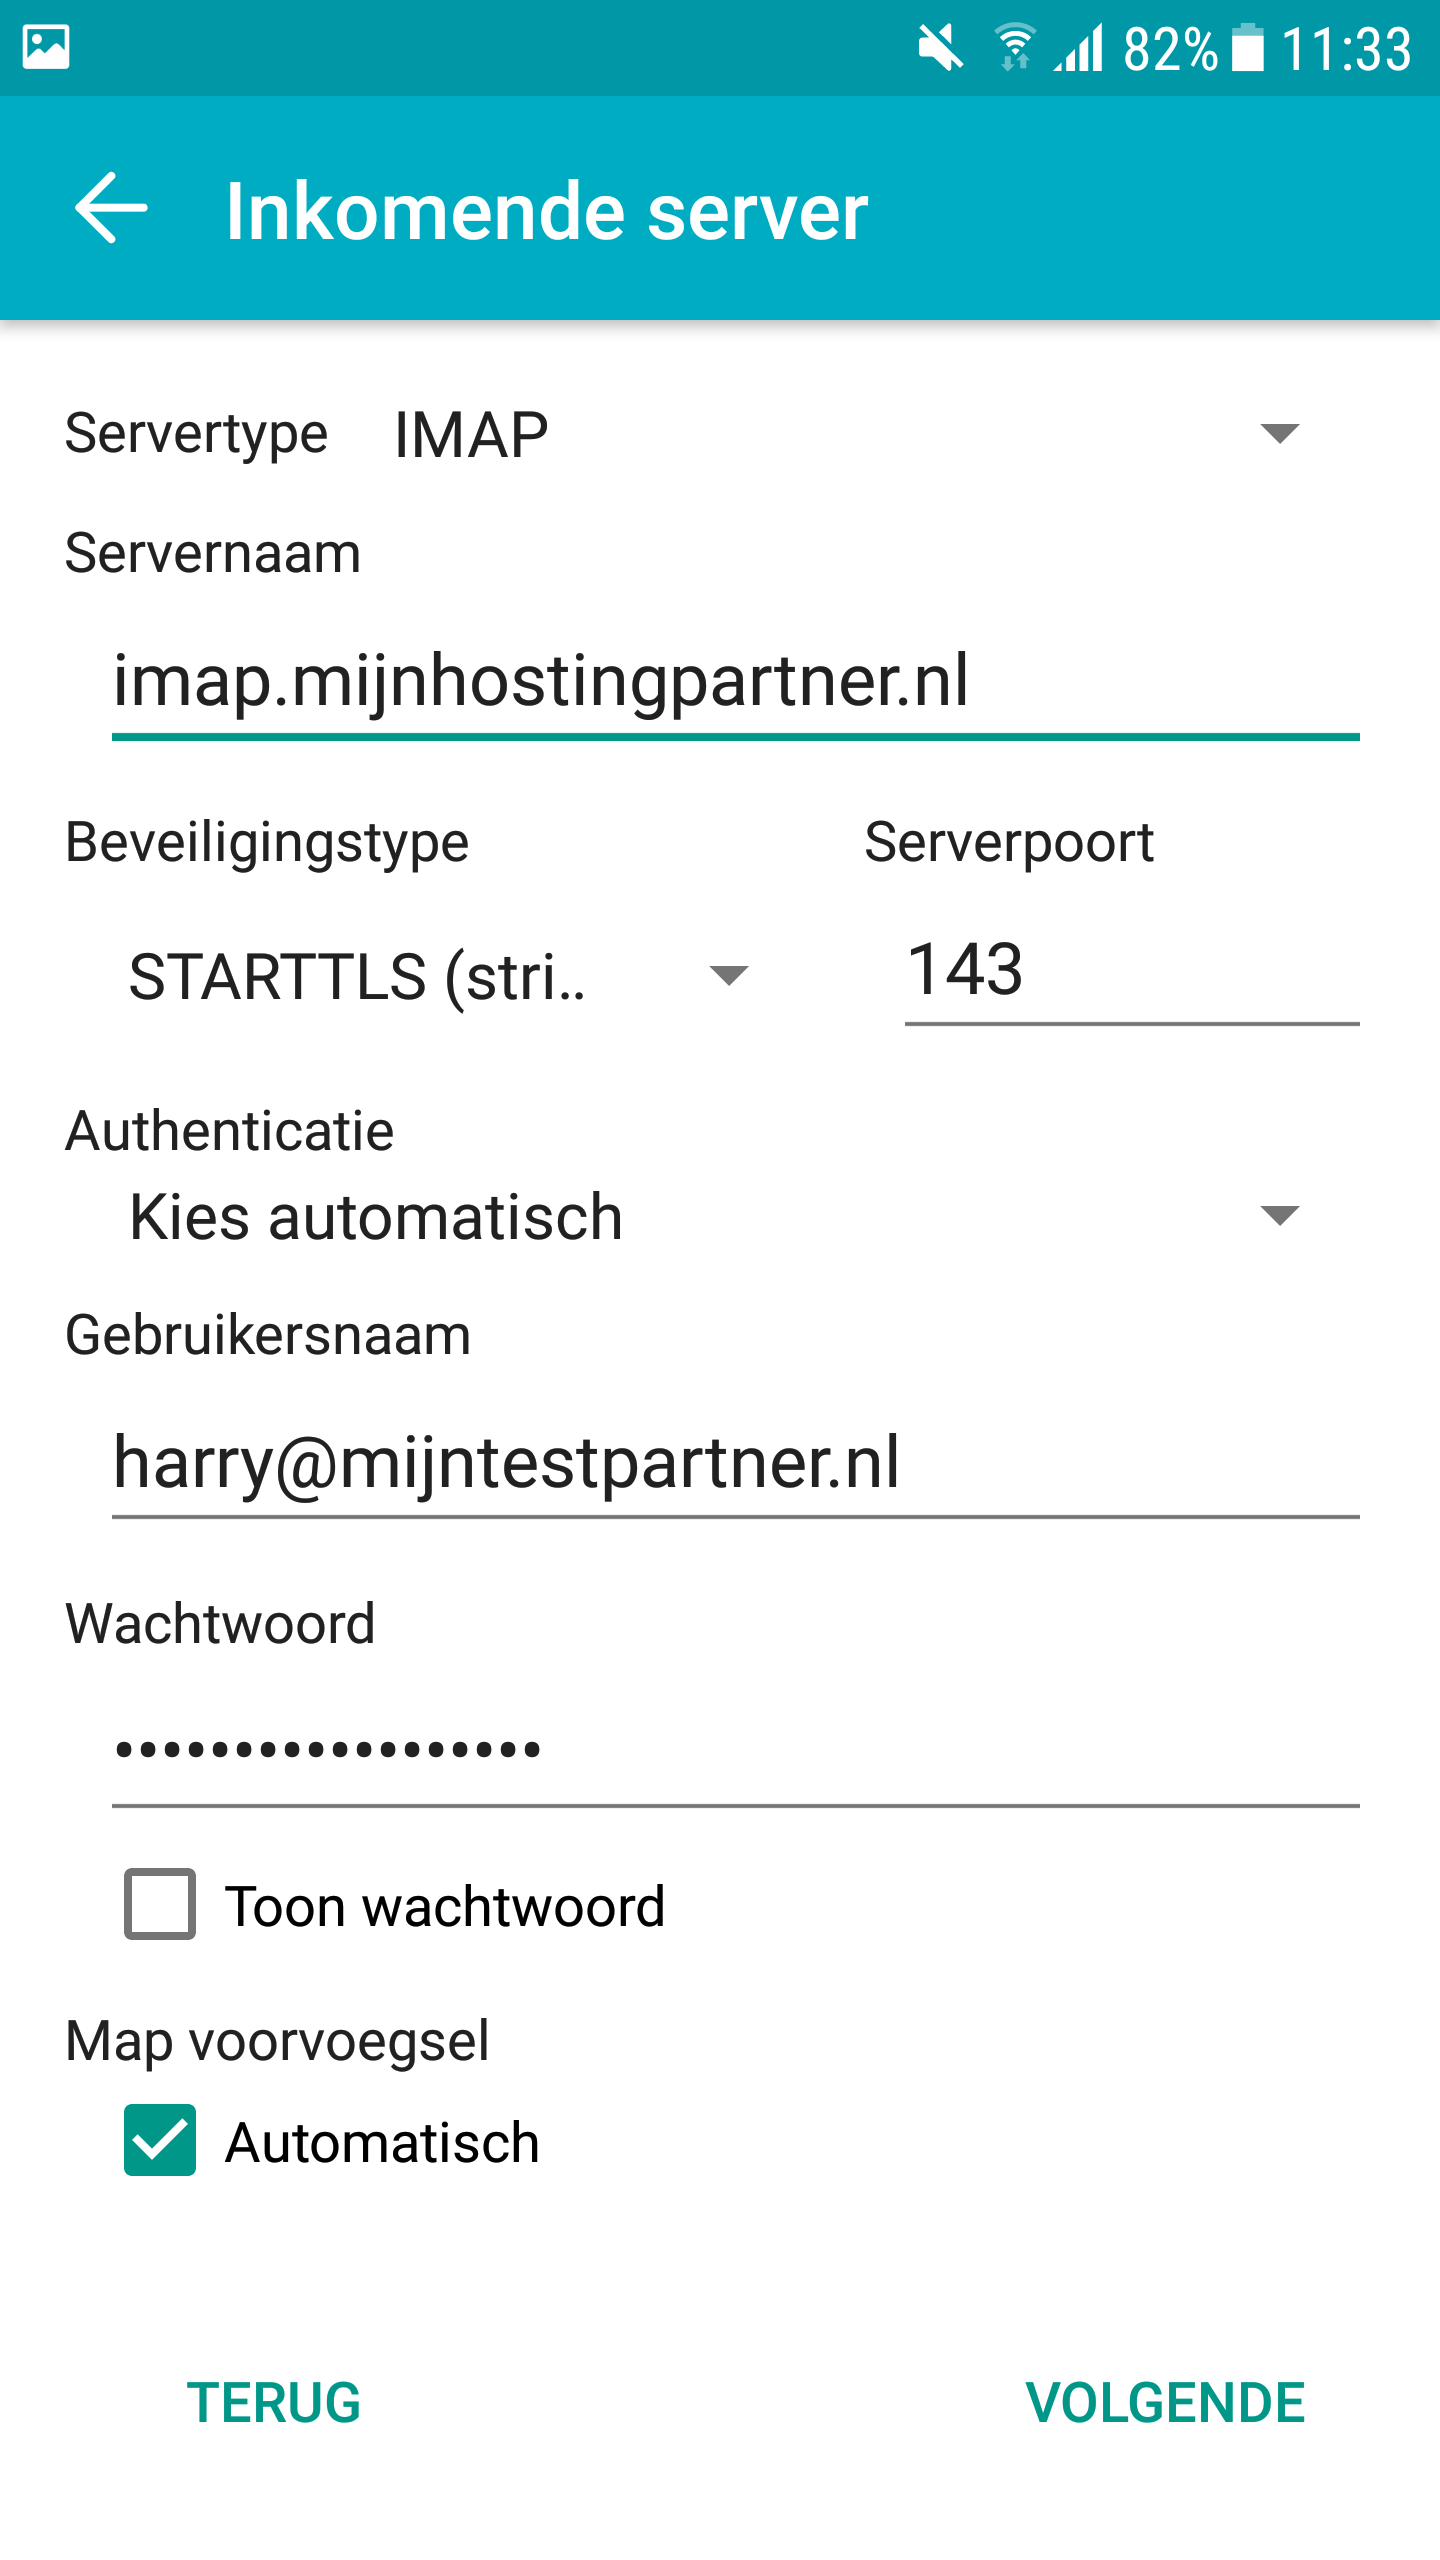
3 ) Next you can configure the incoming mail, you can use the following data for IMAP.
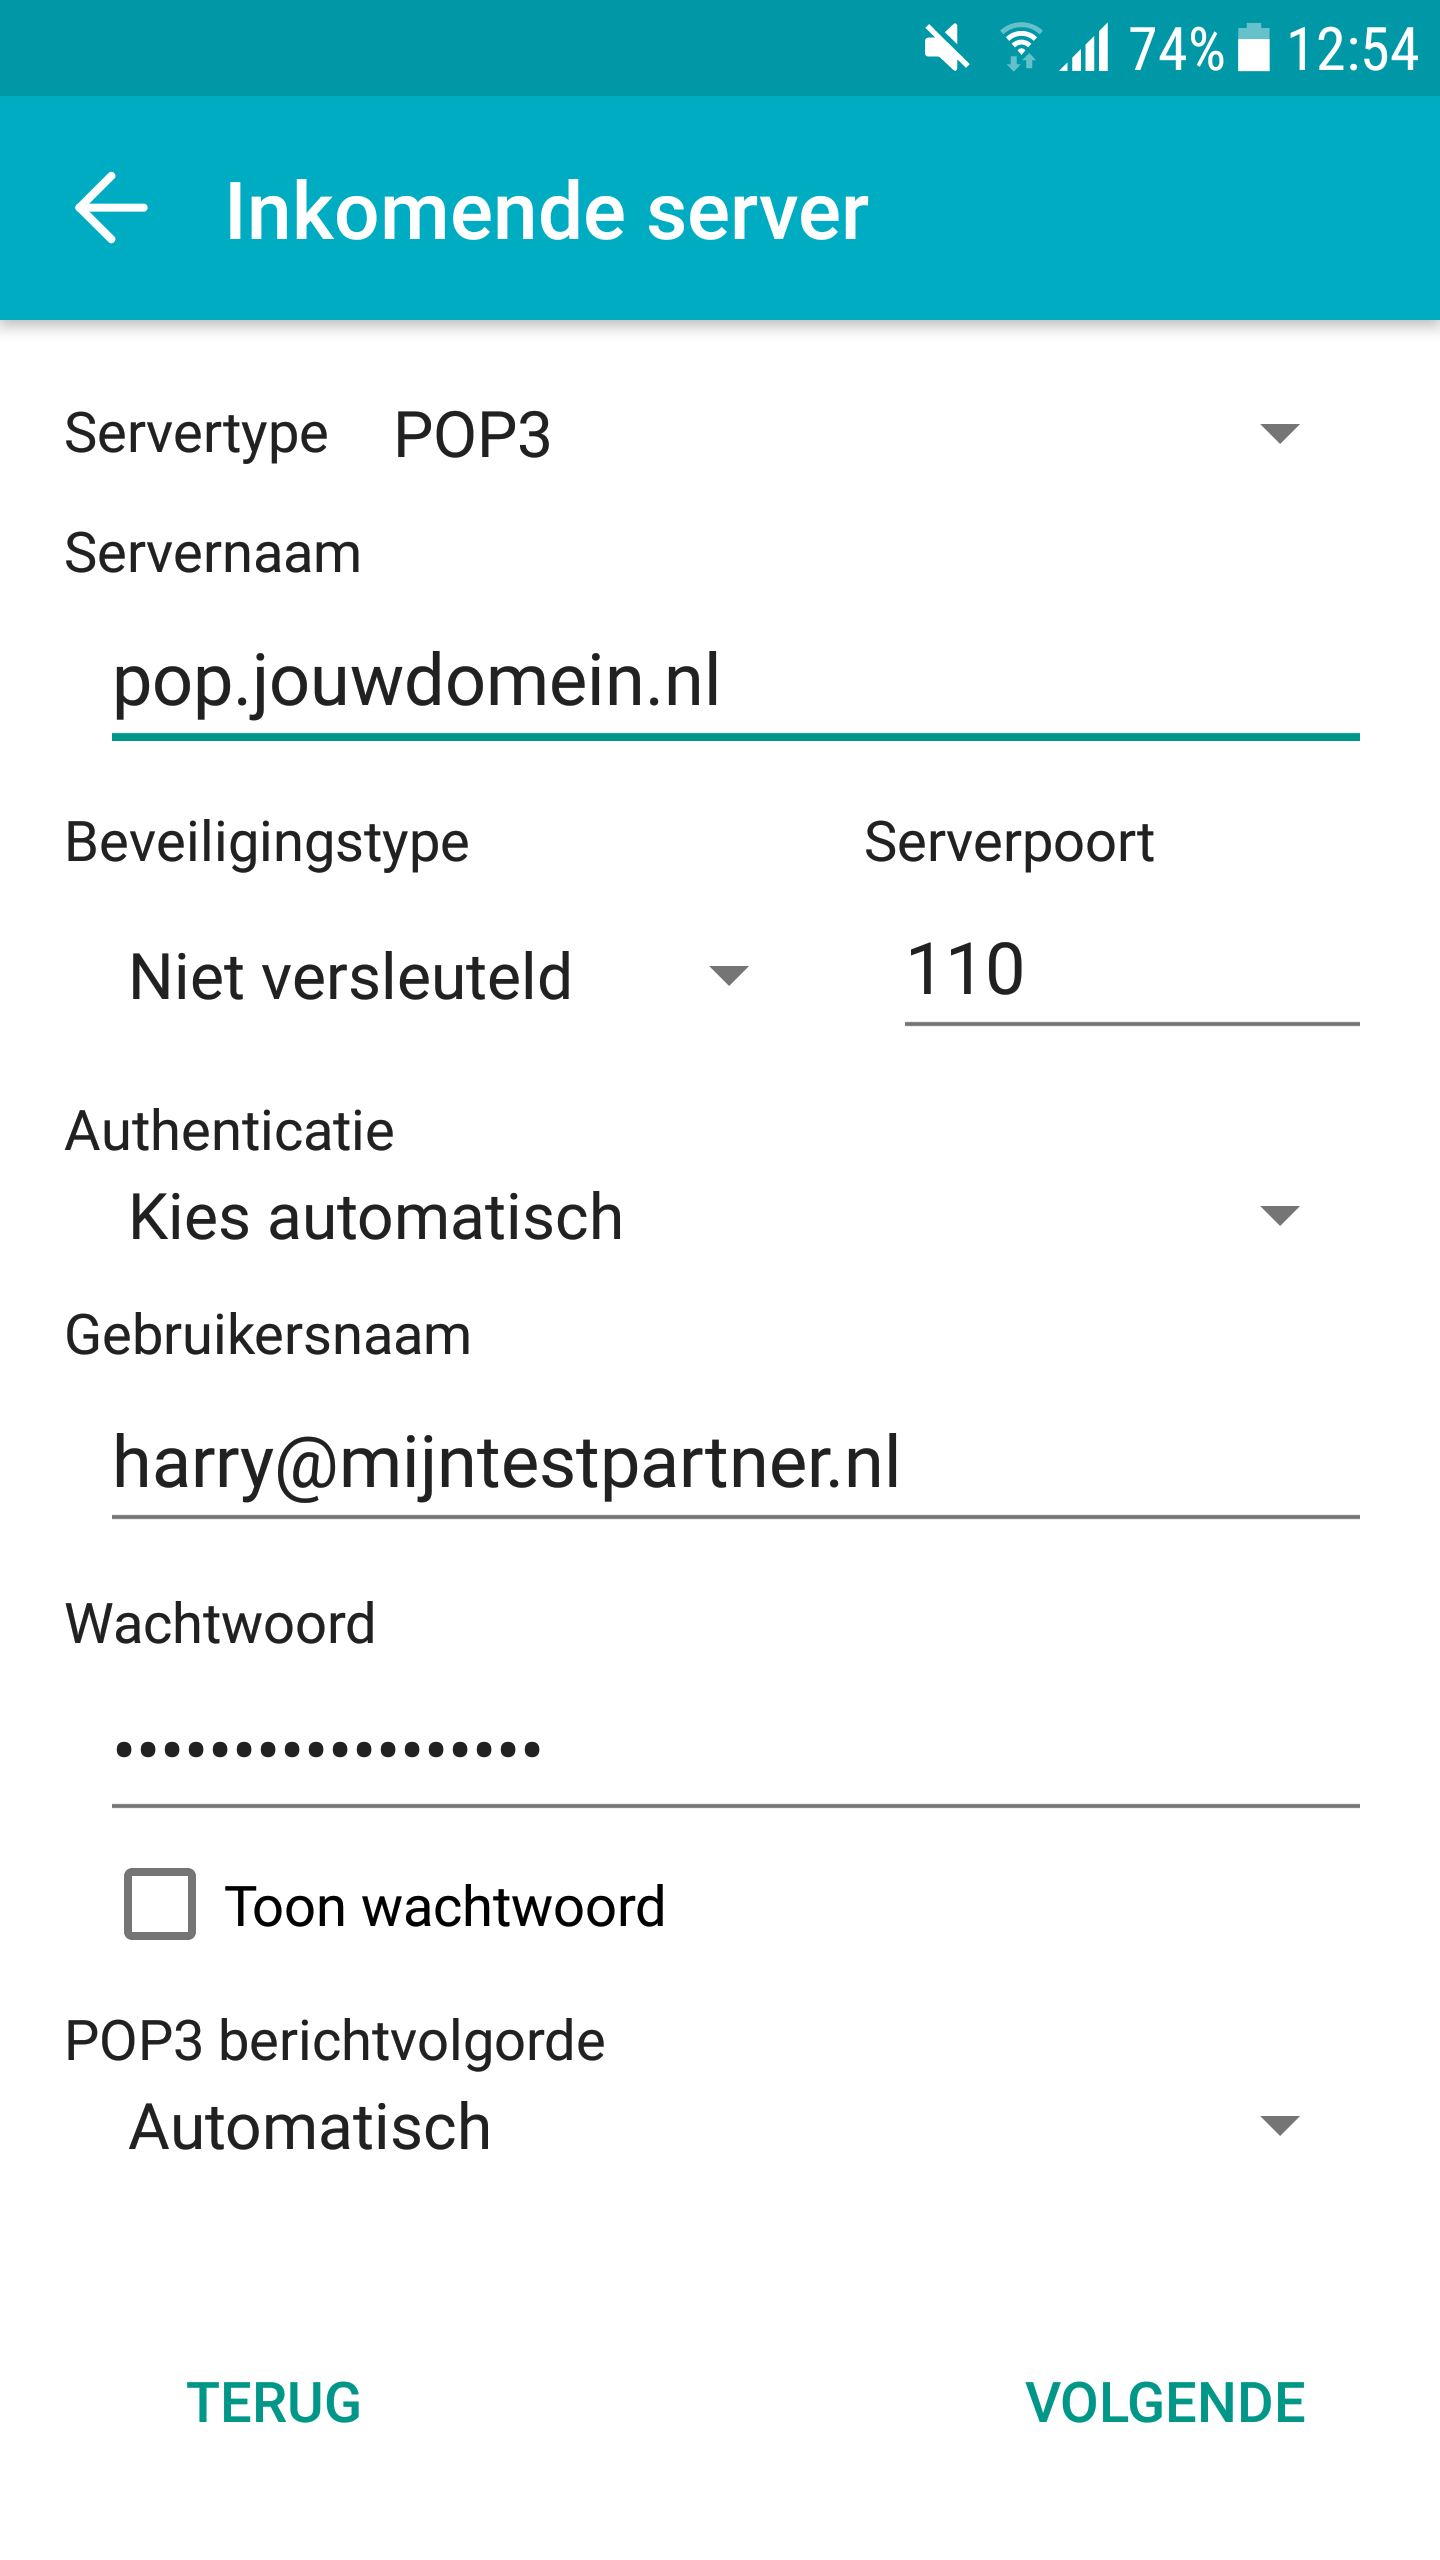
4 ) If you wish to use POP you can use the following information.
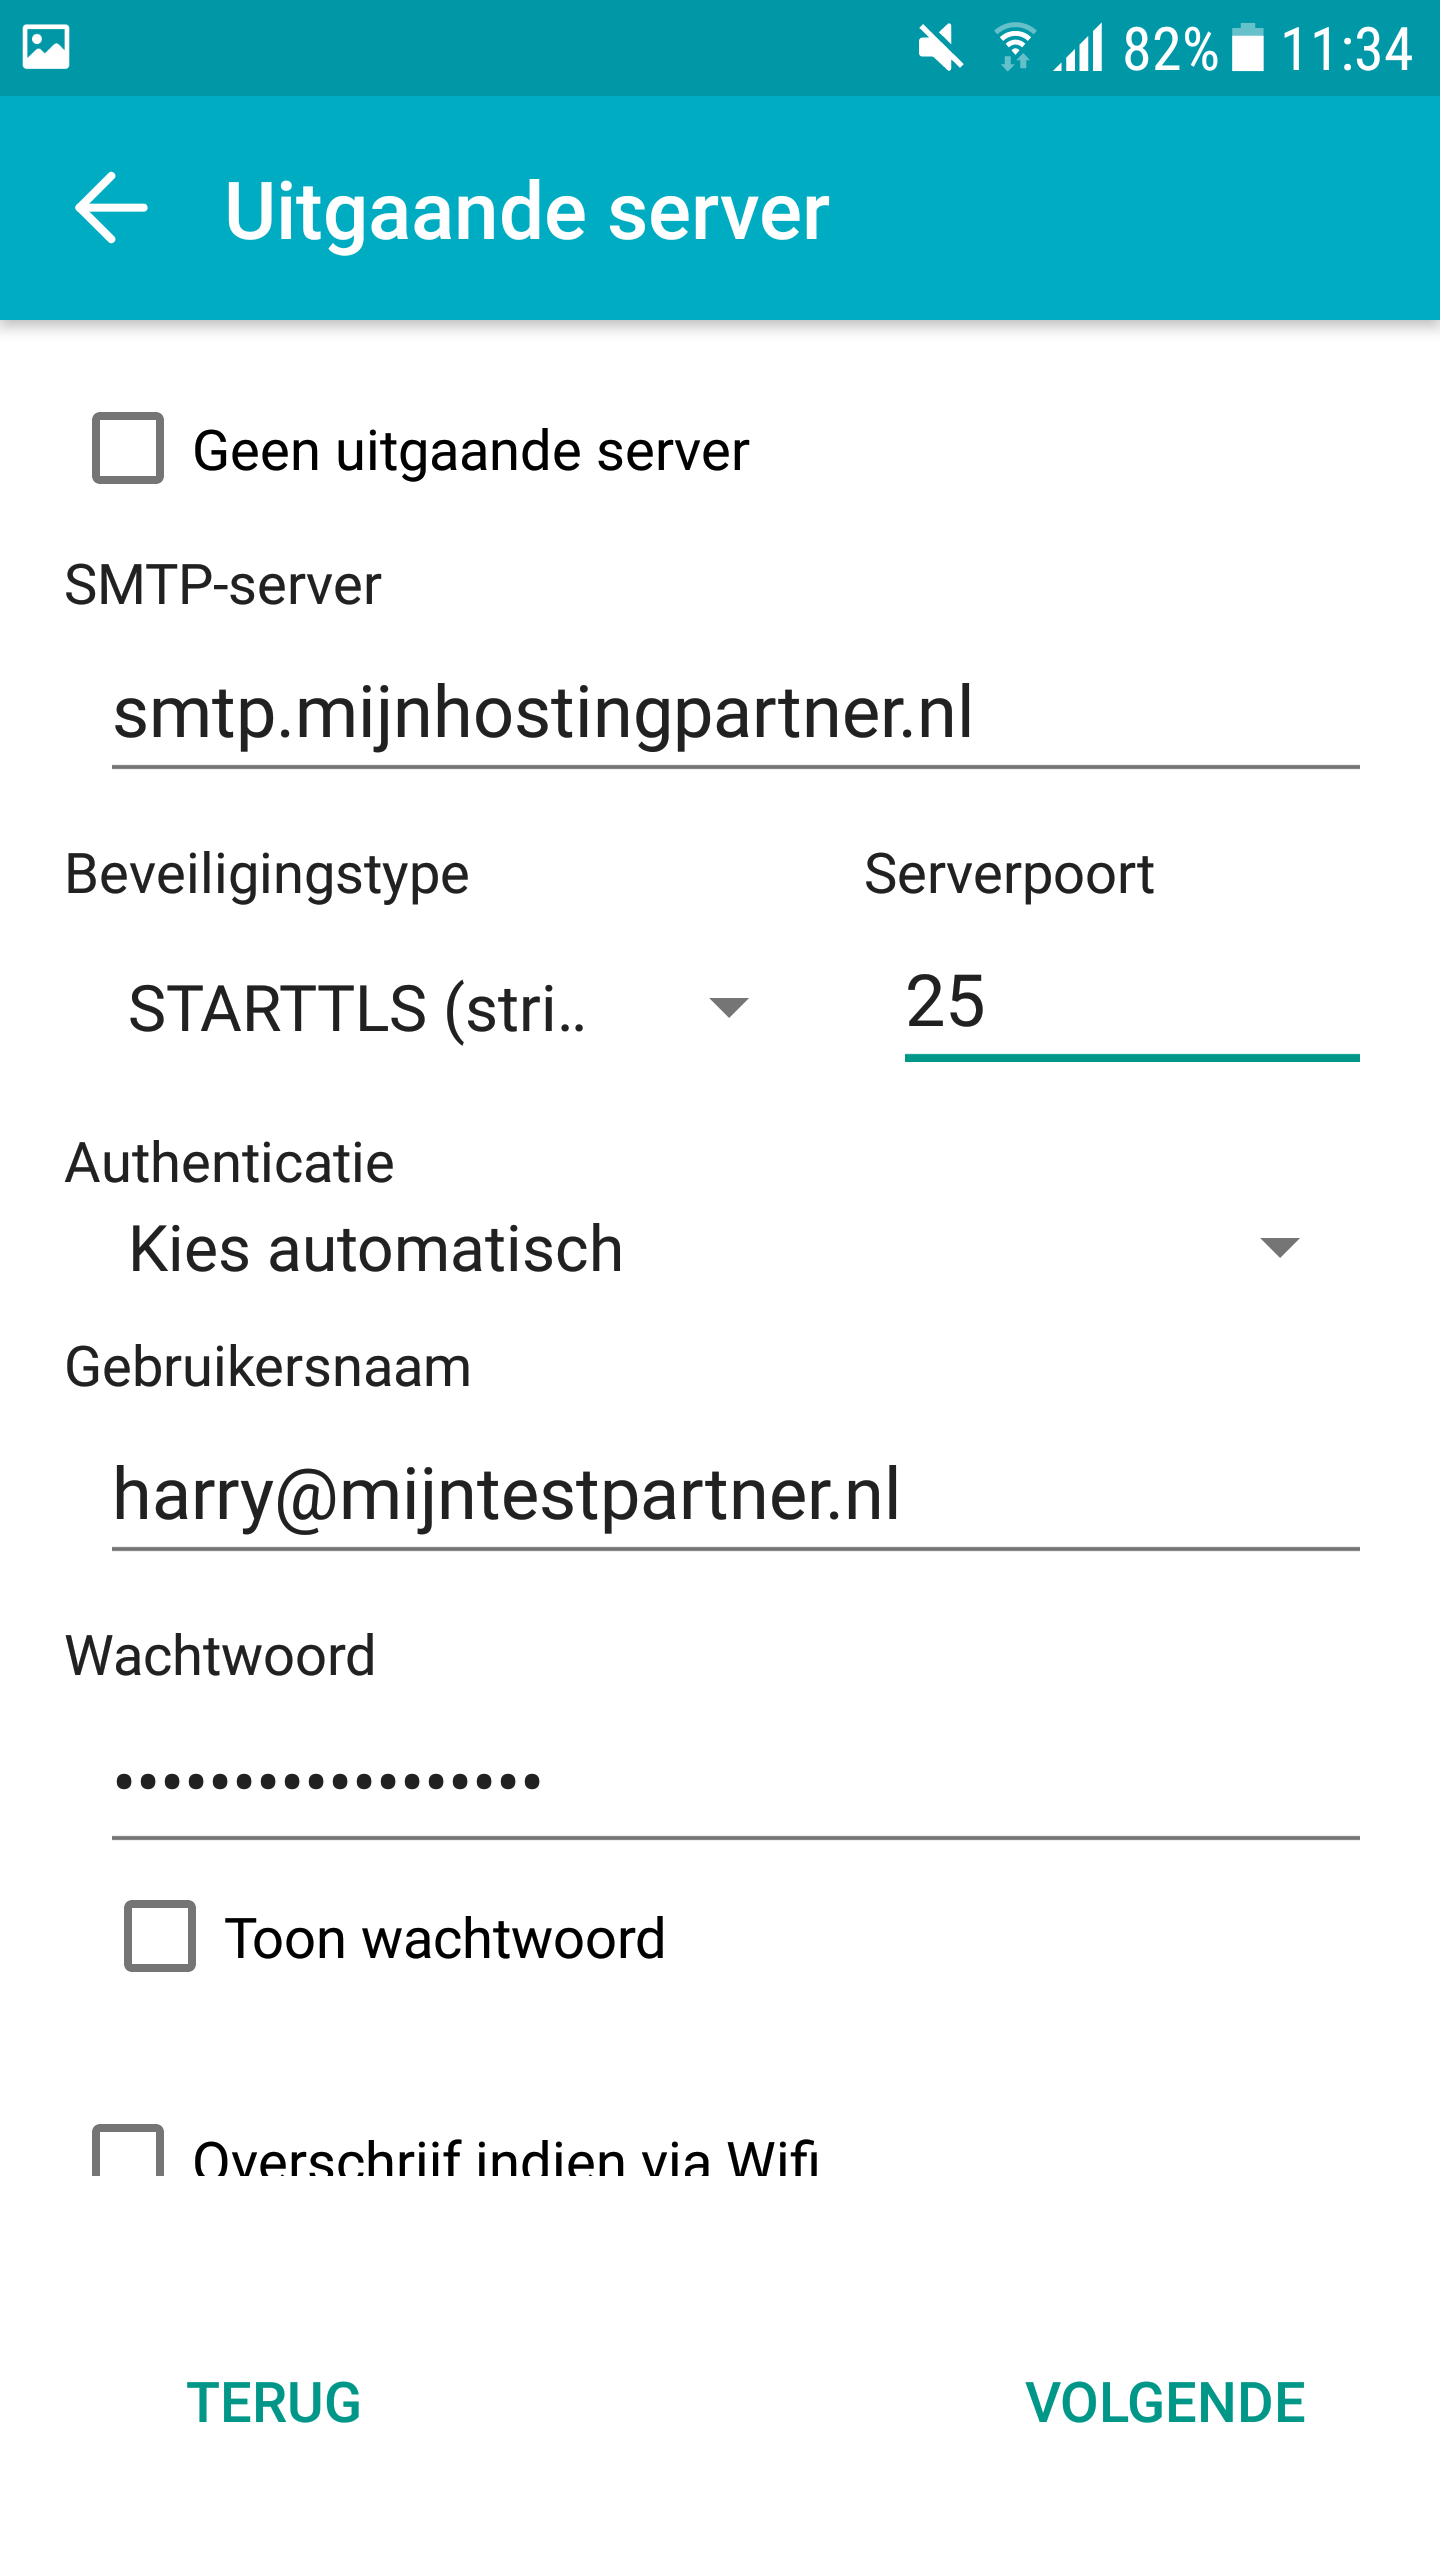
5) For outgoing mail settings, you can use the following information. Also port 26 and 587 are supported.
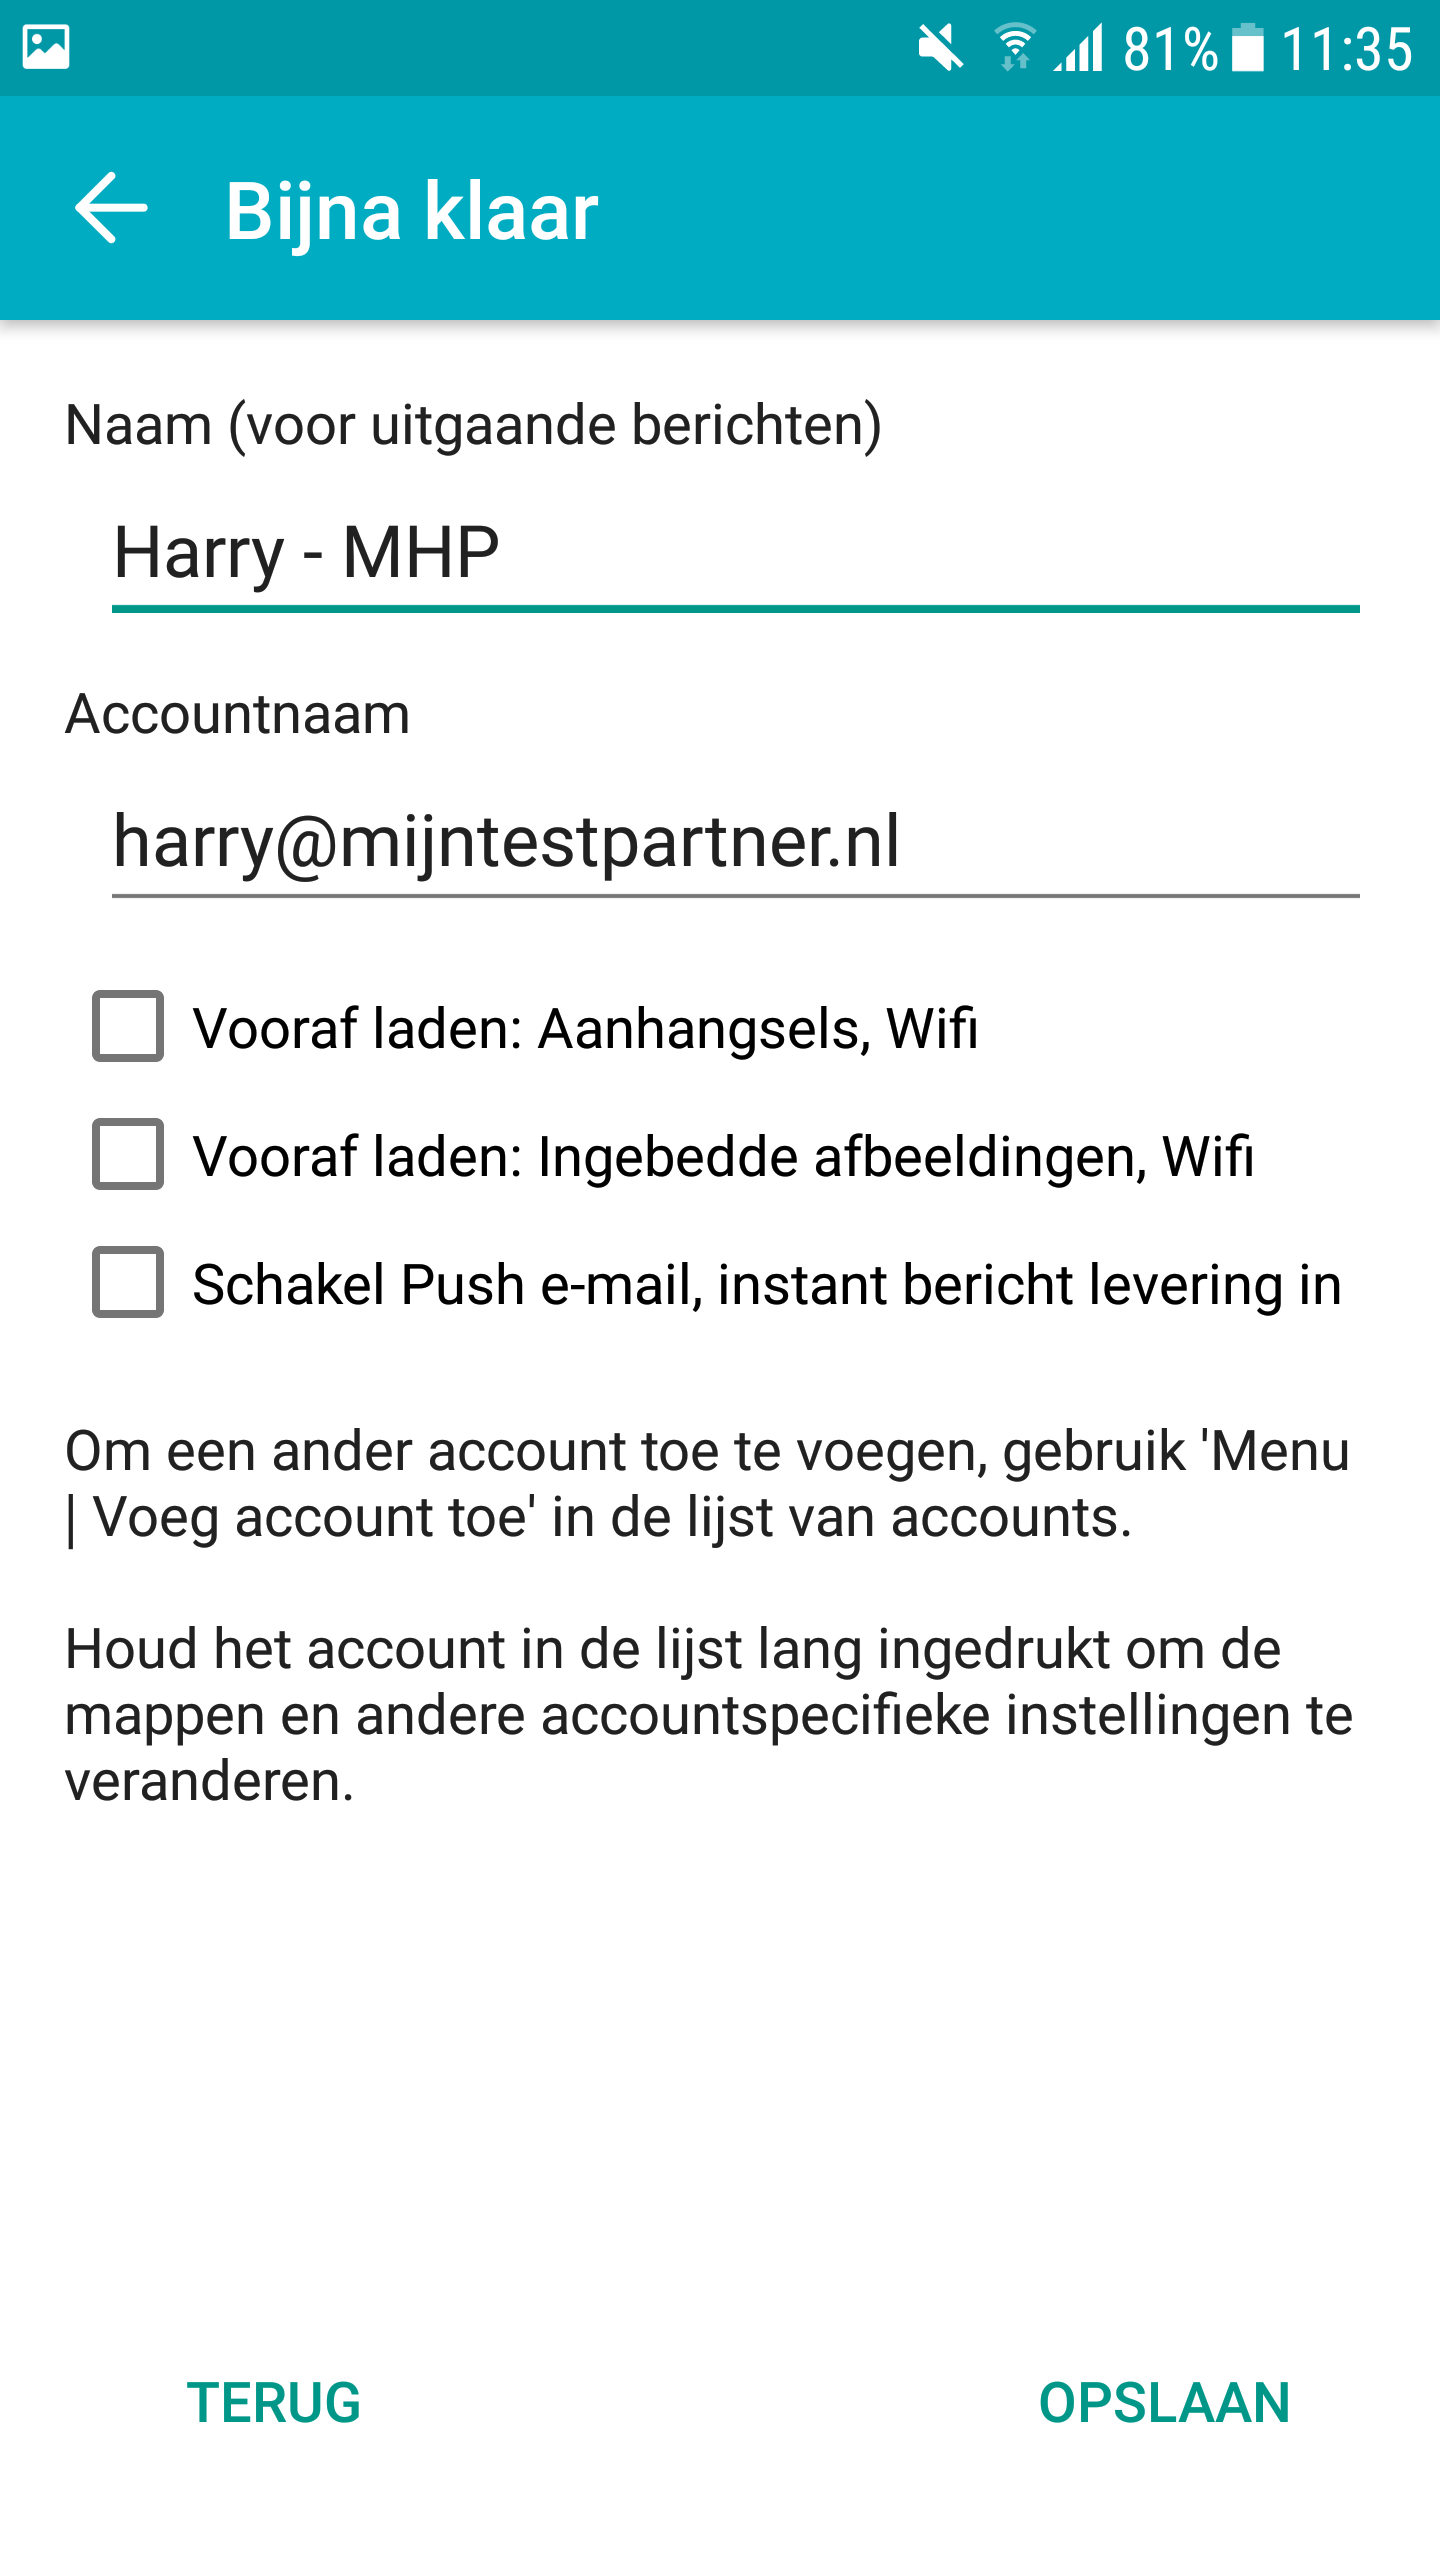
6 ) After this you can set your name, this can be set to your wishes, however you have to enter the email address under Account name.
Also you will be offered the option to leave things in advance, this is also to set to your liking.
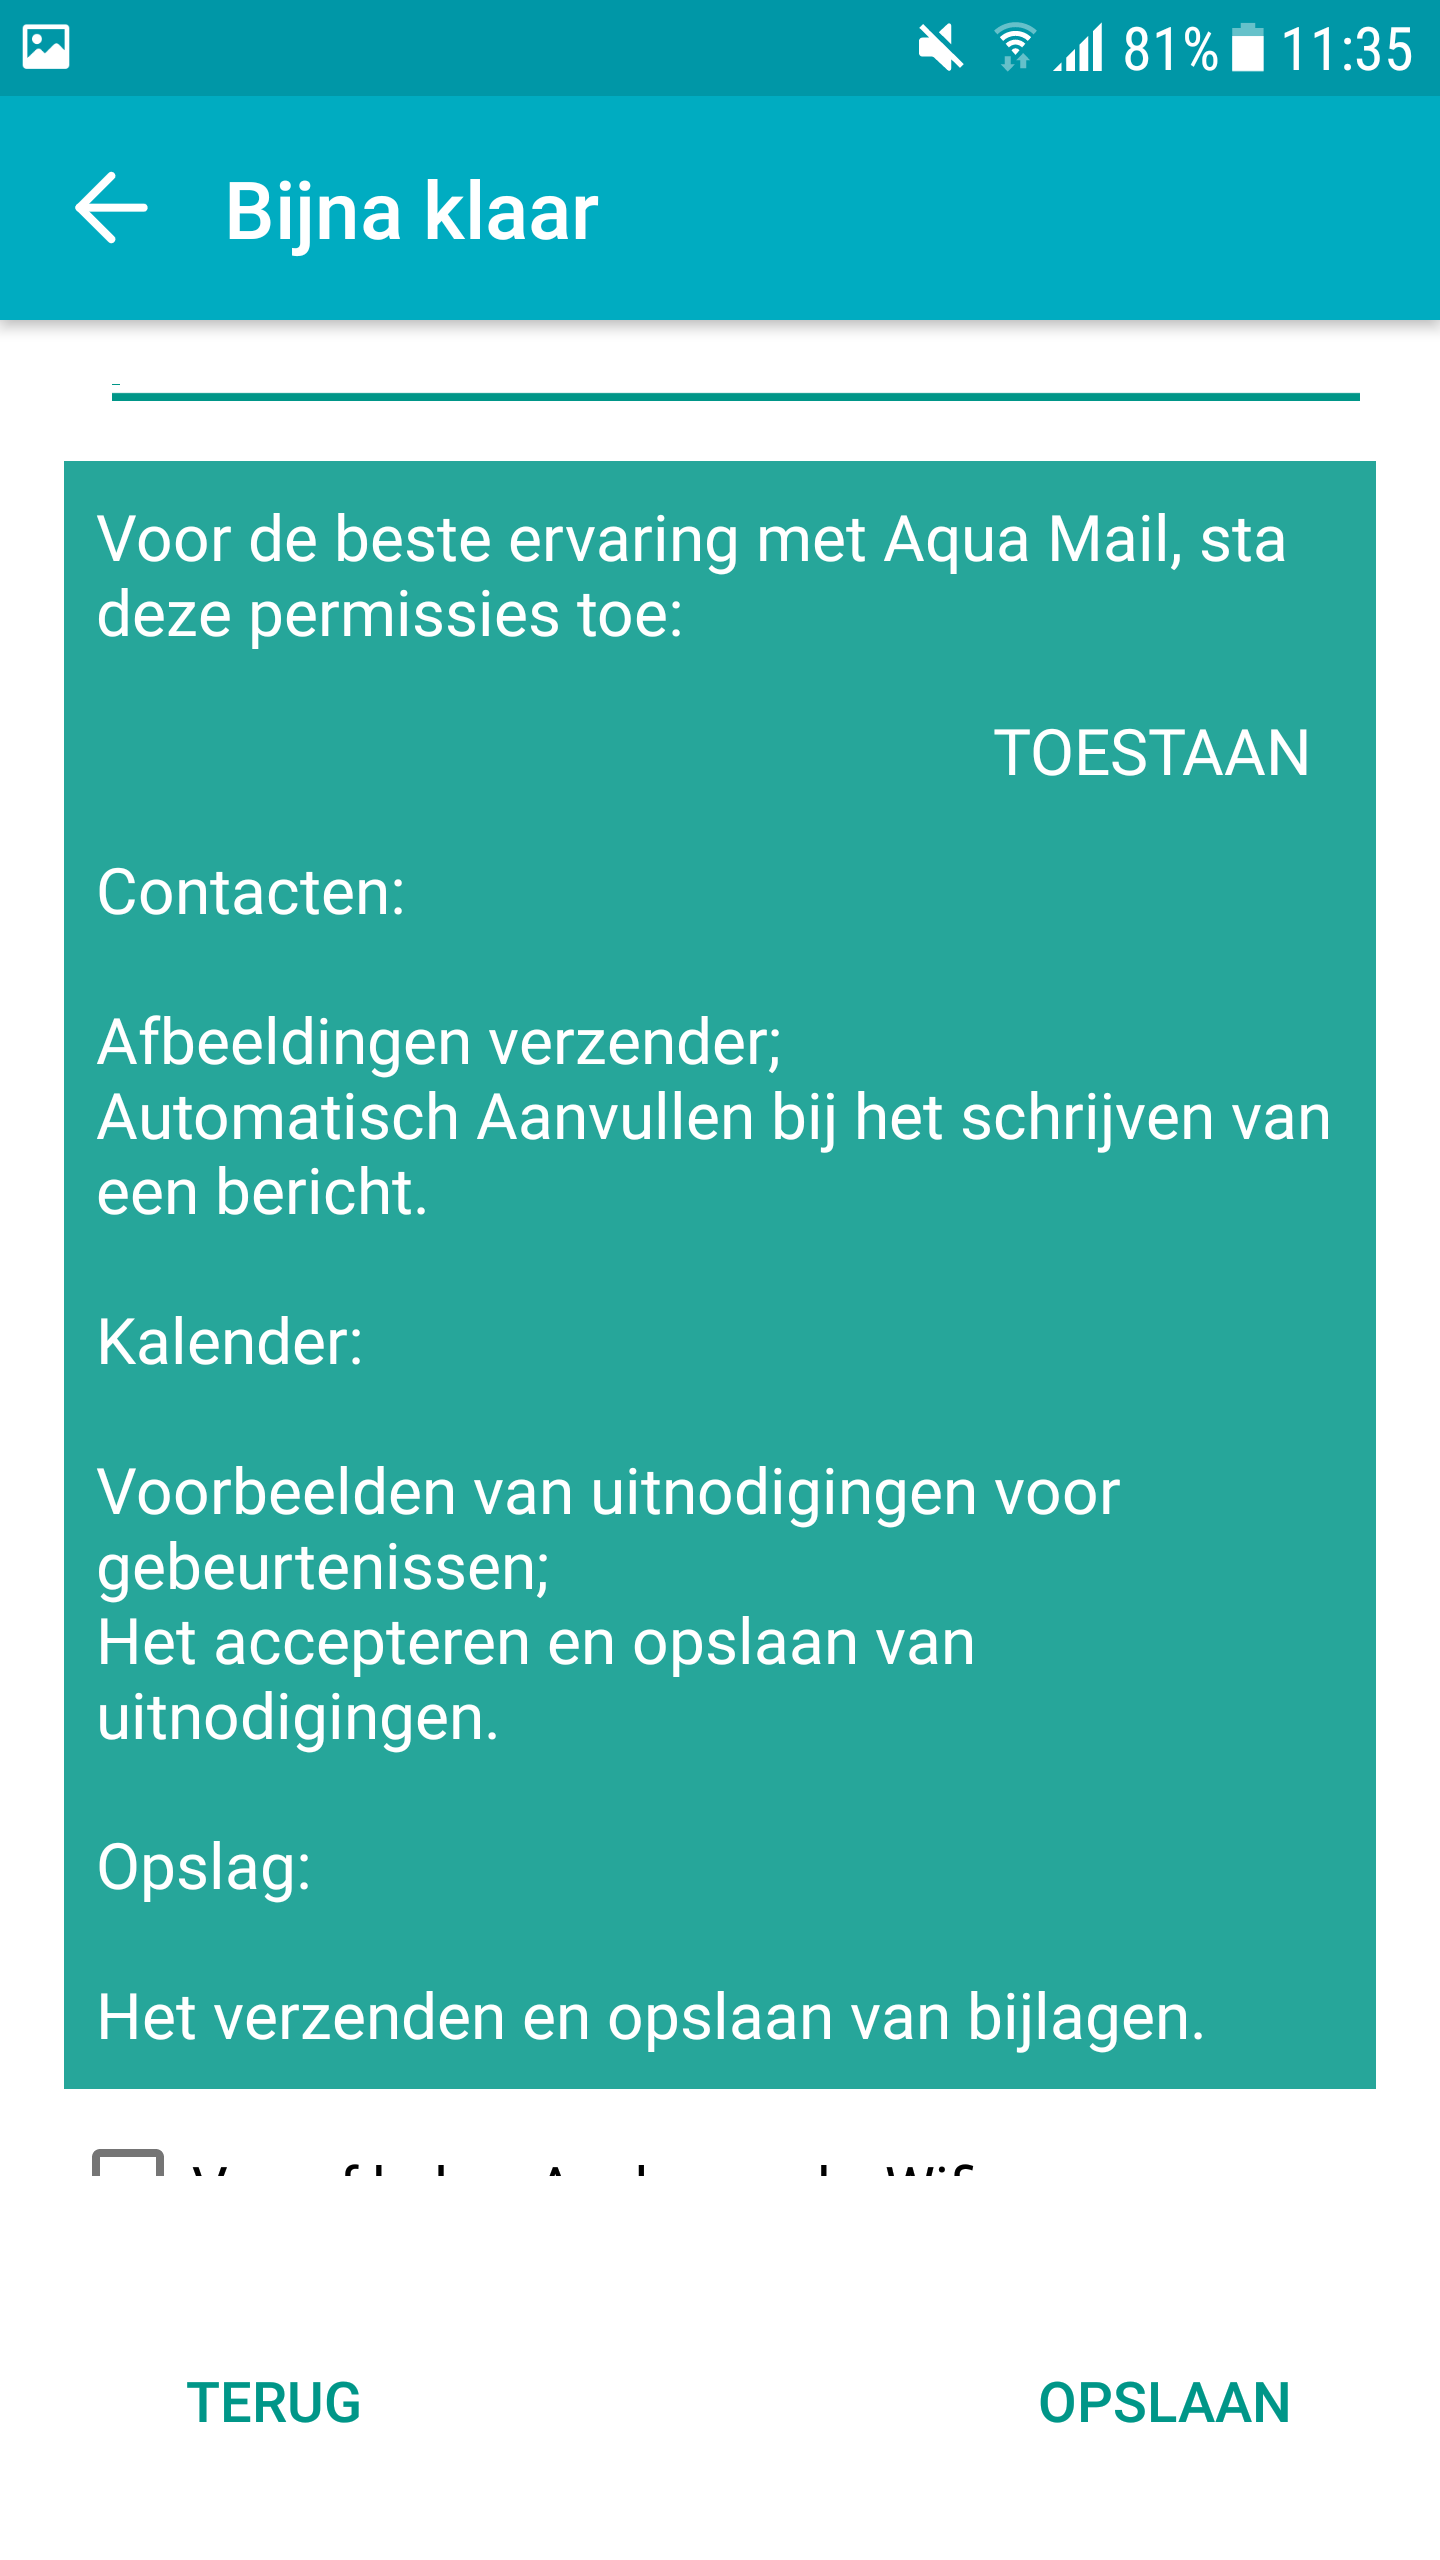
7) Finally, you will also be asked if you want to give certain permissions to Aqua Mail, this is also set to your liking.
If you followed these steps you are ready to use Aquamail on your Android device!
If you have any questions you can always check if one of our chat operators is available.
If no one is available you can always send a ticket to our helpdesk.