Categories
Email setup - Canary Mail client
In this article we will explain how to set up your email address with IMAP within Canary Mail. This is a mail program which is available for Windows, Mac and even Android. Setting up a mail address from MijnHostingPartner.nl will be the same across these platforms.
As always with setting up your email address it is important that you have the data written down and test it. For example, open a notepad to be sure of your data, and test it again via a browser by logging on to webmail.myhostingpartner.nl
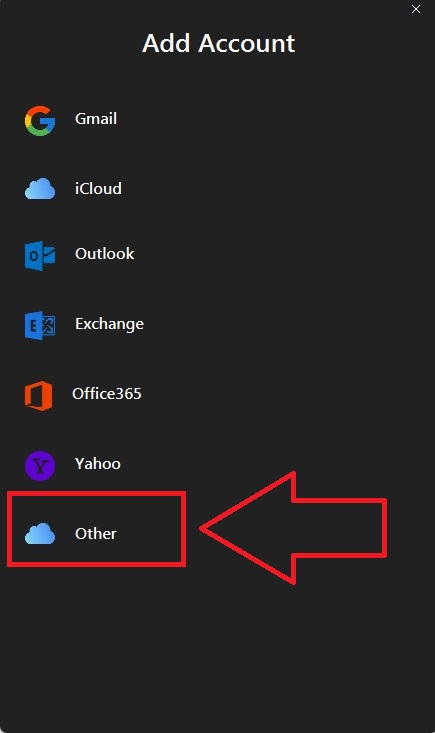
If you are sure of your email address and password, you can proceed to setting up your email address within Canary Mail. You do this by using the option to add a new account, and in the first screen here choose Other, Other, as shown in the screenshot:
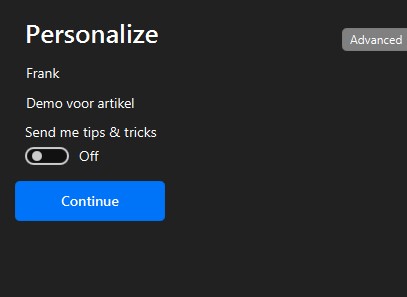
After this, you can enter your email address and password in the next screen, and pull the slider for Advanced

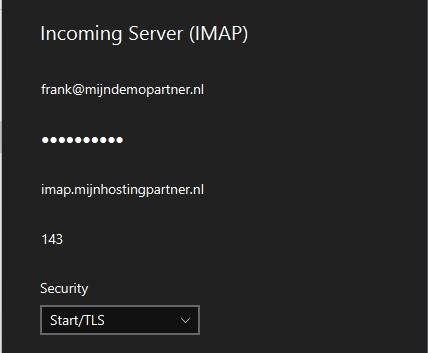
Once you pull the slider, the advanced options will appear in the same screen, where you can enter the following data:
After this you can scroll down to the SMTP data, or transmission data. Here you can enter the following data:
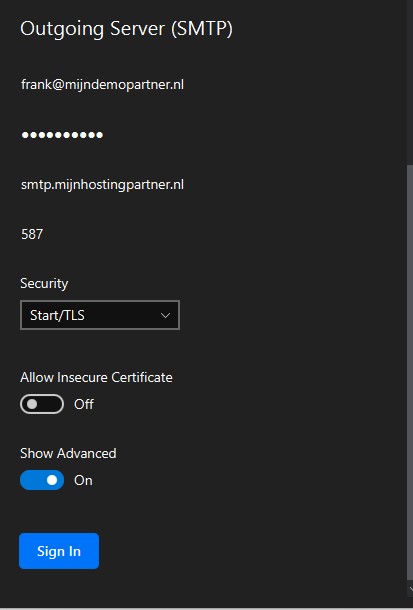
The other settings can be left at default. If your network does not succeed in connecting to these ports, please check our other options as explained in the following article:
Finally you can enter the name of the account which you will see in the mail program, to start sending and receiving mail via Canary.