
Categories
DKIM and certificate key setting
This article covers setting up a DKIM record for your entire domain. This record ensures that an extra handshake is added in the DNS. This will make your mail more secure. We recommend setting this up for all your domains, in many cases this is already done automatically with email addresses created via the customer panel. This way you can check it manually one more time.
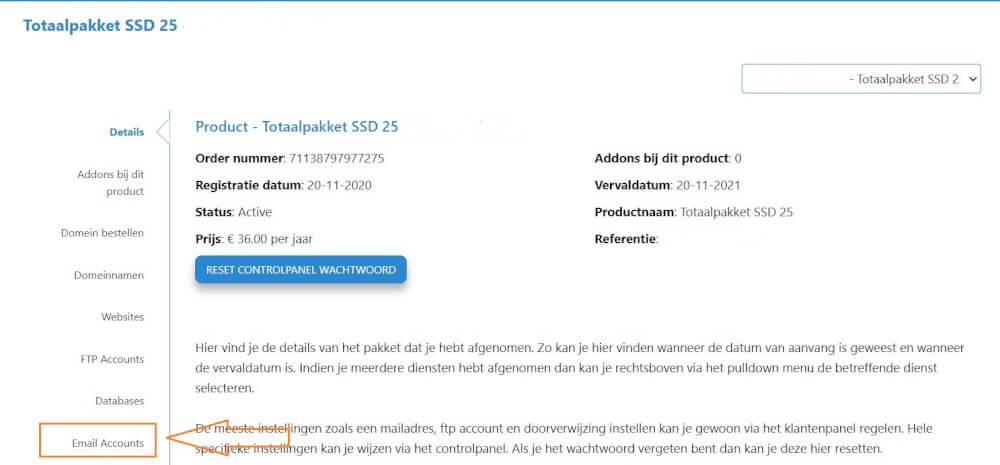
Log in to the customer panel and go to My Products and then to the mail accounts settings of the product.
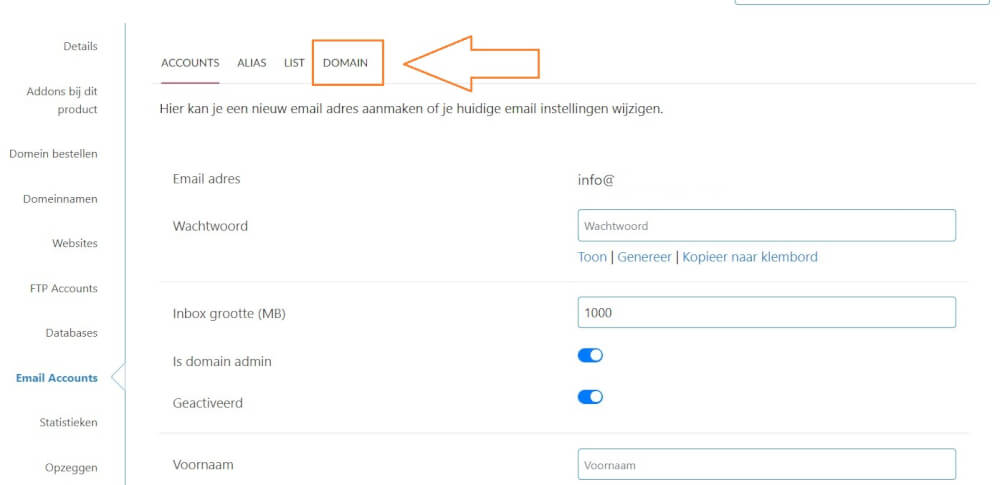
After this go to the email address and select Domain in the tabs
Here you have a slider with which you can further create the DKIM certificate, you can remove this if it has not yet been made active.
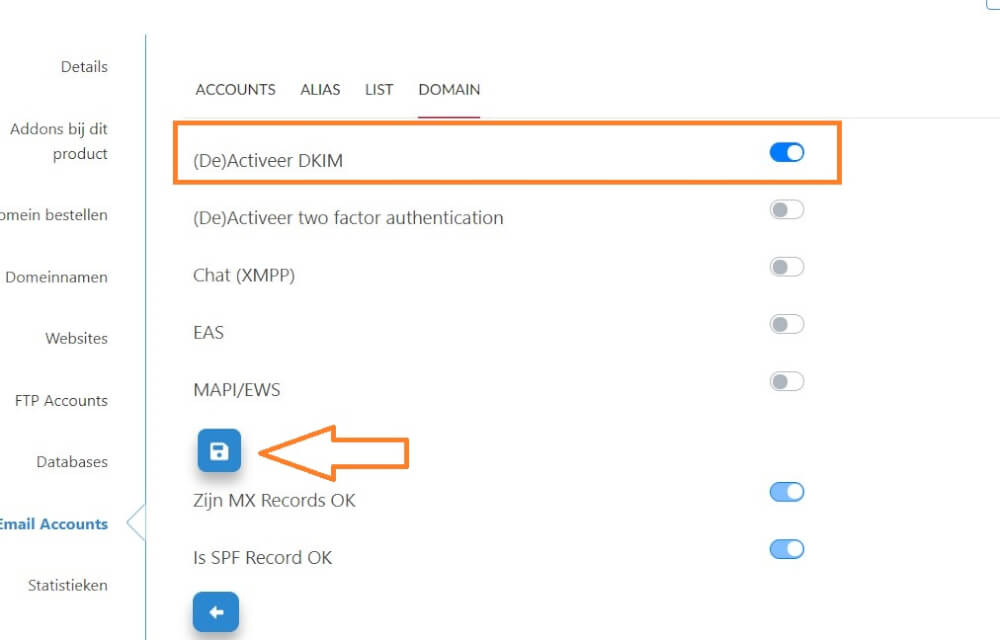
Don't forget to save it after activating it with the appropriate icon. After this you can check it by going to the domain settings, under domain names, and navigate through the edit icons until you see the following:
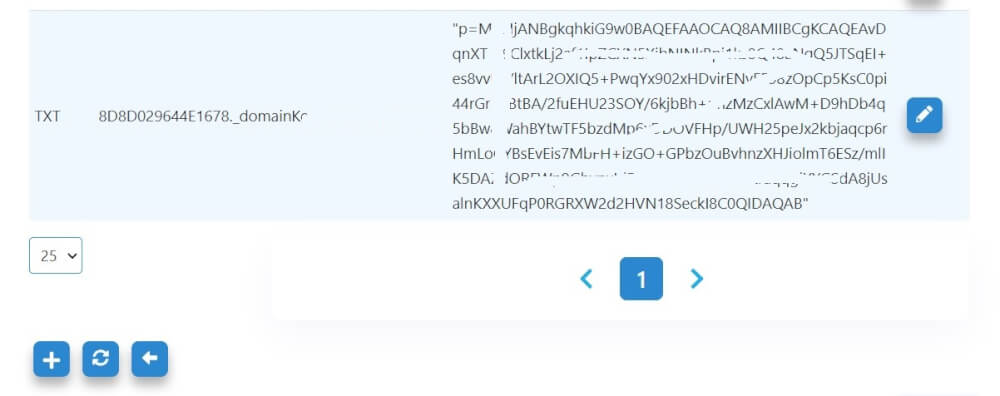
After this DKIM is active on the domain, and no further action needs to be taken.
 This will bring you to the screen where you can apply the change. At the bottom of this field you will see the option to activate DKIM. Select this option before clicking on update.
 These kind of changes can take up to 48 hours after the configuration. So you will have to be patient before it is actually seen as active. If you are having problems with the DKIM settings we can also do this for you. You can do this by using the chat or by sending a ticket to our helpdesk. Our support staff will then further activate it, keep in mind that it may take 24 hours before it is active.keywords: DKIM mail better security certificate cert email