
Categories
Overview of the Control Panel
*Please note: There is no Control Panel for Linux packages. Instead, management is handled entirely through the customer portal!
In this article, we’ll cover the basics of the Control Panel. You can access the Control Panel via the following links:
https://control.mijnhostingpartner.nl
When you purchase a package or service from us, you’ll receive the necessary login credentials for the Control Panel via email. You can then use these to log in via the link above:
If you’ve forgotten or lost your login credentials, you can contact our Help Desk to have them resent to you. Or you can reset them via the customer portal under “My Products” -> “Control Panel.”
You are now logged in. The first screen you’ll see is the following: 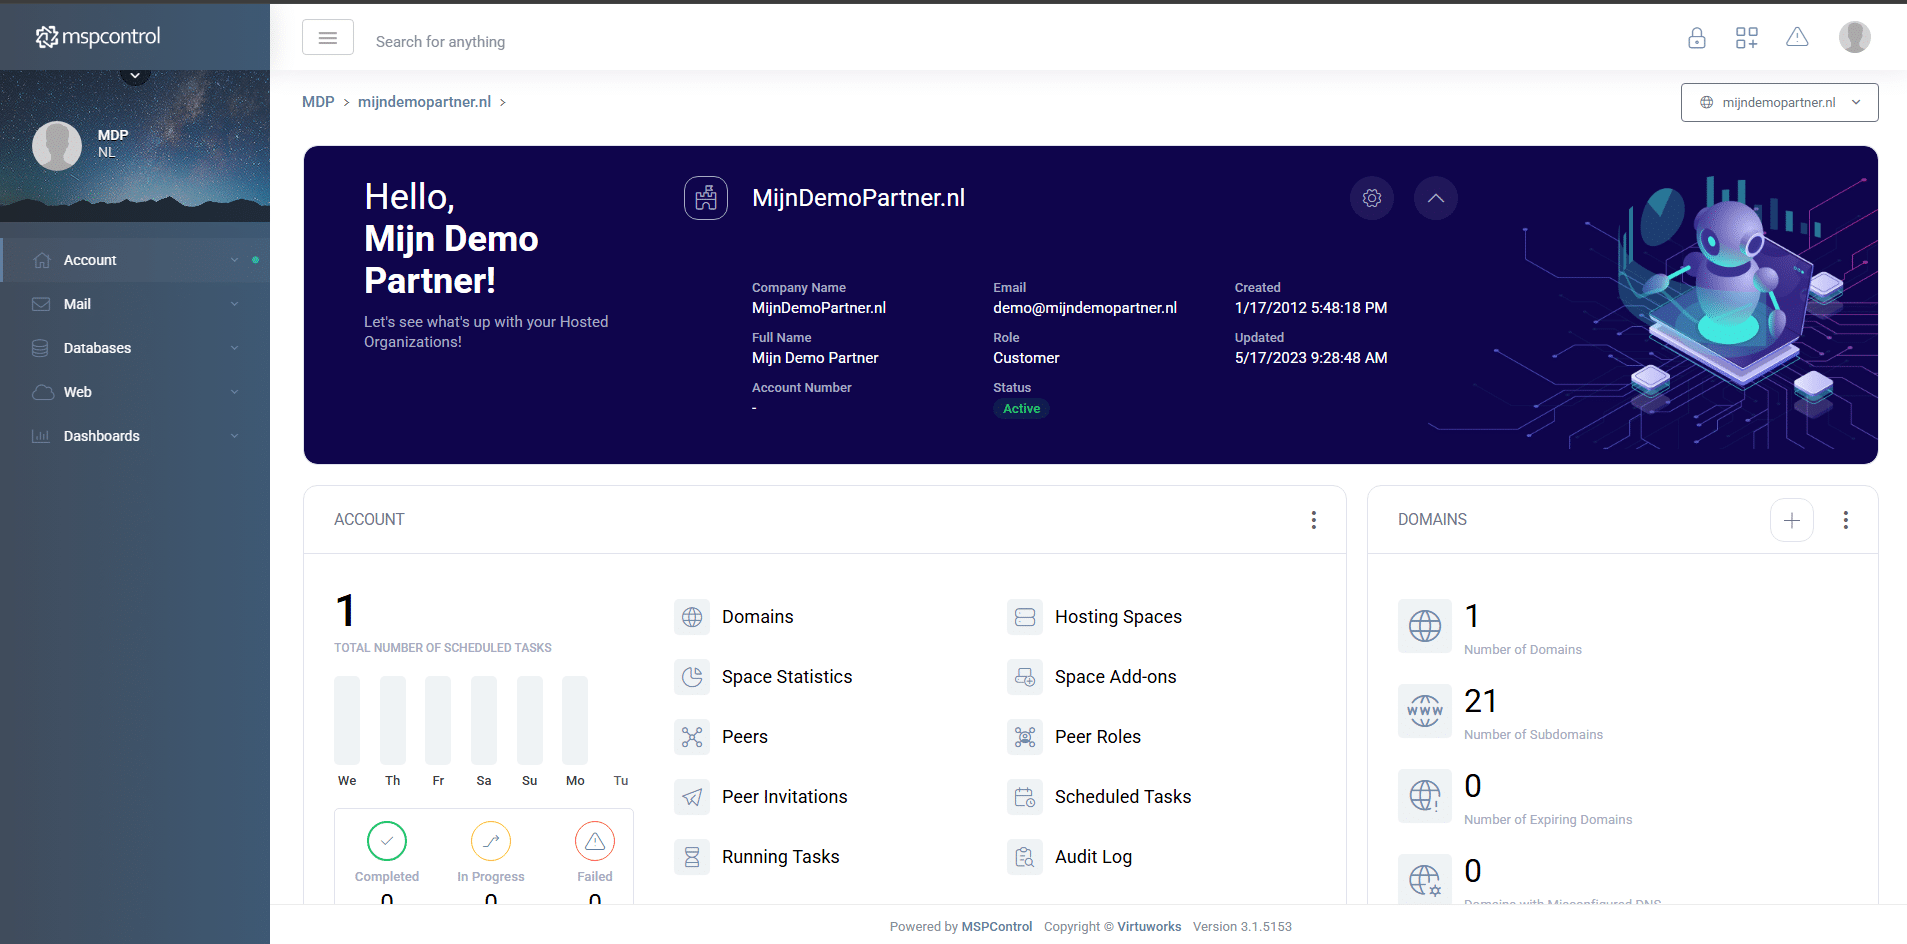
On this screen, you can view all the settings for your services or products. The example above shows an SSD-50 package. The package includes all the features required for a website. On the left side of the screen is a menu that allows you to navigate to the desired sections.
You also have the following options available, among others:
- Under “Space statistics,” you can view statistics about your hosting storage space, such as the number of domains in this package or your used storage space. Here, you’ll also find the option to create a backup of your entire hosting storage space. We recommend that you always do this as soon as your website is complete.
- Your domains are displayed under “Domains”; here you can also configure the DNS settings. For example, you can add a subdomain here.
- Under “FTP Accounts,” you can create or restore an FTP account. An FTP account is used to access your files via an FTP client such as FileZilla.
- The File Manager is used to view the files stored on your hosting space; you can also set the write permissions for your files here. For more extensive work, however, we recommend using FileZilla. It works faster.
- Scheduled Tasks. This is a feature you can use if you want to automate a task. For example, you can use this feature to automatically back up your website every Wednesday.
- In this section, you can create subaccounts with custom permissions, such as for your web administrator.
- Here you can define specific permissions that you can then assign to users. Think of it as a template, so to speak.
- Here you can see the email addresses of the people for whom you’ve created a peer account.
- Under “Websites,” you can view your website’s settings. Here, you can set up website links or configure a redirect.
- Here you’ll find the IP address of your hosting account. If you have the Standard package, no IP address will be displayed here. This is because these are shared IP addresses, meaning that multiple websites/customers are hosted on a single IP address. If you have the “Dedicated IP” add-on, you’ll receive your own dedicated IP address.
- MS-SQL databases. With a standard comprehensive package without add-ons, you are not entitled to an MS-SQL database. Here, you can only create a MySQL database. You can create these under “MySQL 5.x.”
- MySQL databases are the standard databases for websites created with WordPress.
- This is an interface you can use for Microsoft Access databases.