 21-01-2026
Manage multiple email addresses via webmail
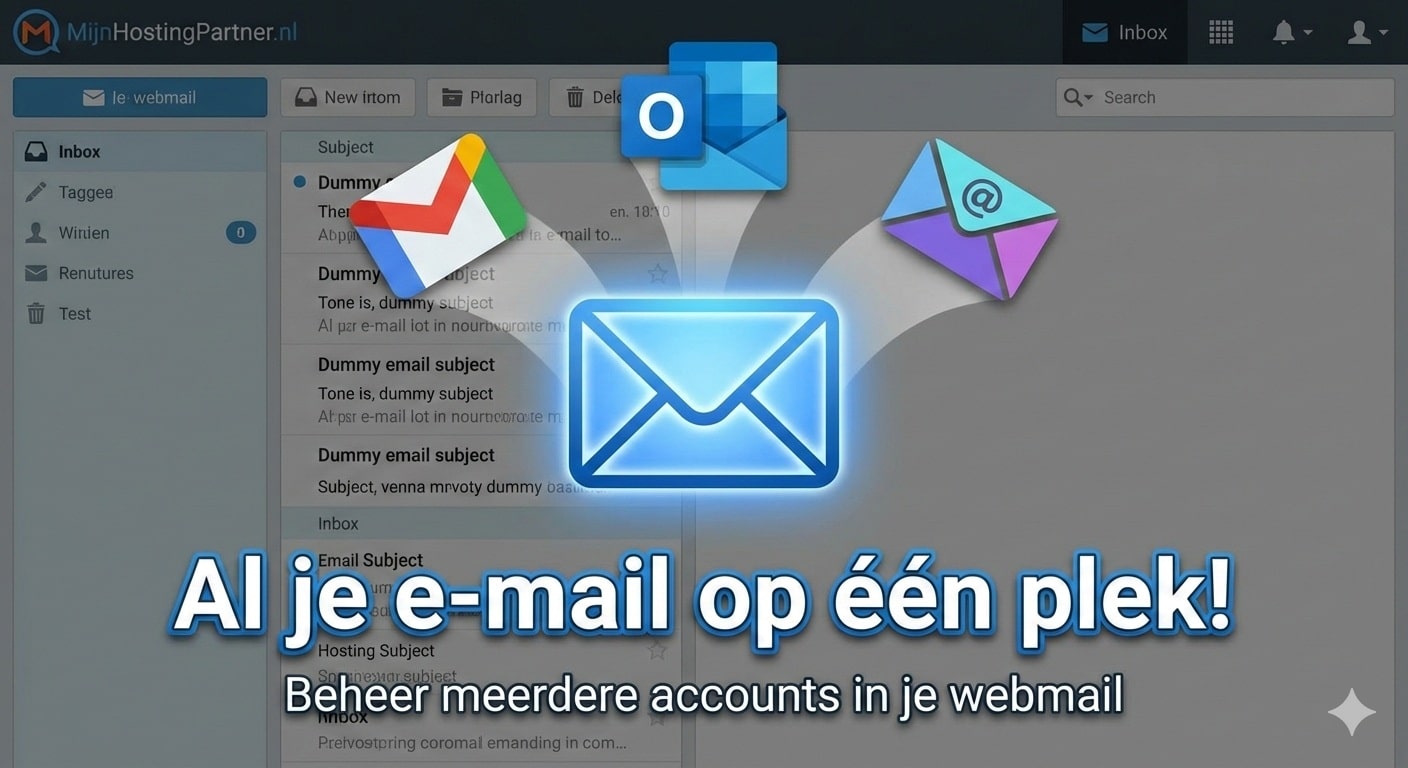
Do you have different email addresses for work, hobby projects, and perhaps even a private account with Gmail or Outlook? Then you're probably familiar with the problem: you have to constantly switch between different tabs and apps to keep track of your messages. There's a more efficient way!
At MijnHostingPartner.nl, we want to make managing your online presence as easy as possible. That's why we explain in this blog how you can easily access multiple email addresses in our own webmail environment. This gives you a central point for all your communication.
We support many different ways of working, whereas in the past it was only possible to manage multiple email addresses via a local email program. Now this is also possible directly via our webmail. In our detailed knowledge base article, you will find step-by-step instructions on how this works.
Why should you centralize your emails?
Linking external accounts to your MijnHostingPartner.nl webmail has several major advantages:
• Time savings: You only need to log in to one place.
• Overview: All your inboxes clearly arranged in the same interface.
• No additional software required: You can easily manage everything via your browser, no matter where you are.
How does it work?
Our webmail (SmarterMail) offers a handy feature called "Connected Accounts." This allows you to retrieve messages from other servers via the EWS or IMAP protocol. Whether it's another email address you have with us or an external provider such as Gmail, you can add it in just a few steps.
A quick step-by-step guide:
1. Log in to webmail: Go to the webmail for your main address at MijnHostingPartner.nl.
2. Go to "Settings": Click on the gear icon (Settings) in the left bar.
3. Connect: Navigate to "Account Settings" and look for the "Connectivity" option.
4. Enter data: Click on "New" and enter the details of the account you want to add. This includes the email address, password, and server details (such as IMAP/SMTP).
5. Test and save: After you have entered the data, you can test the connection. Is everything green? Then your emails will now be automatically retrieved in your central inbox!
Useful tips for a tidy inbox
If you link multiple accounts, things can quickly become confusing. We therefore recommend using filters and folders. For example, you can specify that emails from your secondary account are automatically placed in a specific folder. This allows you to keep business and private matters separate, while still seeing everything at a glance.
Let's get started!
Want to start linking your accounts right away? Inour detailed knowledge base article, we explain step by step where youneed to click and what settings you need.
View the complete instructions in the knowledge base here
Stuck? Our chat support staff isready to help you configure your accounts. Good luck with your new, tidy digital workspace!