Also check out below articles
 10-04-2026
Brand Name vs. Keyword Domain – Which Performs Better?
There are a number of strategies you can use when choosing a domain name.12-01-2026Google Gemini usage rises while ChatGPT declines
There is fierce competition among AI providers to attract the most users and18-09-2021Editing images for your website
We've covered how to use an image on the web in previous blog posts. But not yet how to edit an image for your own website. For most images, not much more is required than compressing the image. But for an attractive blog post cover or news article, an image can be edited to already give you an idea of what the article is about. For example, by adding a title or text to the image. Or by adding a specific call to action. This can be done in different ways and with different tools. We'll cover them in this blog post!
An image can make a big difference in your blog posts and any content you publish on your website. It can inspire a desired action like a purchase or a click. And it can keep a visitor's attention longer. That can bode well in almost every way. Images are also needed to share your content on social media and more. As this often automatically loads the cover image and then shares it. A short message or title in this image can ensure more clicks or even better conversion. Using an image can be done in a number of ways, of course. But often it's easier than you think to create your own images. There's a screenshot tool that comes standard with every operating system, or you can use your phone to take a picture yourself. For 99% of the photos you use on your website, a smartphone camera is more than enough.
To insert text in it or edit and expand it, you can use one of the following tools.
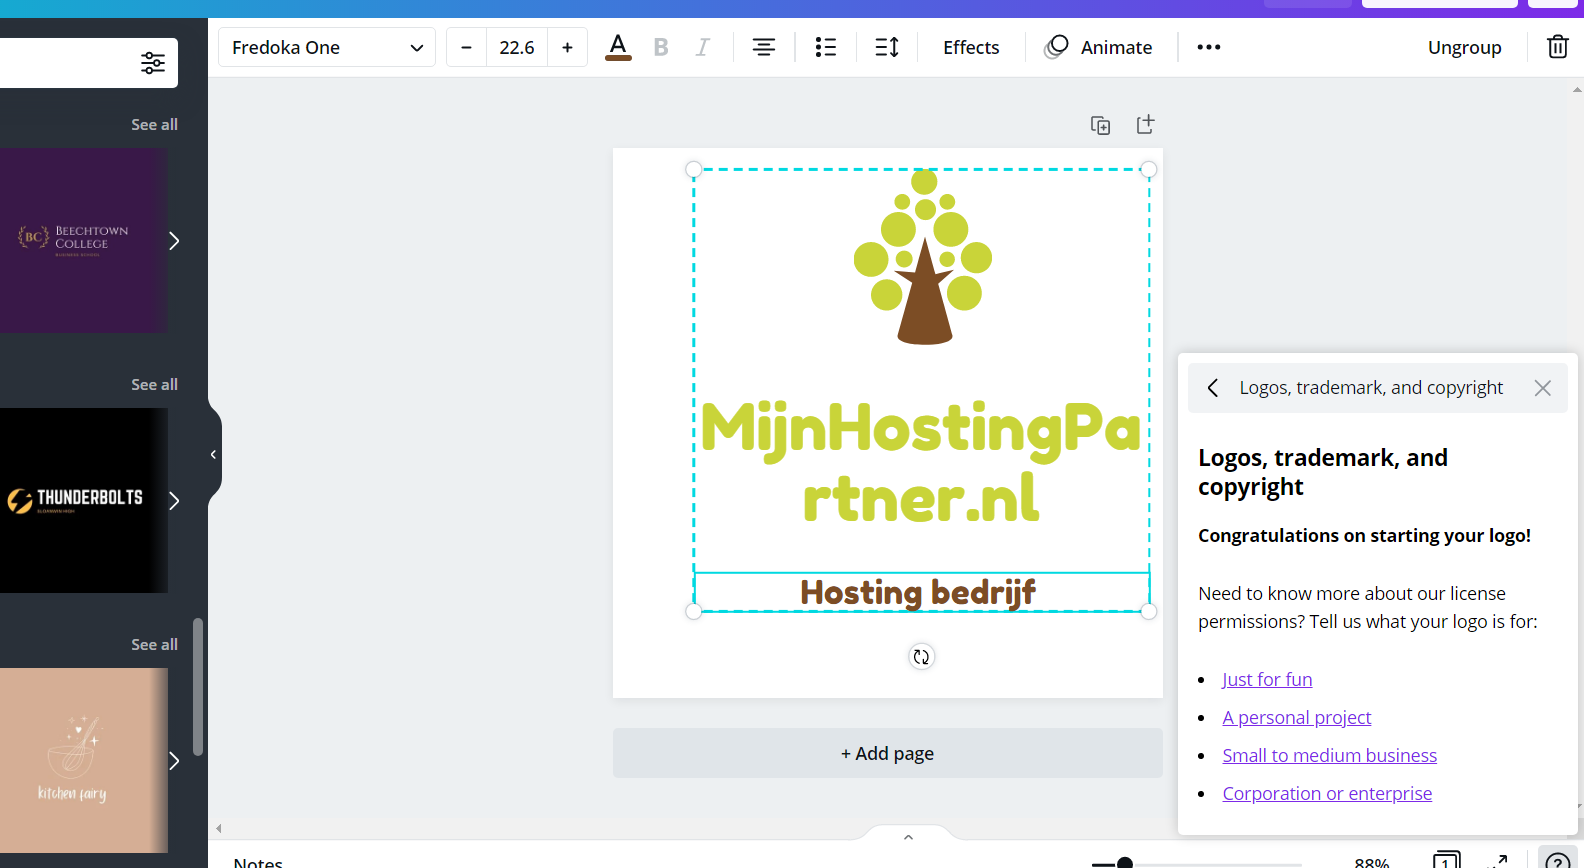
Canva
Canva is an easy-to-use online tool for editing photos and images. With Canva, you quickly work online through your browser to edit your image and then download it in the format you want. You can save your raw image locally on your computer first, and then customize it to host your website by going to Canva.com and starting to develop your image. You can upload it and then edit it. Canva offers a detailed welcome tour explaining how to do this and how to work with it. You can then download the image and resize it using a tool like Tinypng. Canva is free to use, there is only a cost or rights to use some images. So check what you are using and where, and include the rights or backlink if you are using it. To avoid copyright issues, this is highly recommended.
Paint or a similar standard photo editing program.
Paint 3D in the newer Windows versions is also great for further editing your images for the web. Even transparent images can be edited in Paint 3D by users who are just beginning to create images. And of course, it's easy if you're already using Windows, since it's a local tool that doesn't require you to download or install anything extra. It's a local tool that doesn't require you to download or install anything, so there's no extra cost.
Photoshop or GIMP
Photoshop is one of the tools that have long been considered the standard for image editing and creation. The open source counterpart to PhotoShop is GIMP. Both of these tools usually require some homework in order to use them properly. For this reason, it is often not the most logical choice for an inexperienced webmaster.
If you have a slightly larger budget and want to develop it further, Photoshop is often the right tool for you. In a possible next job application, you can also include this in your resume to show that you have experience in this area. This is often required for internet marketing jobs.
Do you also want to make your website a success? Then get a hosting package from MijnHostingPartner.nl. We work together to take your website to new heights!