
 19-09-2020
Creating and publishing a post in WordPress
Creating and publishing a blog post in WordPress is an ongoing process which is important for renewing content within your website and your positions in the search engine results. But how does this work exactly? We will take a closer look at that in this article.
With a blog created with WordPress it is an easy task to publish a blog post, this is done with a few clicks directly from the administrator environment within WordPress. It is therefore not necessary to write the blog post in another text editor such as Word, OpenOffice or Google Docs. You can still opt for this for perhaps a better spell checker. But nowadays the spelling checker within the Google Chrome browser is also pretty good. Later in this post we will also discuss an extension that can be used for this within Google Chrome.
Logging into the WordPress admin environment and creating the post
To write a post within WordPress you will first need to log into the admin environment. After the WordPress installation, you will be able to access this by going to yourwebsite.com/admin. Other possibility is also:Yourwebsite.nl/wp-admin/index.php
This will take you to the login screen which looks like this:
This login is fixed in the WordPress installation and you will have saved it in your browser or written it down somewhere. After logging in, you can start creating a new post in the following manner:

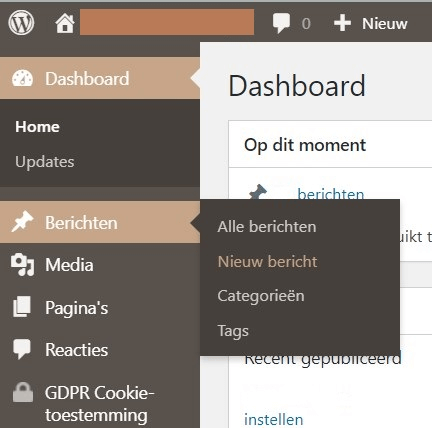
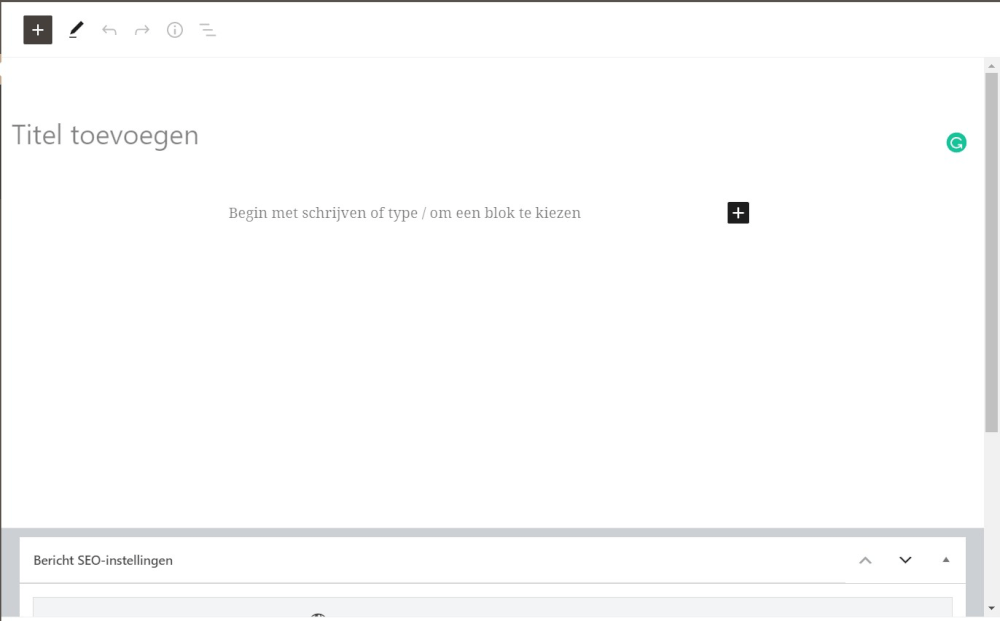
After this you will come to the screen to actually write a post. Or where most of the work is in a website, filling the content. With a design or template you can be up and running with WordPress WordPress hosting within 5 minutes. Filling the content will always be a process.
Writing and working in the WordPress editor
With daily logging in and writing in a WordPress editor you will at some point learn your way around the Content Management System better and better. As a beginner this can of course still be a bit tricky. If you are familiar with a text editor such as Microsoft Word, then you probably already know a number of terms and symbols. We recommend you to make a test post on the website and not to put it live yet. Go through all the settings and try, for example:
- inserting a table
- upload and insert an image
- create a link to another website or internal page
- Go through the different headings. These are important to further divide text.
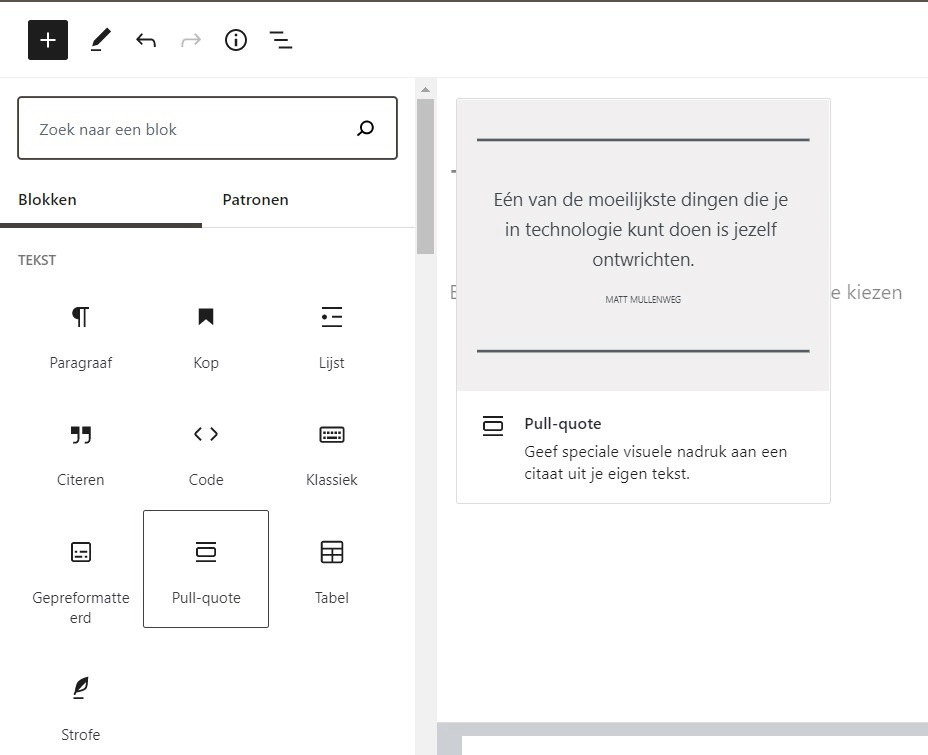
In the blocks that can be added a lot of different things can be added. This can be used to enhance text or information, for example in a table or quote. Or this can be used to add a functionality. Like an image with a link, or a button with a link to, for example, a registration form.
In this way, it is easy to work on a block basis. Also known as the Gutenberg editor, this was a new development of WordPress and was welcomed with a lot of criticism. Since a lot of people preferred the older editor. Personally, I think this is a non issue. Since you can also just type in HTML in the editor. And so you can still do this with the same control. But change is always a sore spot with a lot of users. If you are starting out with WordPress then you will probably just like the fact that everything can be added in a clear way, and is completely visual right on the page. That makes it nice to instantly publish a WordPress post on your hosting without a lot of manual checking.
It is recommended to save the page every few minutes, this can be done manually with a shortcut key combination. CTRL + S Or just press the Save Draft button. This saves a concept in the database so that it can always be returned to later. This is also automatically saved every few minutes. When you take a break from writing, for example, it is advisable to press CTRL + S when you leave. This will prevent work loss and frustration.
Publishing and checking the post
Before publishing the post, we recommend that you first read the post out loud to yourself. This will always take out a lot of spelling errors and teach you how your text flows. If you are flying from one topic to another, it might be advisable to divide it differently. One thing is paramount with the content on your website. It should be a nice reading experience for the end user.
Within Google Chrome there is an automatic spelling checker. If you write in English there is also a good plugin that can be used, called Grammerly. This makes it useful to take out many spelling mistakes that might sound good in a Dutch text. But not so much in an English text.
To finally publish the post is to press the Publish button, after that it will appear live on the website. The URL or exact location of the post is then displayed. This can be copied to share on social media or visit the post. After this the post is live and can be visited by anyone who has the link. Or lands on your website and arrives at the post via the latest posts.
In blog posts in the future we will share further WordPress and website tips. Do you have questions or suggestions for tips? Then please contact us via the ticket system or the chat!