
 14-08-2021
Author listing more fun in WordPress
Within WordPress, the writing and publishing of Blog posts is still central. After all, what WordPress started with was making it more accessible for anyone to start a blog. Today blog posts are used by businesses to share the latest news, attract new customers and inform existing customers. To add a little more personality to a blog post is to expand the author credit. You can do this in the following place, and can also use it to get higher in the search engine results! Let's start by expanding your Author Statement!
The standard autobiography doesn't get much further than: By Frank. As an example, this doesn't add much to the visitors who have just read your blog post, nor to the search engines who are checking your blog posts for suitability to rank. A more elaborate piece at the bottom of your blog post allows visitors who found the post interesting, and went all the way to the end, to read a little bit about what you stand for and how they can find more information about you.
Note that not every theme supports this
It is unfortunately the case that not every theme supports this, or that you need to purchase an upgrade for this. So this is another part that you should pay attention to when you decide to go for a theme. That there is an author block possible. You can always build it yourself with code, but this is not the easiest option. So always look in the list of options of the theme if this is possible. It does add something to thewebsite hosting, and is therefore preferably available in the theme.
Extend author description
To expand your author description you can do this via Users / Users -> and then within your profile go to the Biographical Info and put the information there. Keep it short of course. A large piece of text is more appropriate on the about us page. You can put down who you are, why you write the articles, and what your further motivation is. It is often the case that you also use a contact option and perhaps link to your other work or LinkedIn profile. So visitors can quickly see that you are interested in working together. Or to a permanent contact page on your website.
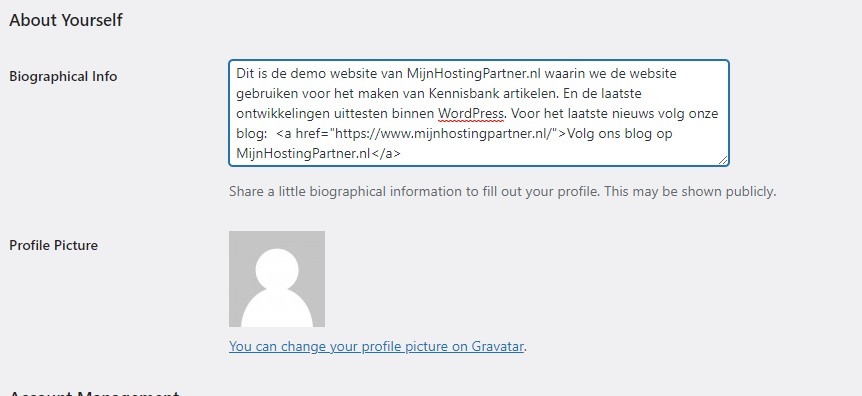
You can also add a profile picture, this can be done in WordPress using Gravatar, a standard service to generate a profile with your email address. This image will automatically appear in other places where you use this email address. And so it can be desirable or not. Often you can use a generic image, but keep it professional.
Find supported themes
To check if themes have this feature you can look at the mention of Author Bio, this is usually how it is called in theme pages. Some themes that are free to download for WordPress and have this ability to put down an author bio are the following:
Ashe by WP royal
Independent Publisher 2
For more themes you can also look at the WordPress website itself and use the following filtering to scroll between free themes that have this feature:
https://wordpress.com/nl/themes/free/filter/author-bio
Author bio with a plug-in
There are also a number of plugins available for WordPress to get this done. These plug-ins also often allow you to customize your bio more than you can in other methods. This way you can make sure your bio looks the way you want it to. However, this is another plug-in that needs to be installed, for something that should already be in the theme. If you love your theme and it's not included, you can choose the plug-in option.
Using the Standard Widget in the Sidebar
Of course you can also just choose to place the author listing in the sidebar of your website, this works best if you are the only one writing for the website. Although you can put the author name in the sidebar by using a function.
You can also add your own HTML and CSS, and make it more fun than the standard functionality. With this widget you can always display it on the side of your posts, or you could put it in the footer. This will be looked at less often though. You can also track this with a statistics tool like Microsoft Clarity to see if it gets viewed.
For more tips and tricks with WordPress hosting, keep an eye on our blog via the website and social media!